

DIY: Upcycled Blazer
Over the holidays, my friend gave me an old men’s blazer that she was going to donate. When she passed it along to me, I immediately knew I wanted to try to make a suite set that’s been trending on Instagram since last Fall. Originally, I had ideas to maybe tear up the suit rather than leave it in tact, but after cutting through the fabric, I realized how tricky it would be to rip the blazer apart then try to reconstruct it to be wearable.
The entire process of upcycling the blazer took about one evening.
Step 1: Initial Fitting
First I evaluated size and fit. Luckily the blazer was just the right size for what I wanted to make. The shoulders fit well and the blazer was just large enough that if I messed up, I’d have enough room for error to fix it.

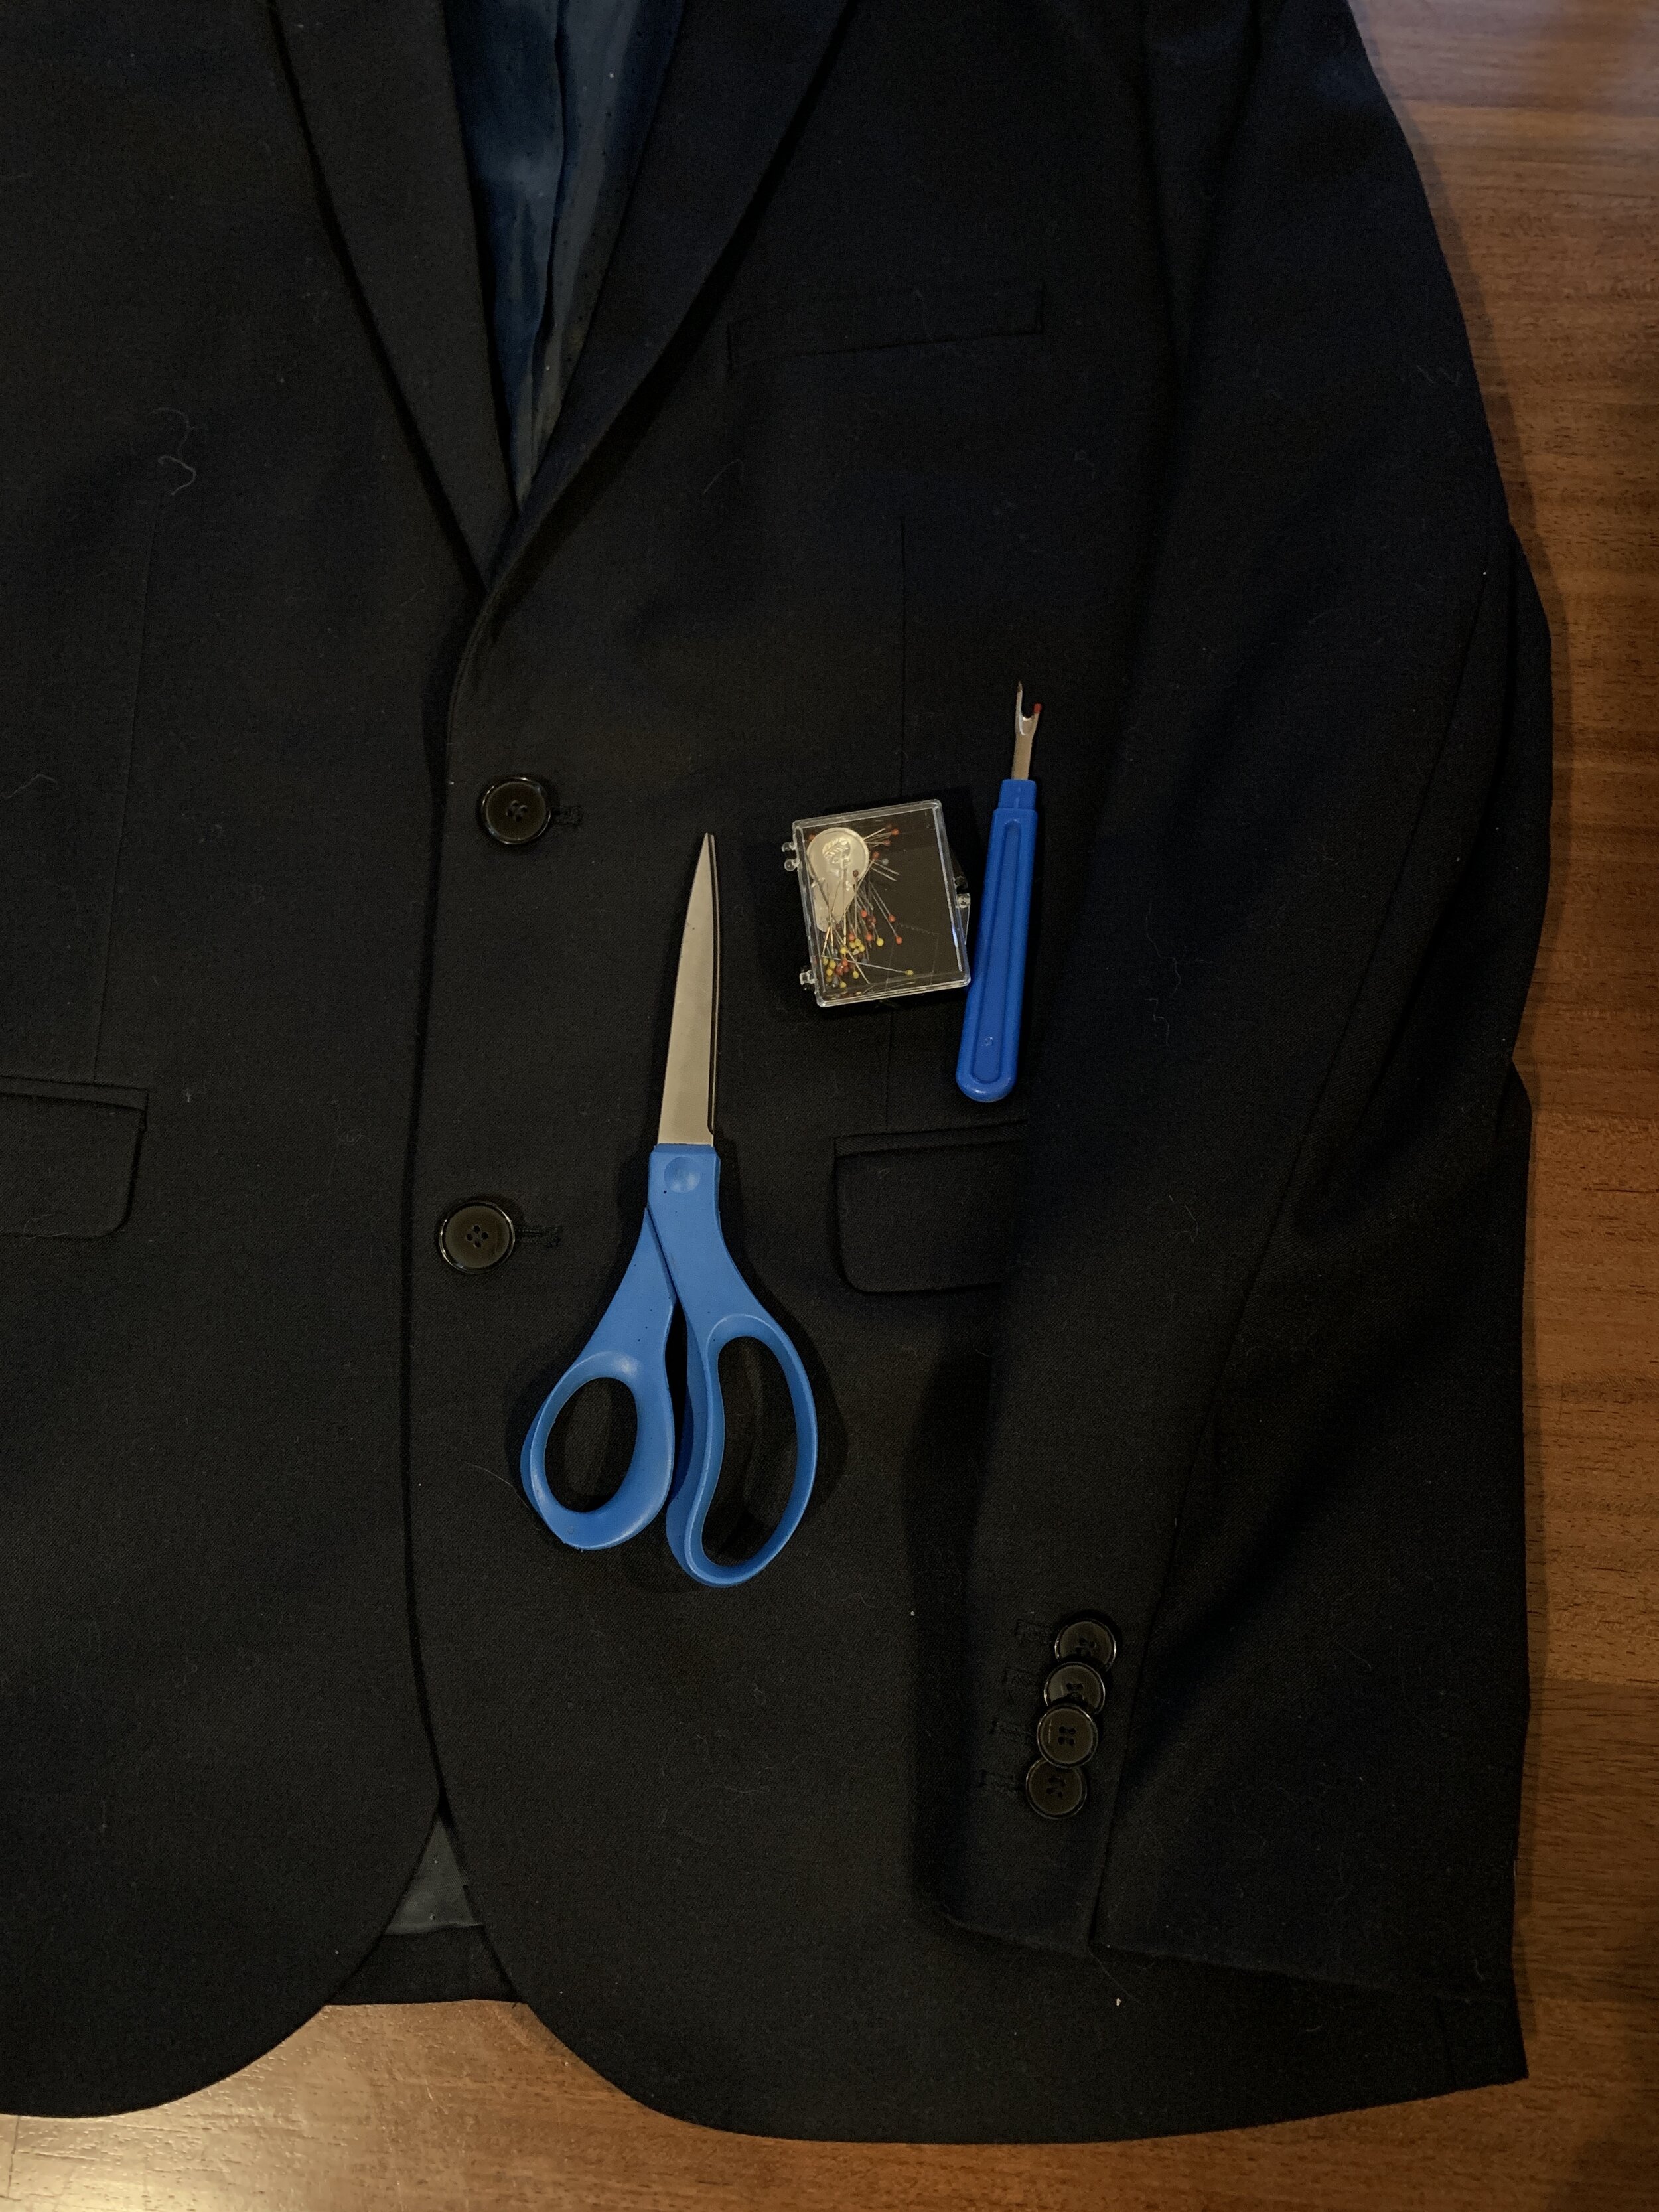
Step 2: Cut and Trim
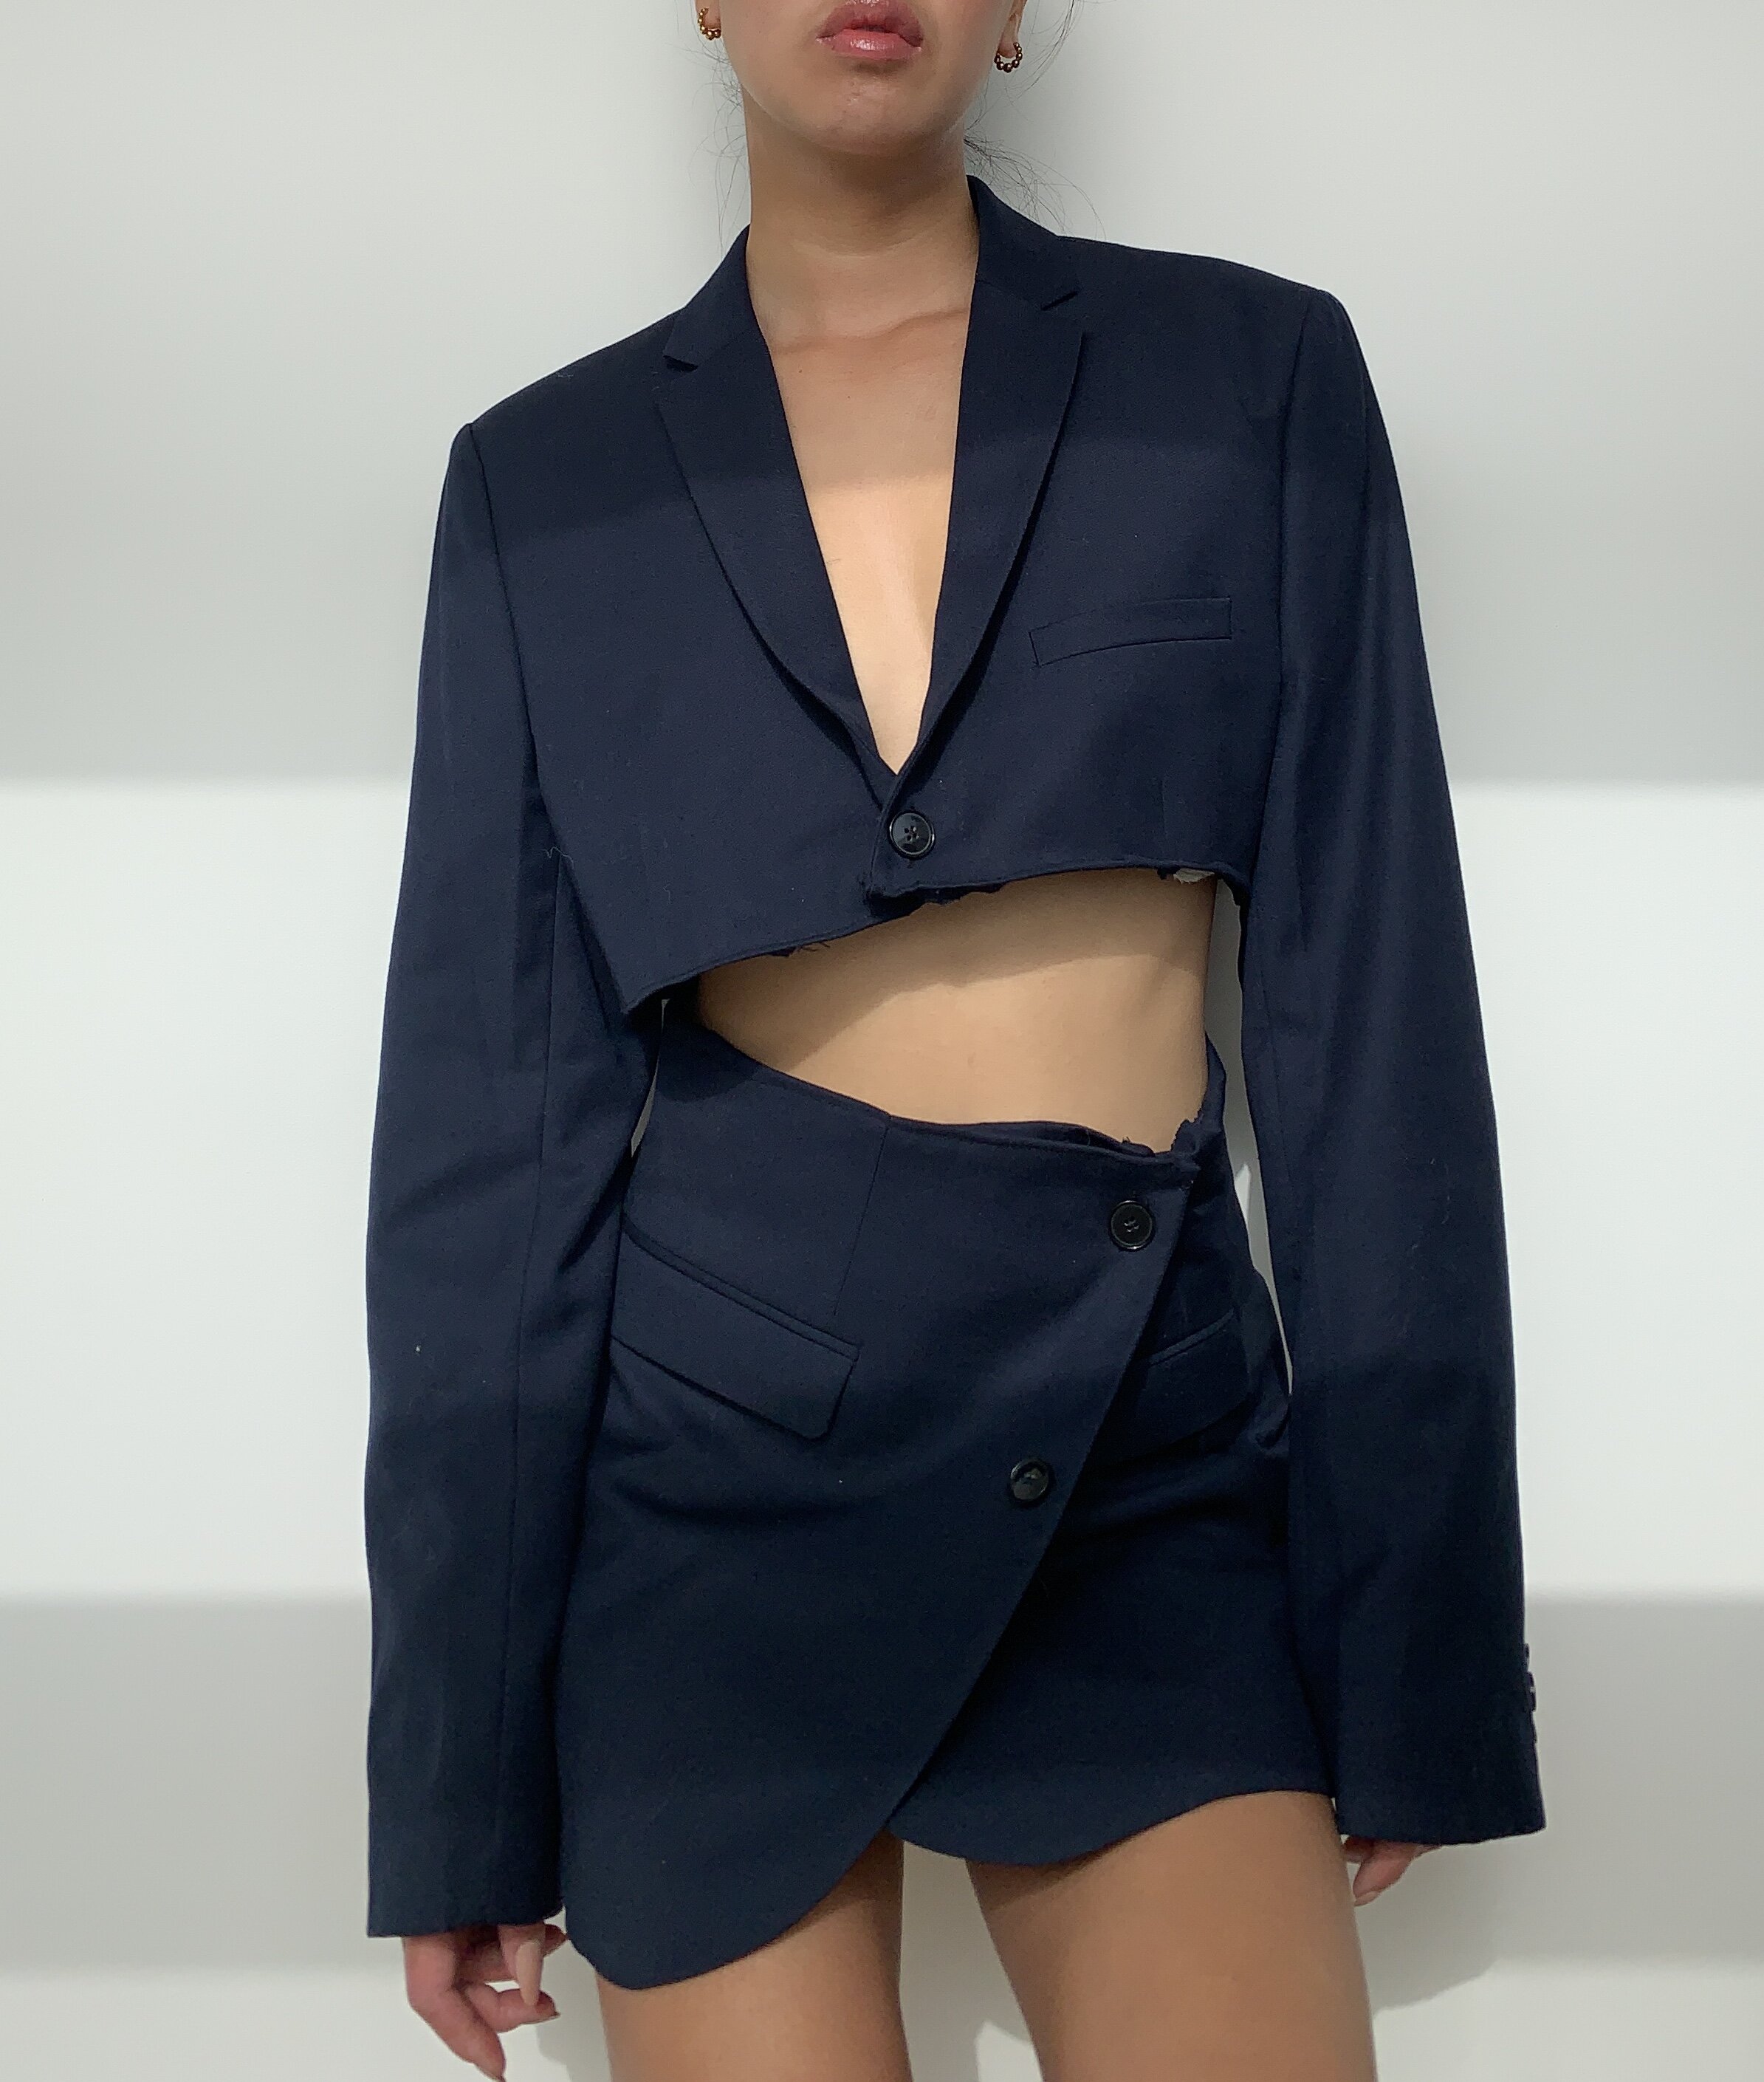
I made one cut right above the first button of the blazer and I tried to leave a small amount of room underneath the lapel to add a button. It was very interesting to take a look inside the blazer. The blazer itself is composed of so many layers of different fabrics and hems which work together beautifully to create a seamless look on the outside. The more I take garments apart and try to make something new out of them, the more I have an appreciation for the skill it takes to design, assemble, and tailor clothing to be the perfect fit.

Step 3: Sewing the hemlines
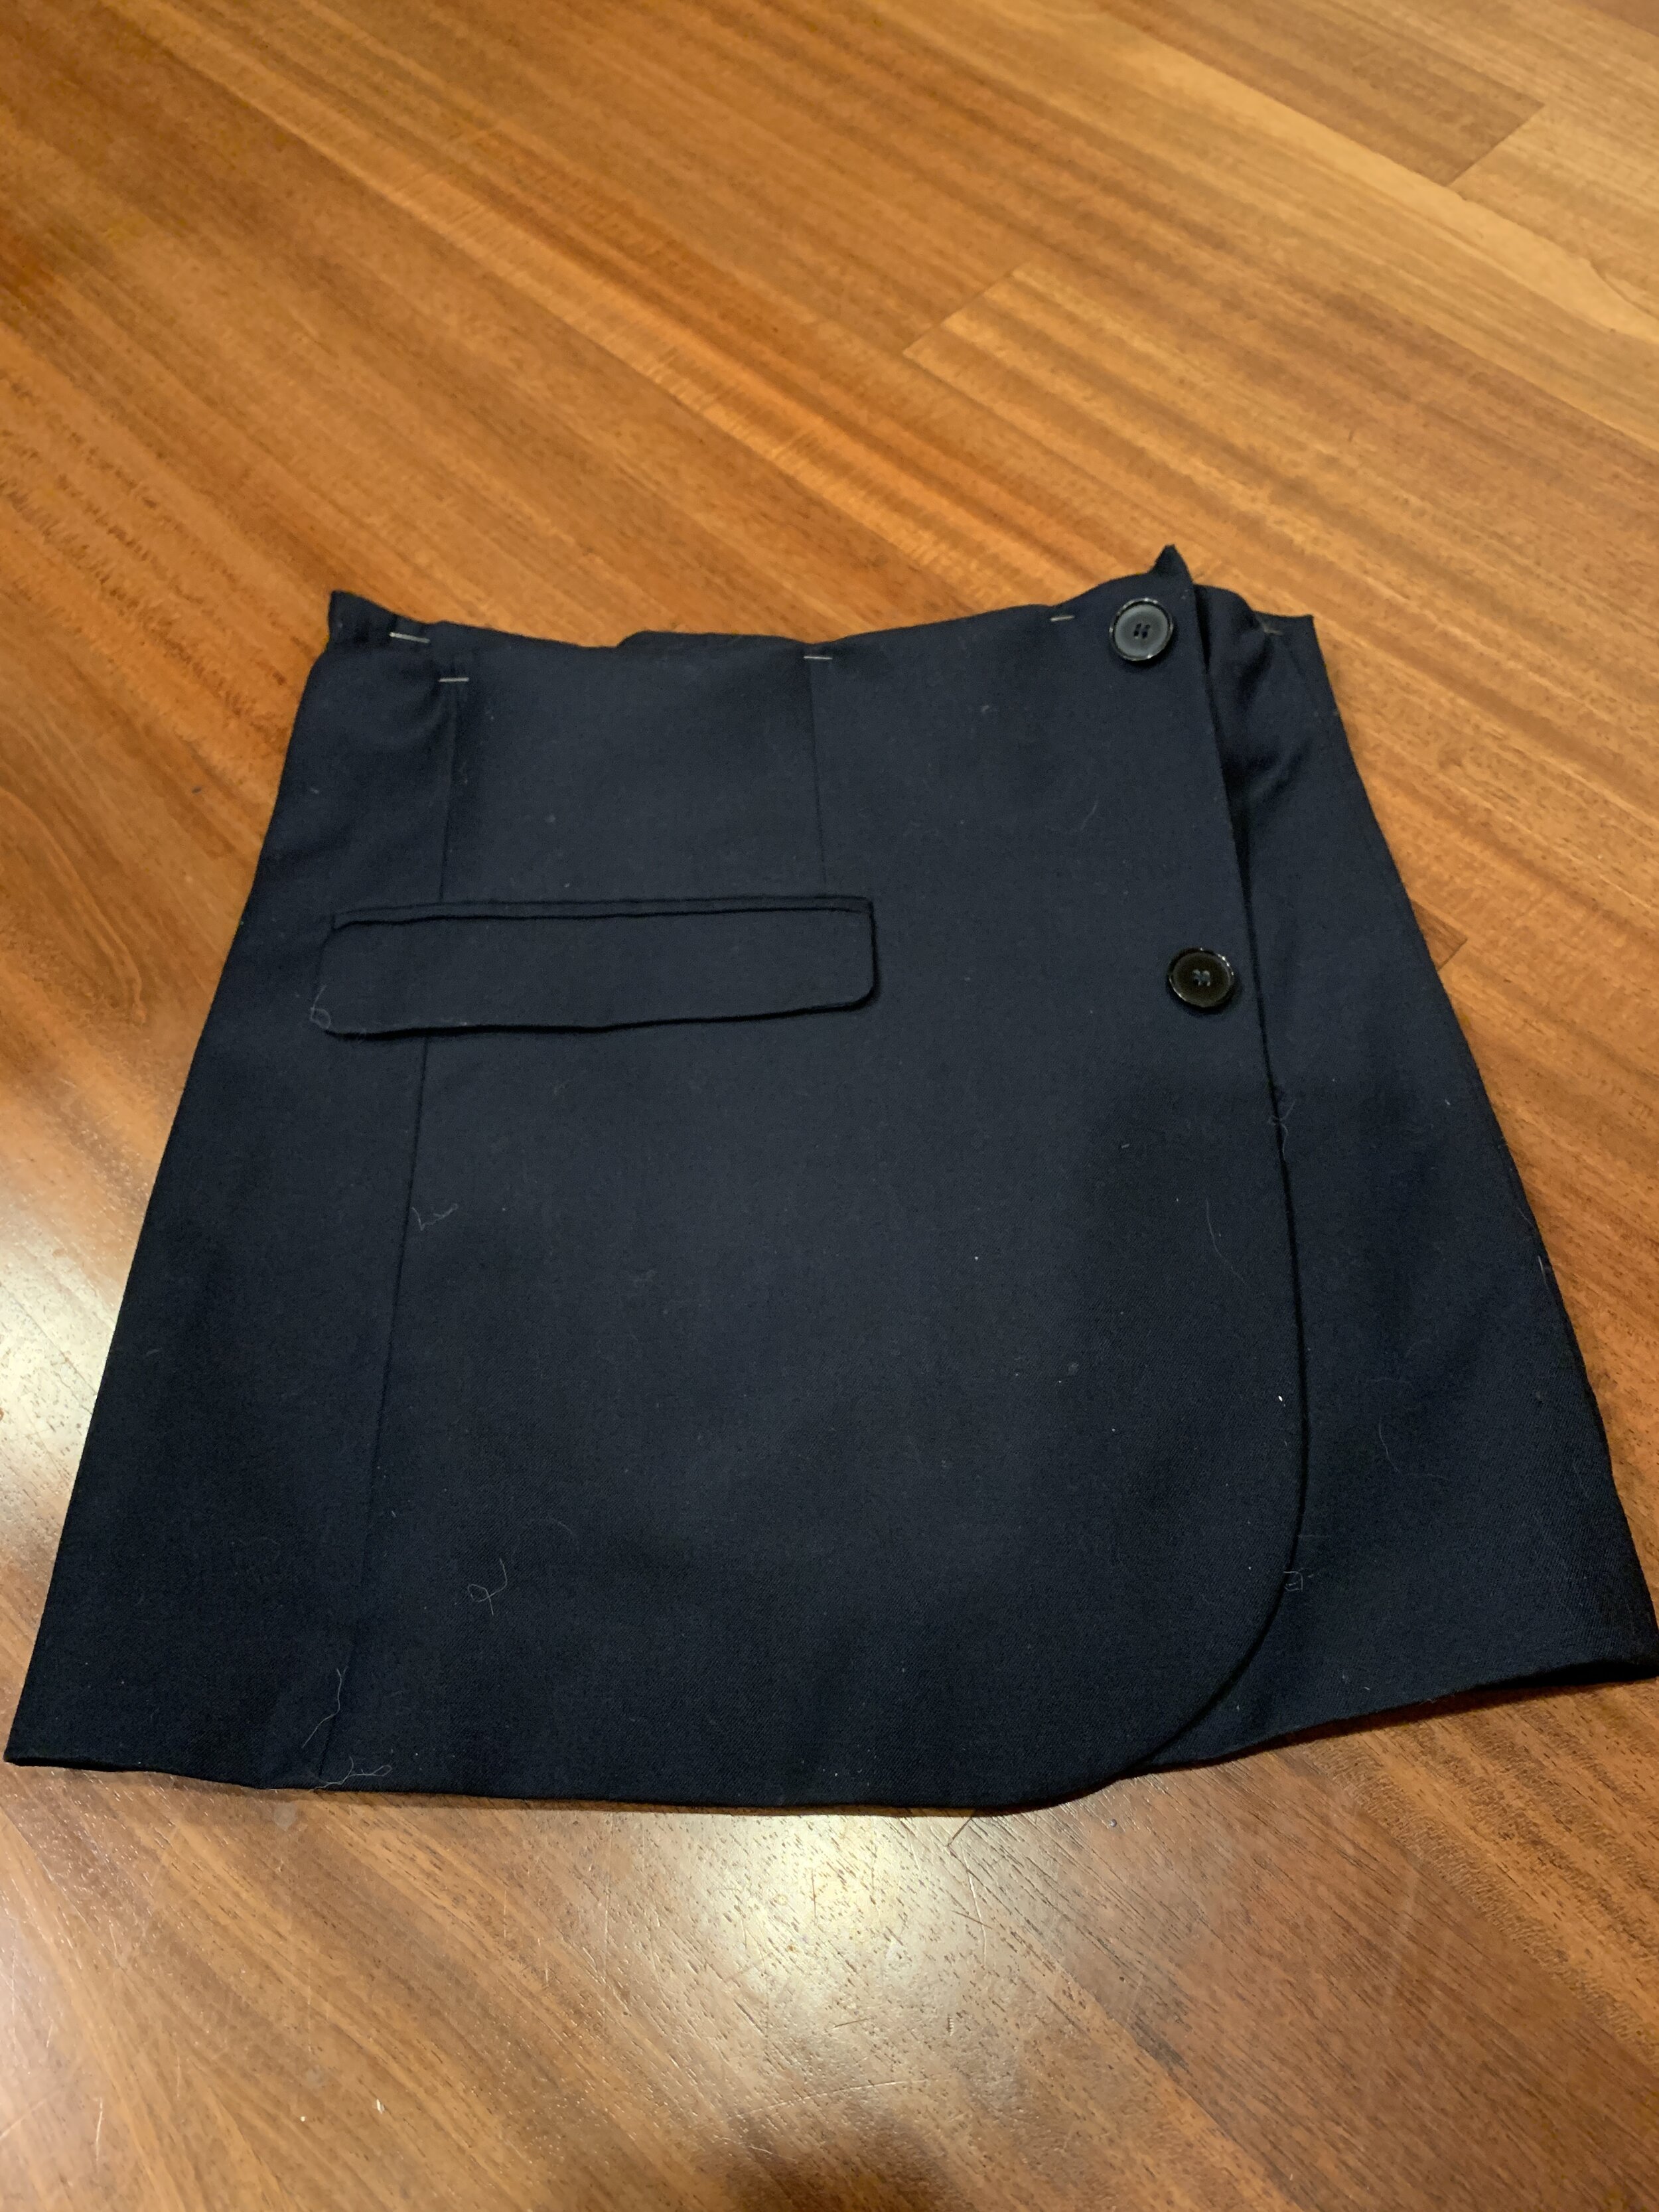
After making my initial cuts through the blazer, I pinned the hemlines closed and started to sew. Making the cropped blazer was definitely more tricky than the skirt since the top of the blazer had so many more layer of fabric and I had to get rid of the inner jacket pockets. The main alterations I had to make were adding the buttons to both the cropped blazer and skirt. Adding buttons also means that I need to add button holes which I struggled to do since the fabric was very thick in the spots where I was trying to sew.
For the skirt, I needed to add a button and button hole to the inner lining of the waist to help the fabric stay in place. The overall construction is very similar to a basic wrap skirt.

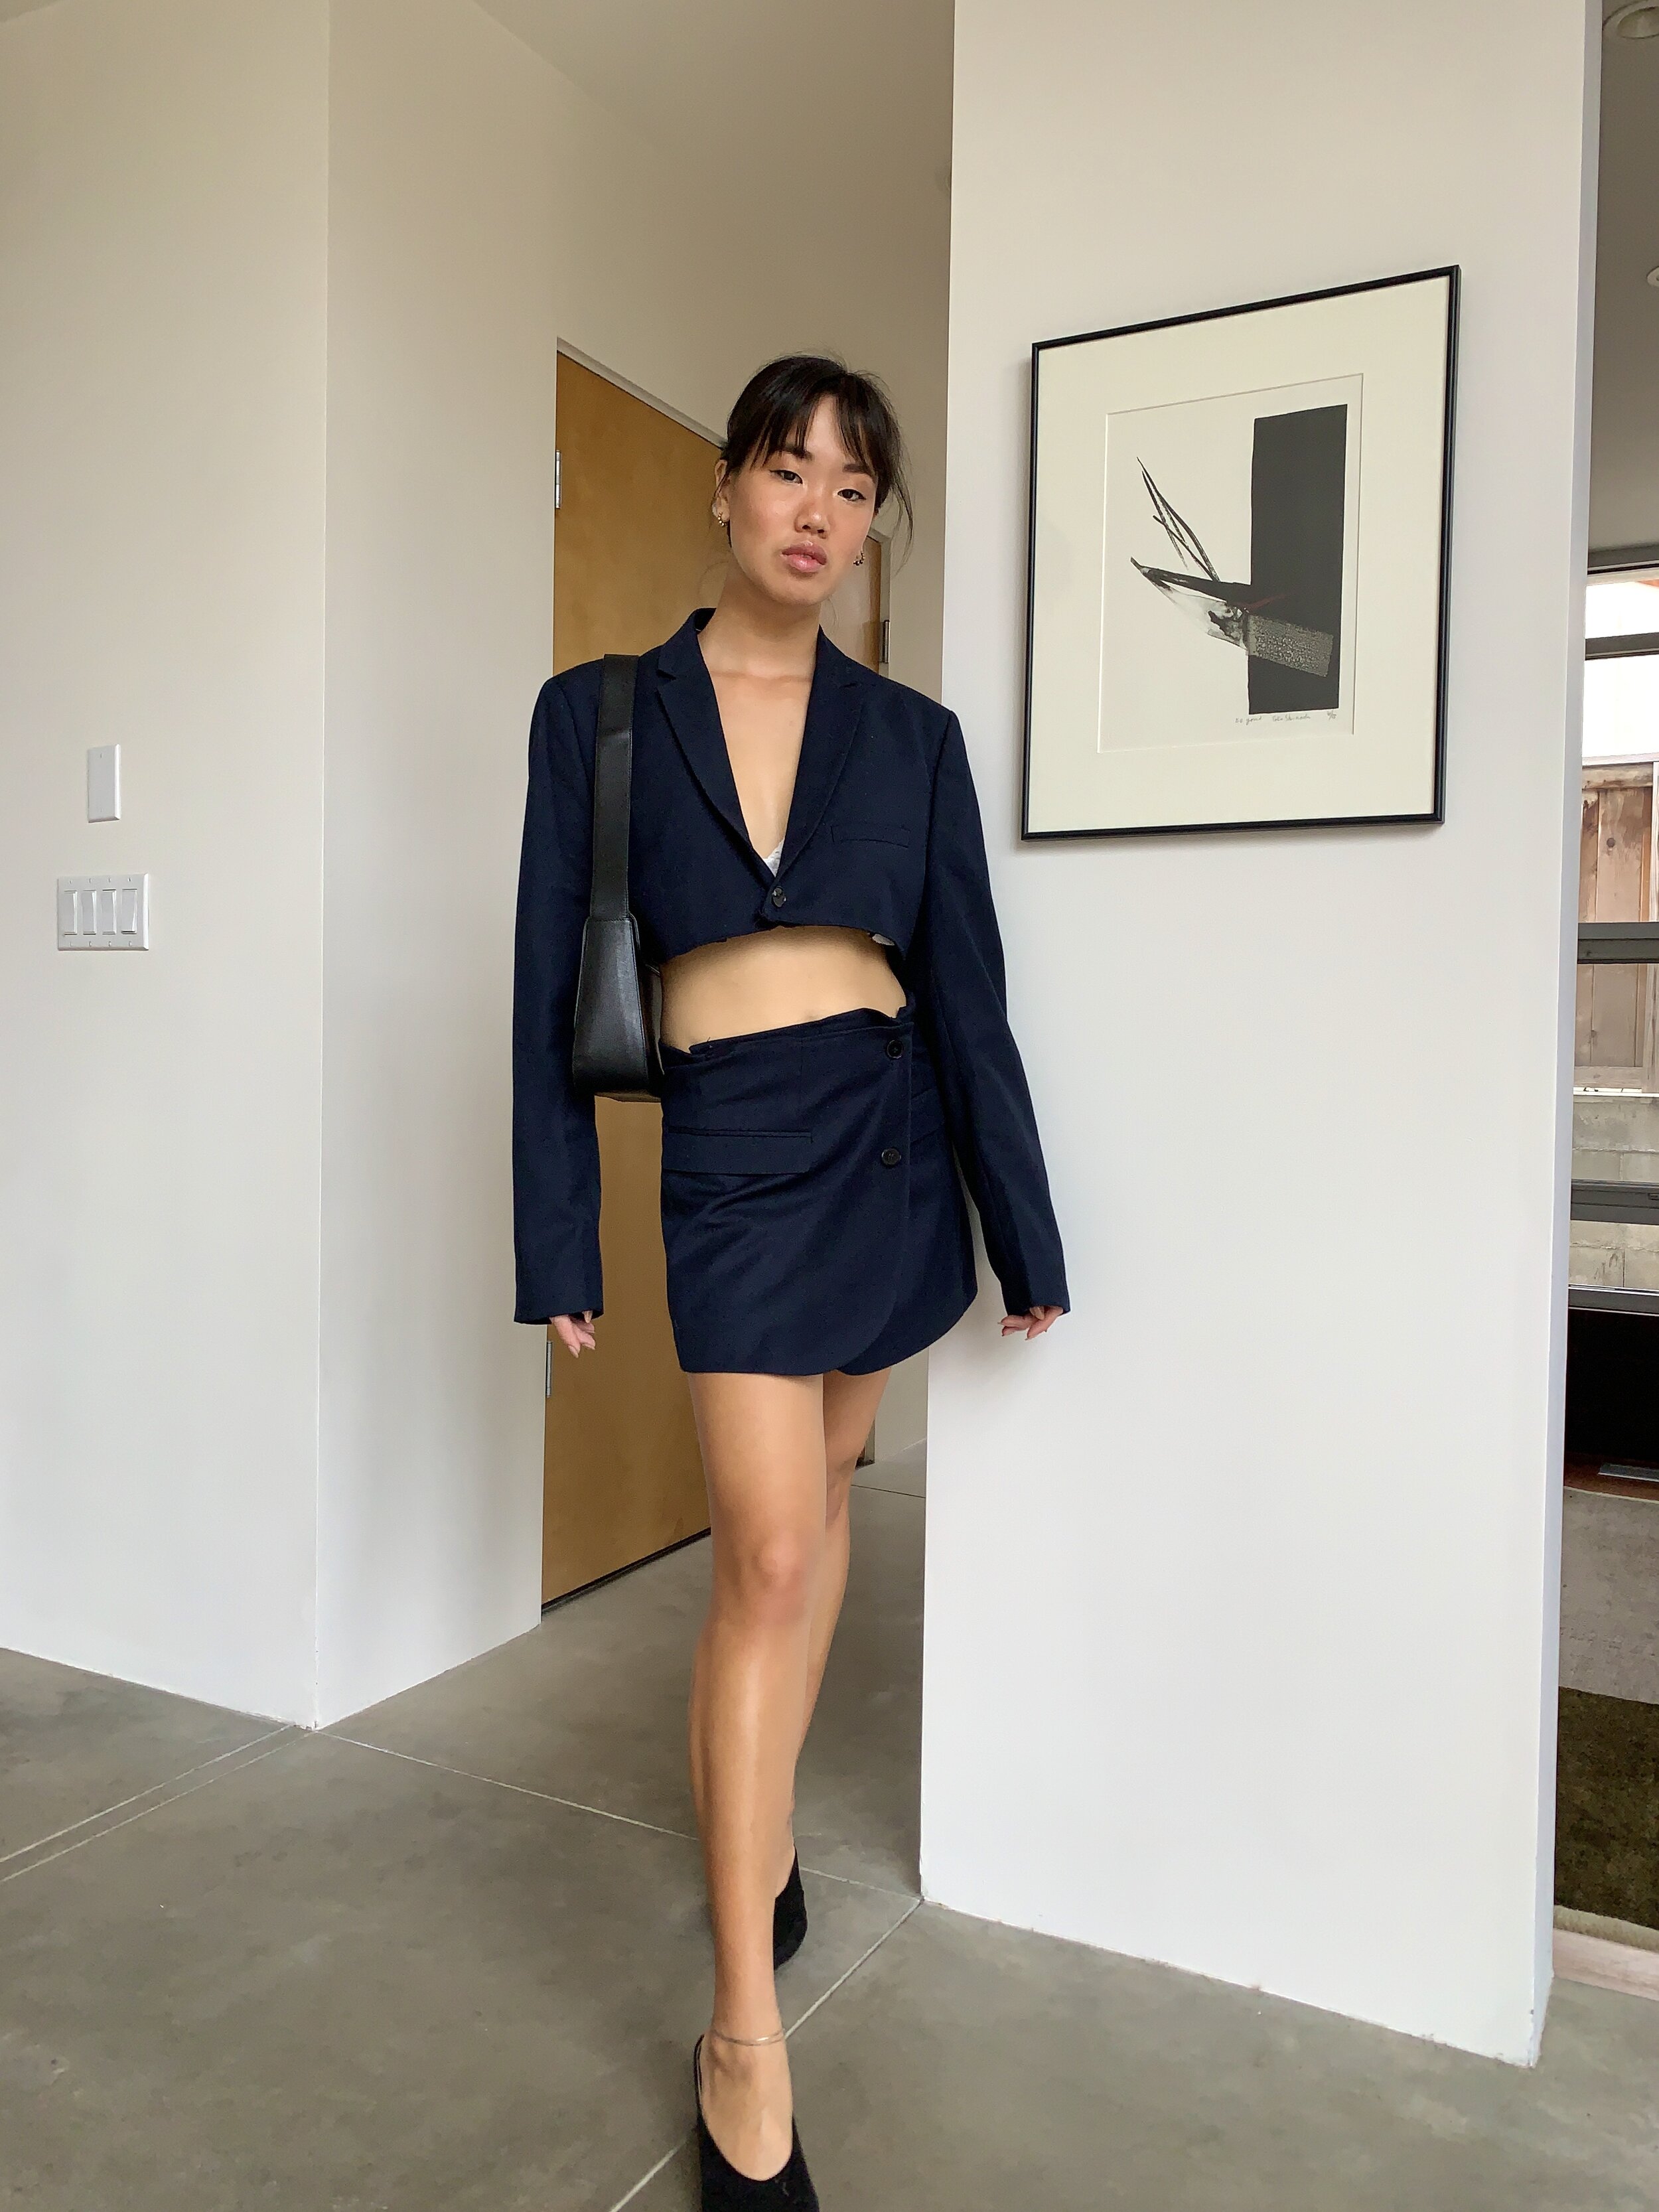
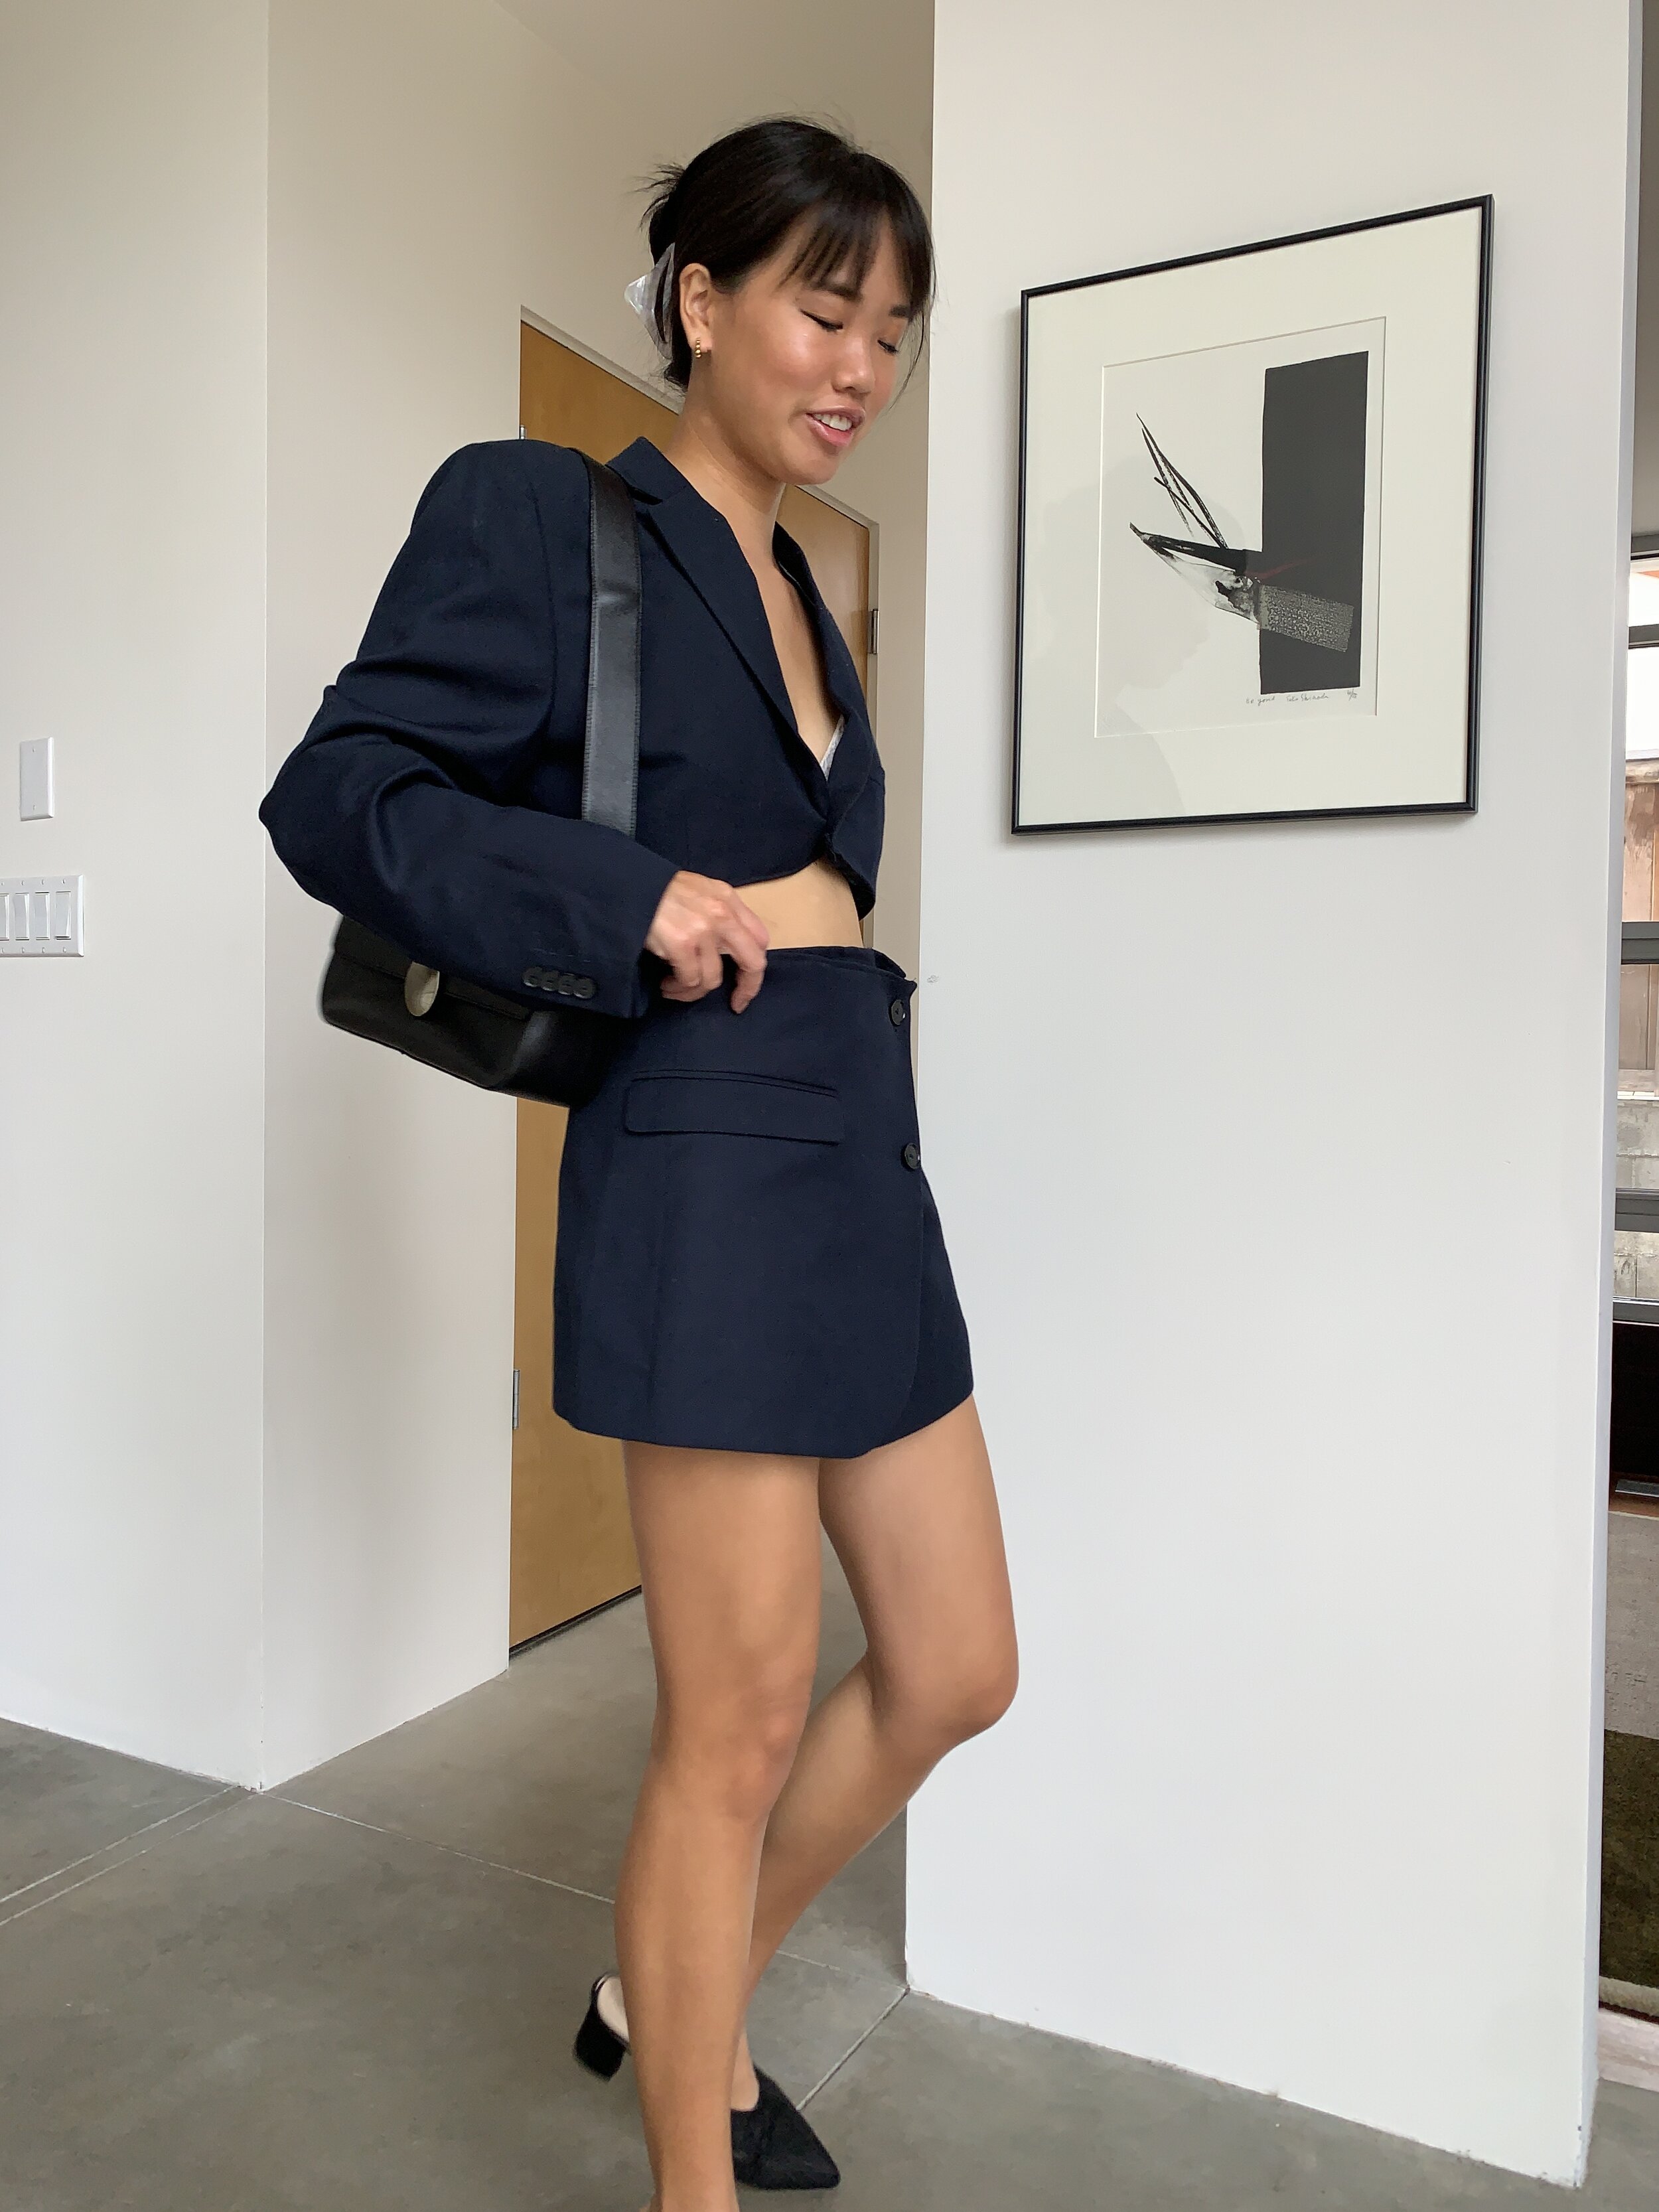
Step 4: Finishing Touches
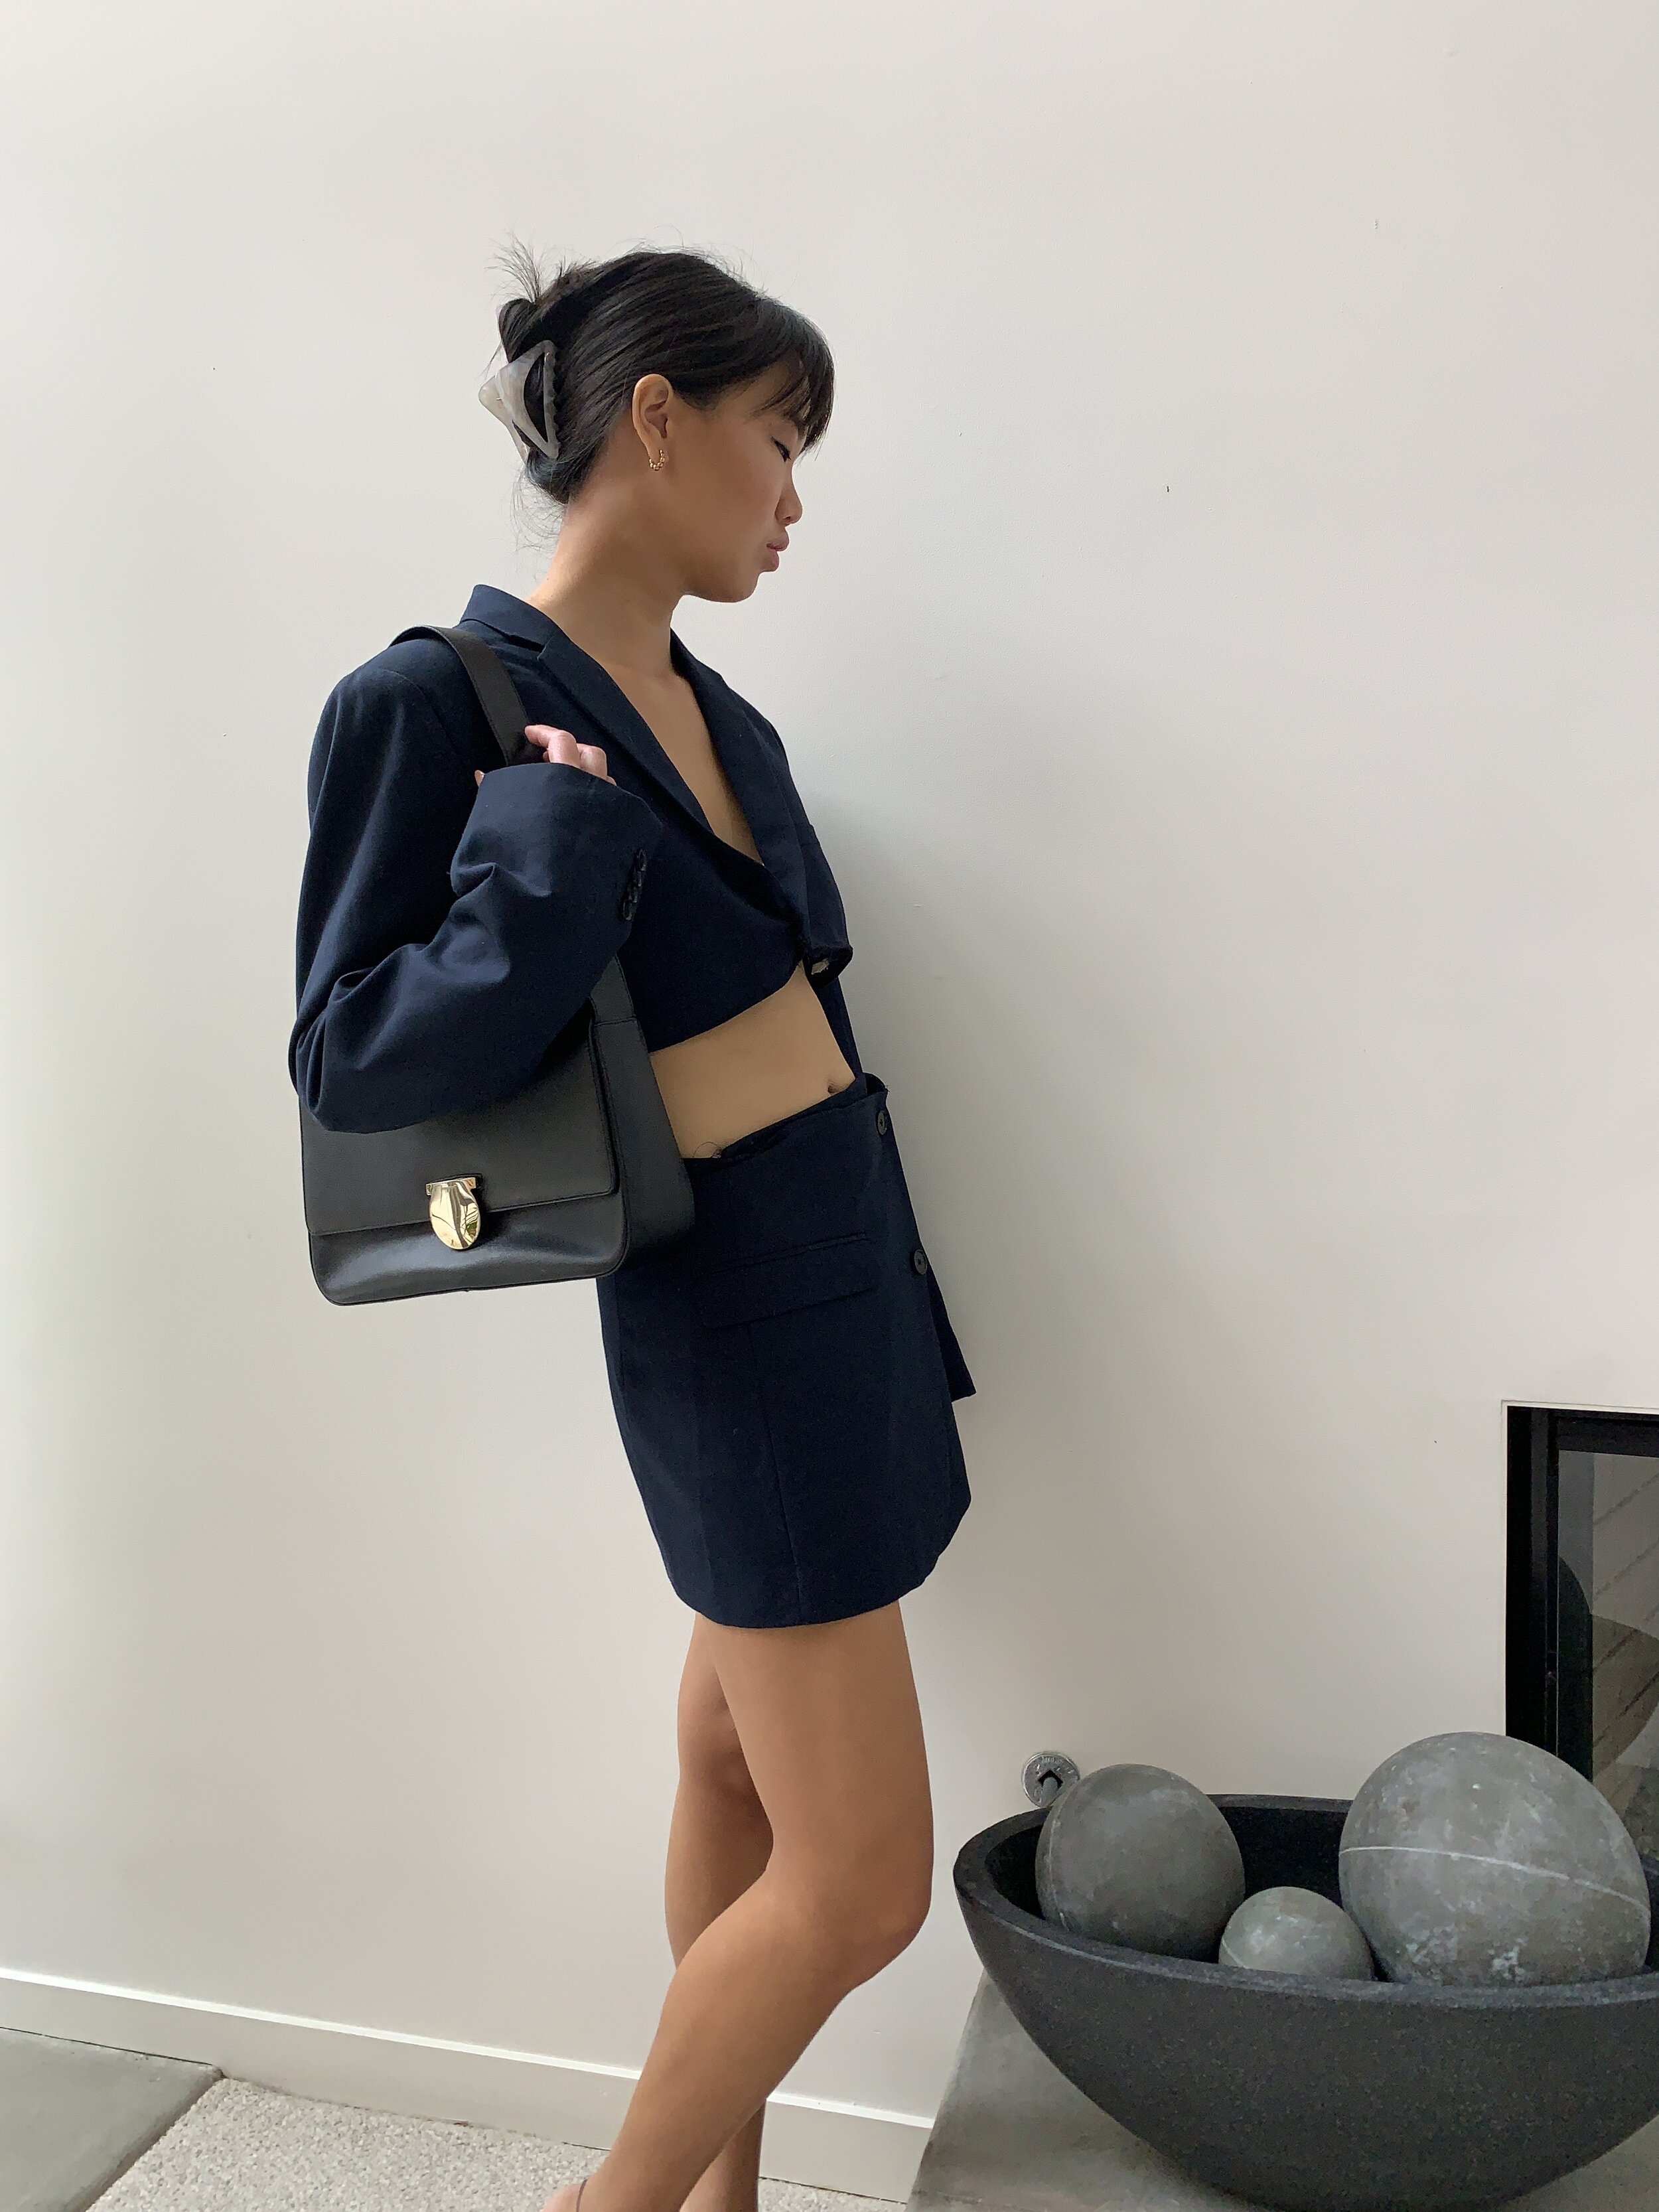
After closing up all the hem lines and adding buttons in the right spots, I was done! In total, it wasn’t too difficult of a process but it definitely took a lot of patience to learn how to work with so many layers of fabric. I wanted the overall look to be as clean as possible while keeping the modern silhouette of the original blazer. If I were to do it all over again, I think I would make more adjustments to the fit of the skirt and maybe remove more of the inner fabric of the blazer so that it’s easier to sew.

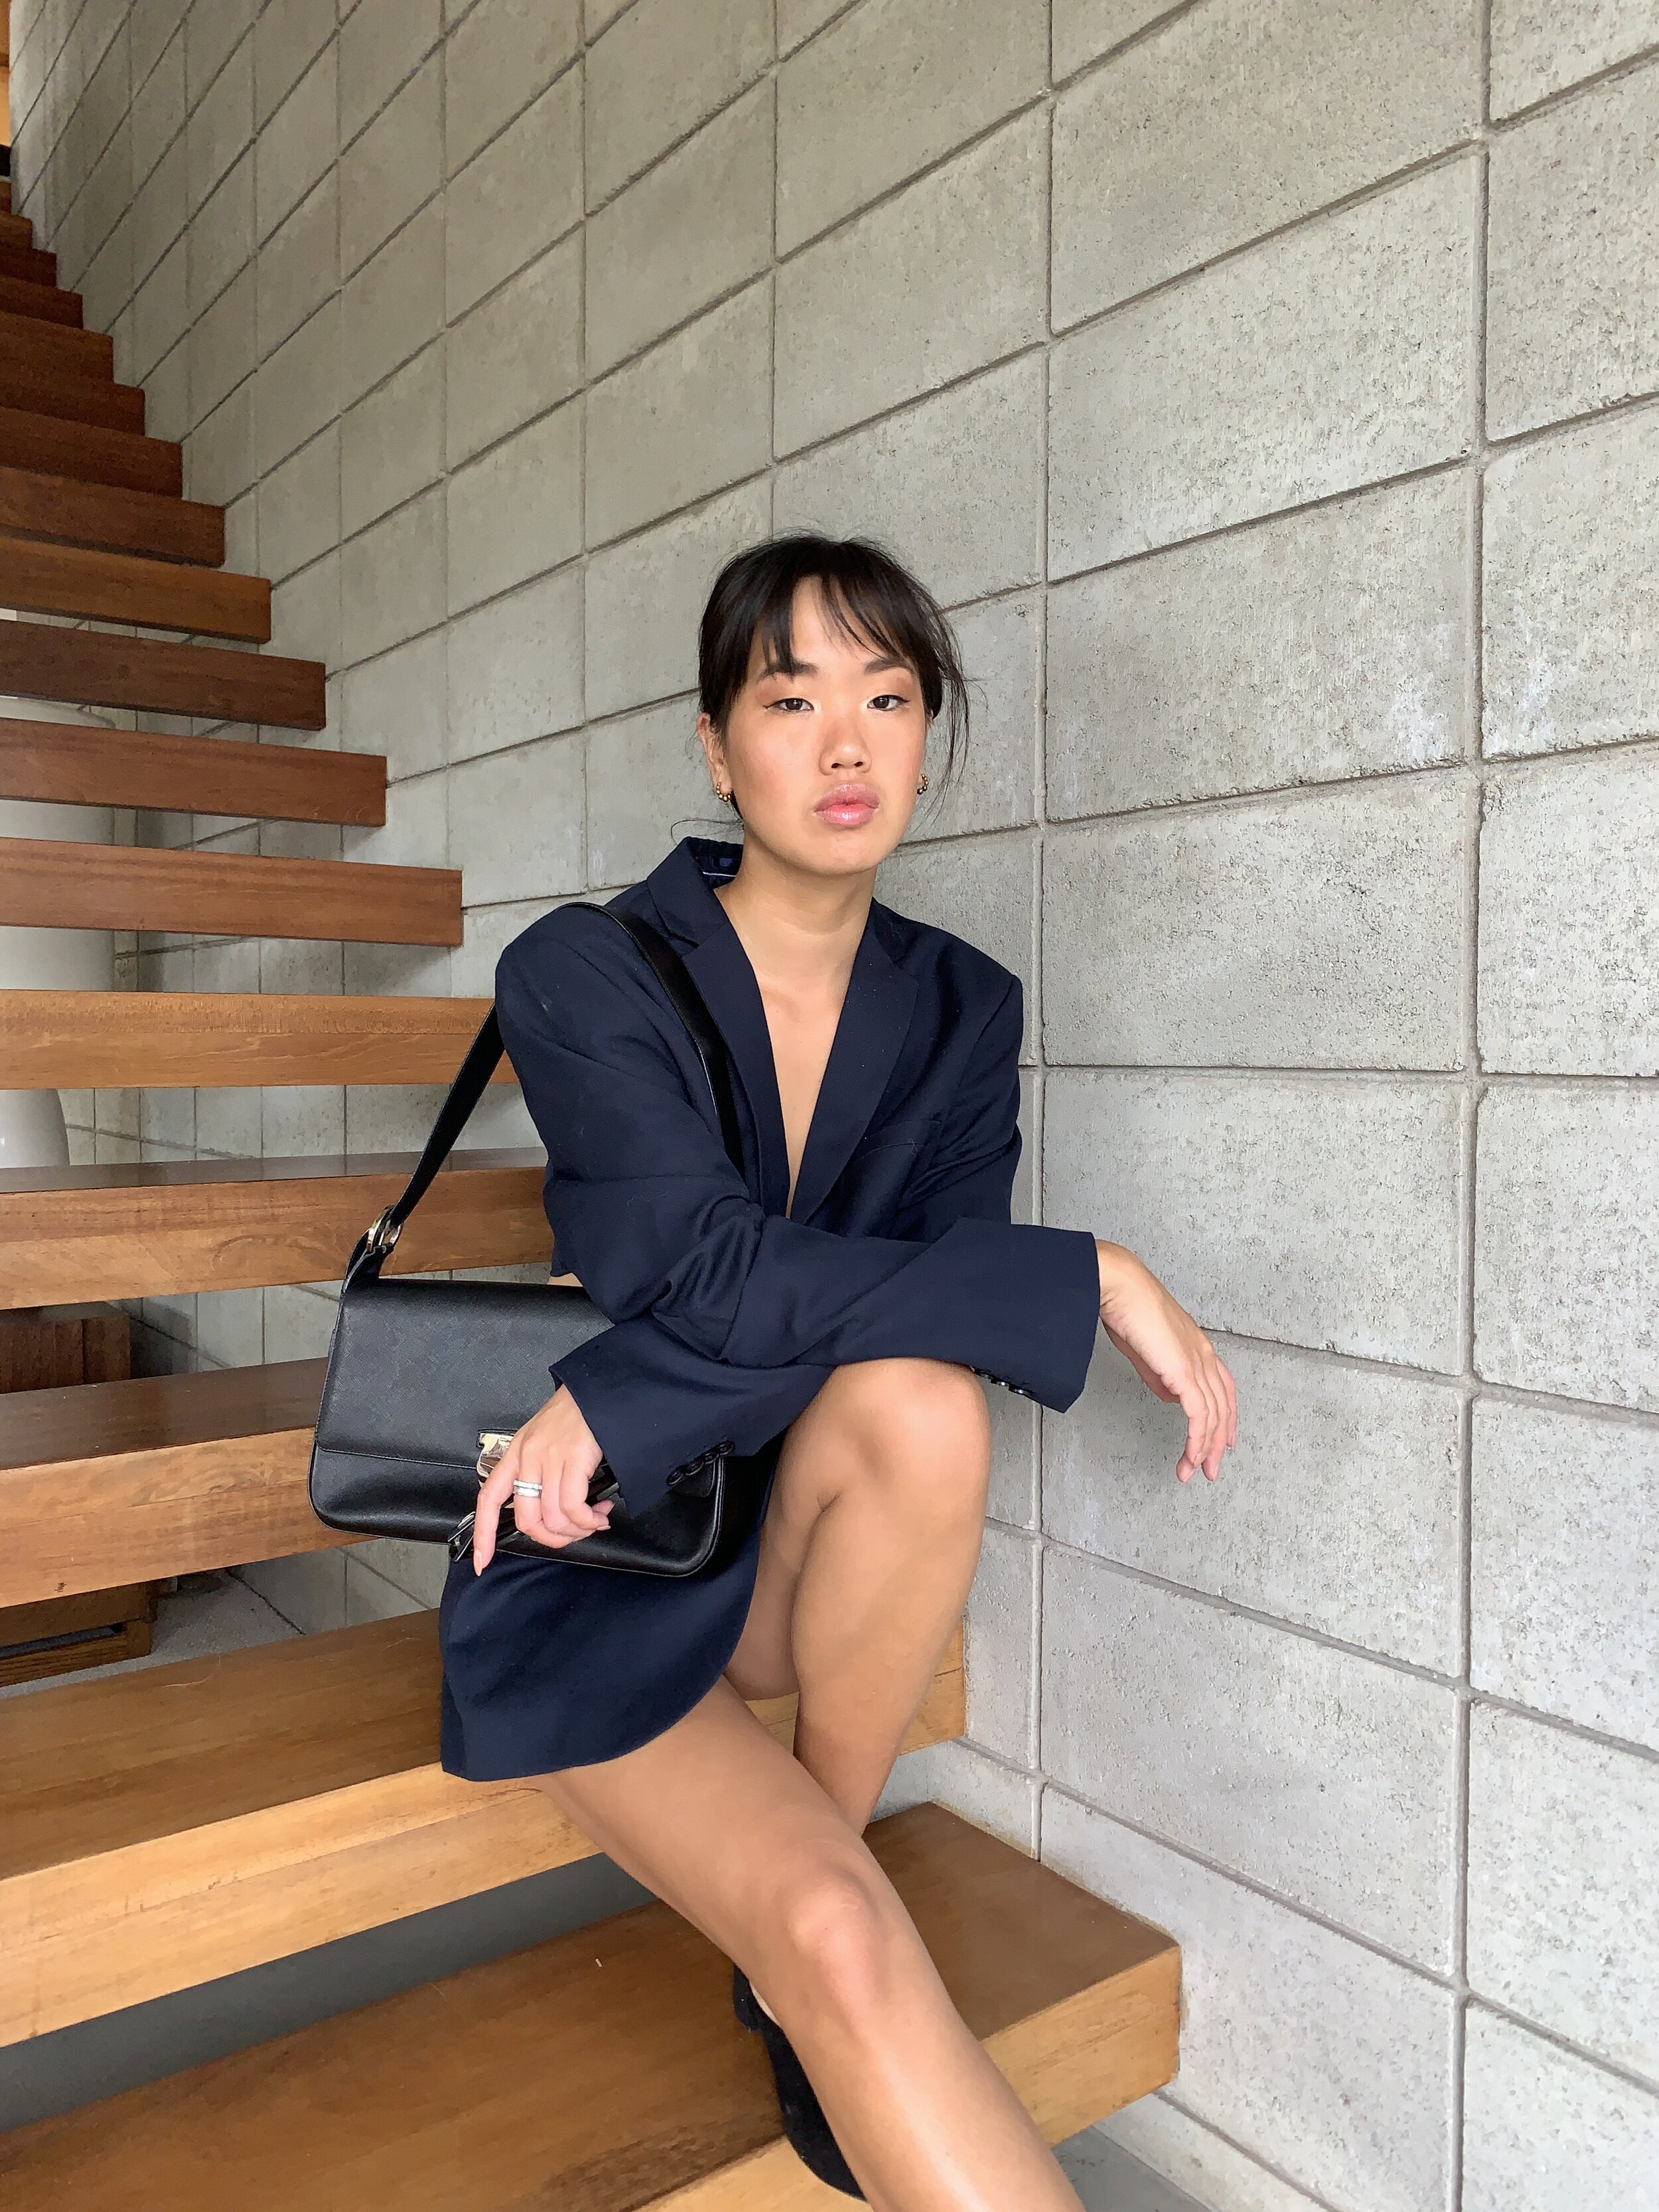
I’m not usually one to wear a blazer and I don’t own a proper suit, but I love the timeless look of a woman wearing a powerful outfit whether it be a traditional suit or ballgown. The tailoring, design, and fabric selection are so intentional when creating a lasting suit. I love that suits can be passed down from generation to generation and still capture a sense of style. All these elements come together to make fashion magic and tell a story. Some of my favorite suit looks from the SS21 runway collections are Jacquemus’ heart cut-out blazers, Balmain’s dramatic shoulder pad statement, and Chanel’s divine tweed suits with the iconic C’ details of course.
Thank you for reading and Happy New Year! As always, I would love to know your thoughts and I can’t wait to share my new projects with you soon.
xx
Ella Kol


