

DIY: Linen Set
From pants to a skirt and top!
I found these baggy linen pants just laying around. I have no idea whose they were or who used to wear them, but the elastic and fabric was still pristine, so I decided to try to make something out of them.

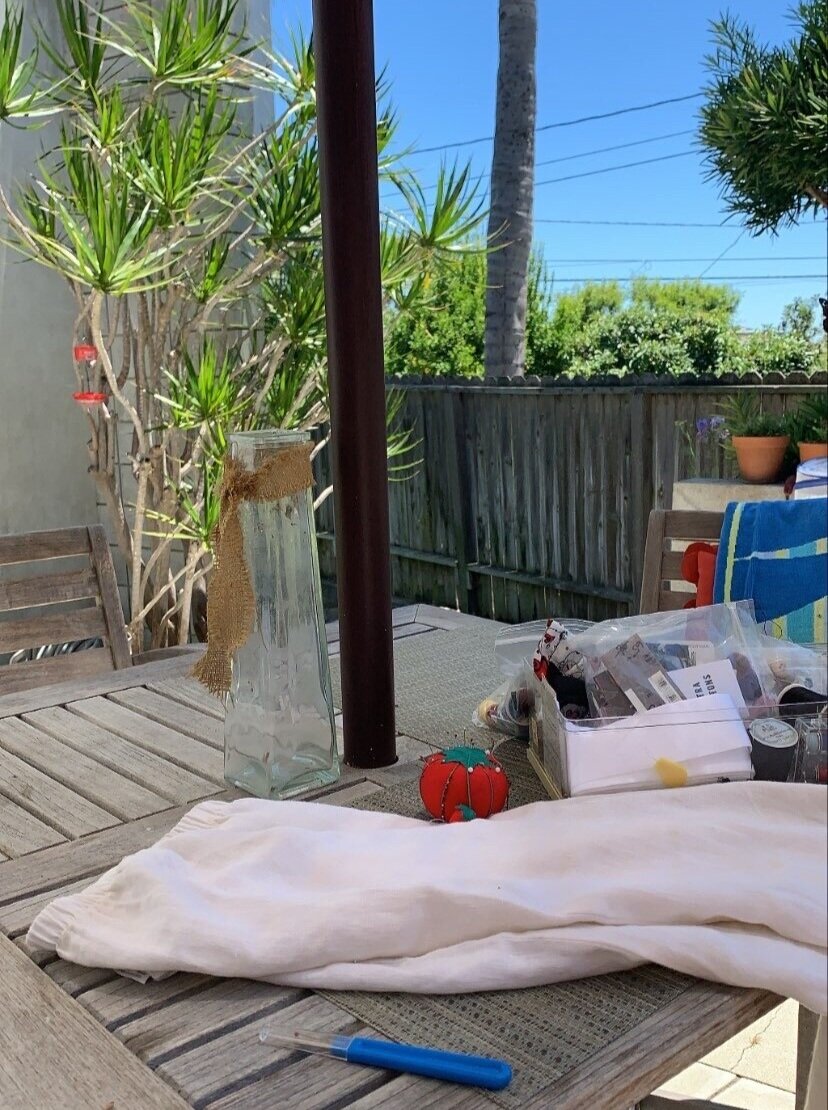
Step 1: The Prep
Starting out, I had no pattern to work off of. I only had this idea in my head that I would try to convert the pants into a skirt first then see if I had enough fabric at the end to make a top. First, I took out the inseam of the pants. This is the most time-consuming part since I have to be careful not to rip out the fabric.

Step 2: The Skirt
Once the inseam stitching was removed, I played around with the fabric to see how wide I wanted the skirt to be. I used one of my existing skirts to estimate the shape and width. To stay on the safer side, I cut the pants a bit longer than the pink skirt to ensure I’d have enough fabric at the edges to finish the skirt off.
After cutting the pants, I folded over the bottom edges to create the new length of the skirt and started to pin the fabric according to the shape that I wanted. Since there’s a center seam on both sides of the pants, it was a bit tricky to overlap the fabric together to form the skirt, but through trial and error, I was able to pin the skirt together to form the desired shape and sew the edges together. Overall, the skirt is more in the shape of a tulip. The design I had in mind was more of a standard circle skirt, but because the seams I sewed together were not the same length as the existing center seams, the skirt didn’t turn out even (which just gives it more personality!).

Step 3: The Top
Luckily, I had enough fabric to make a top. With the leftover scraps from the pieces of the pants I cut off, I created a halter top. The pants originally had this lovely lace at the edges of the legs, so I decided to use a long piece of rectangular fabric to create the top. I laid the rectangle shaped fabric flat on the table and overlapped the right and left edges to create a big enough gap for the ribbon to run through. Once I sewed the side loops and ran the ribbon through, the top was done! To add a bit of shape to the top, I tied some scrap fabric around the mid line of the bust which can be easily removed for a different look.


Thank you for reading! I hope you’ve enjoyed my Summer DIYs so far. It’s so rewarding to breathe new life into something old or used. I’d love to know your thoughts! Leave a comment down below or like/share!
xx
Ella Kol


