DIY: Upcycled Halter Top
This past year, I have been taking apart old garments and breathing new life into them. For my birthday, instead of buying a new outfit like I usually do, I took apart a vintage dress and created a new two piece set (read the full blog post here). I knew I was making new items from vintage clothing but I didn’t really think to call it something. That is until I learned of the term upcycling. Upcycling is the process of using unwanted materials to create something new. In many ways, I’ve been upclycling for years. I remember when chain headdresses were all the rage (think Vanessa Hudgens’ at Coachella) so I used old necklaces to make my own. Overall, upcycling is such a great way to create something new that is both sustainable and stylish.
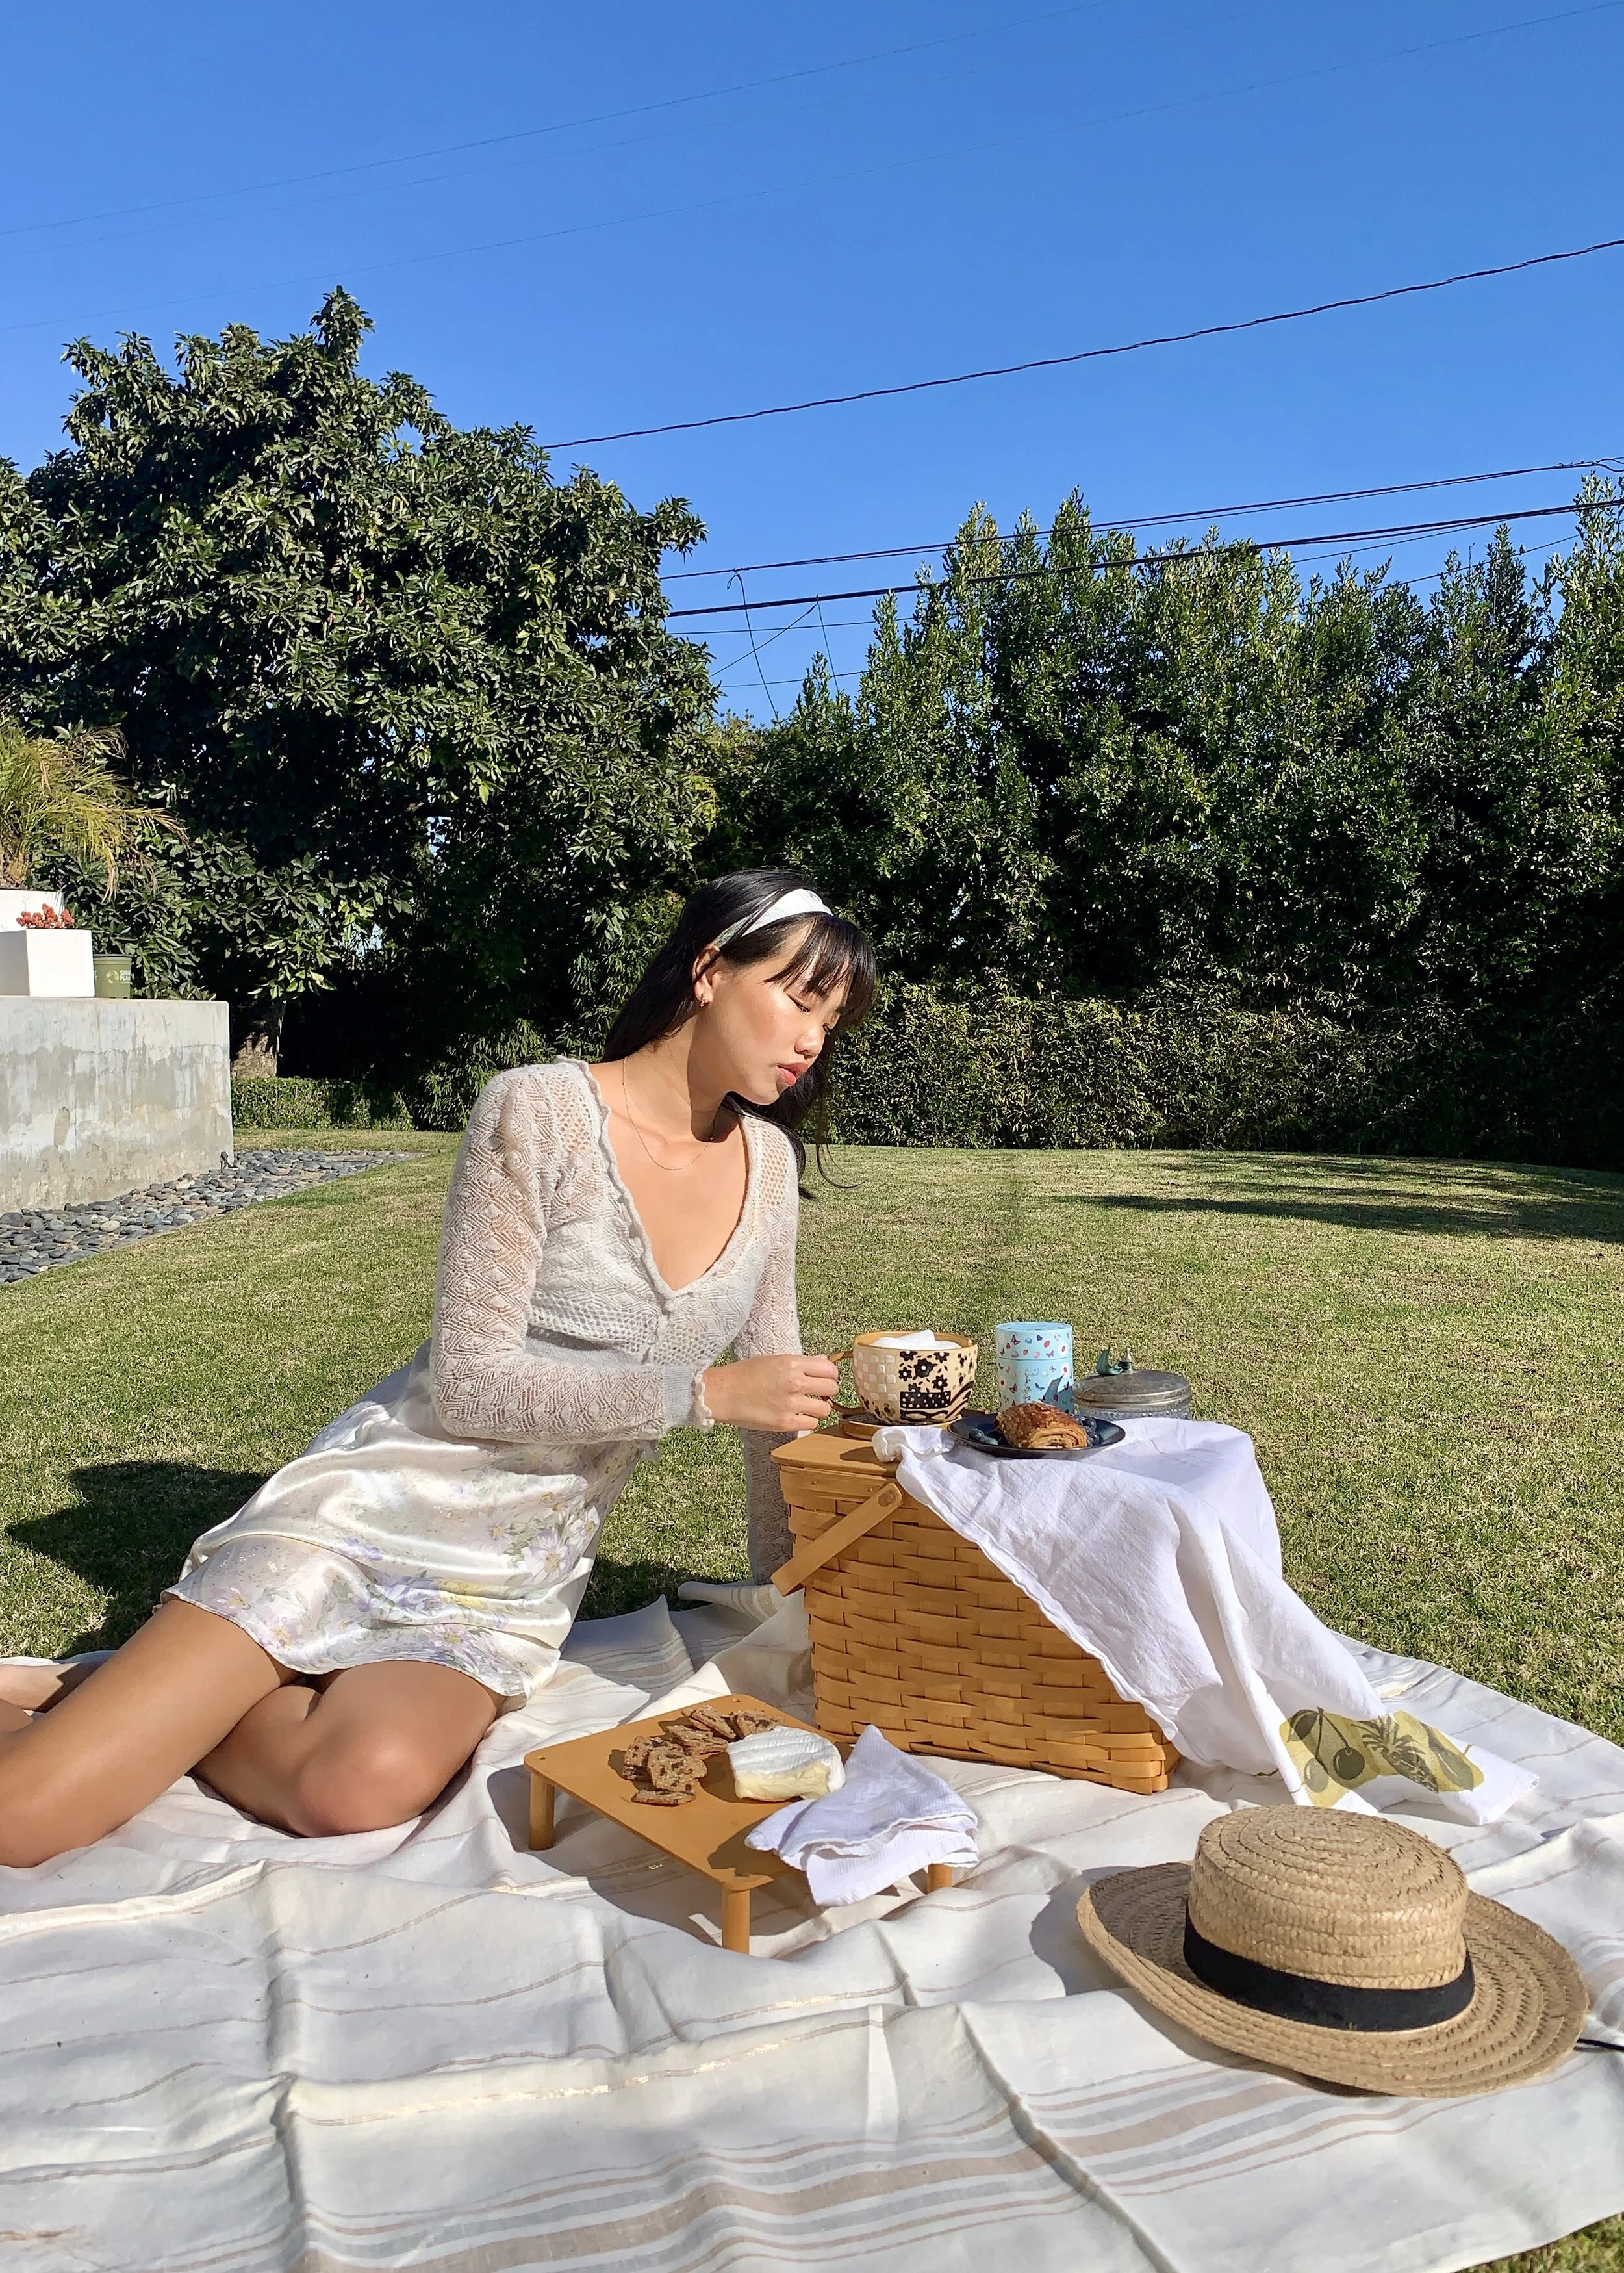
For my latest upcycling project, I transformed an old pair of knitted shorts into a halter top. See the full process below!

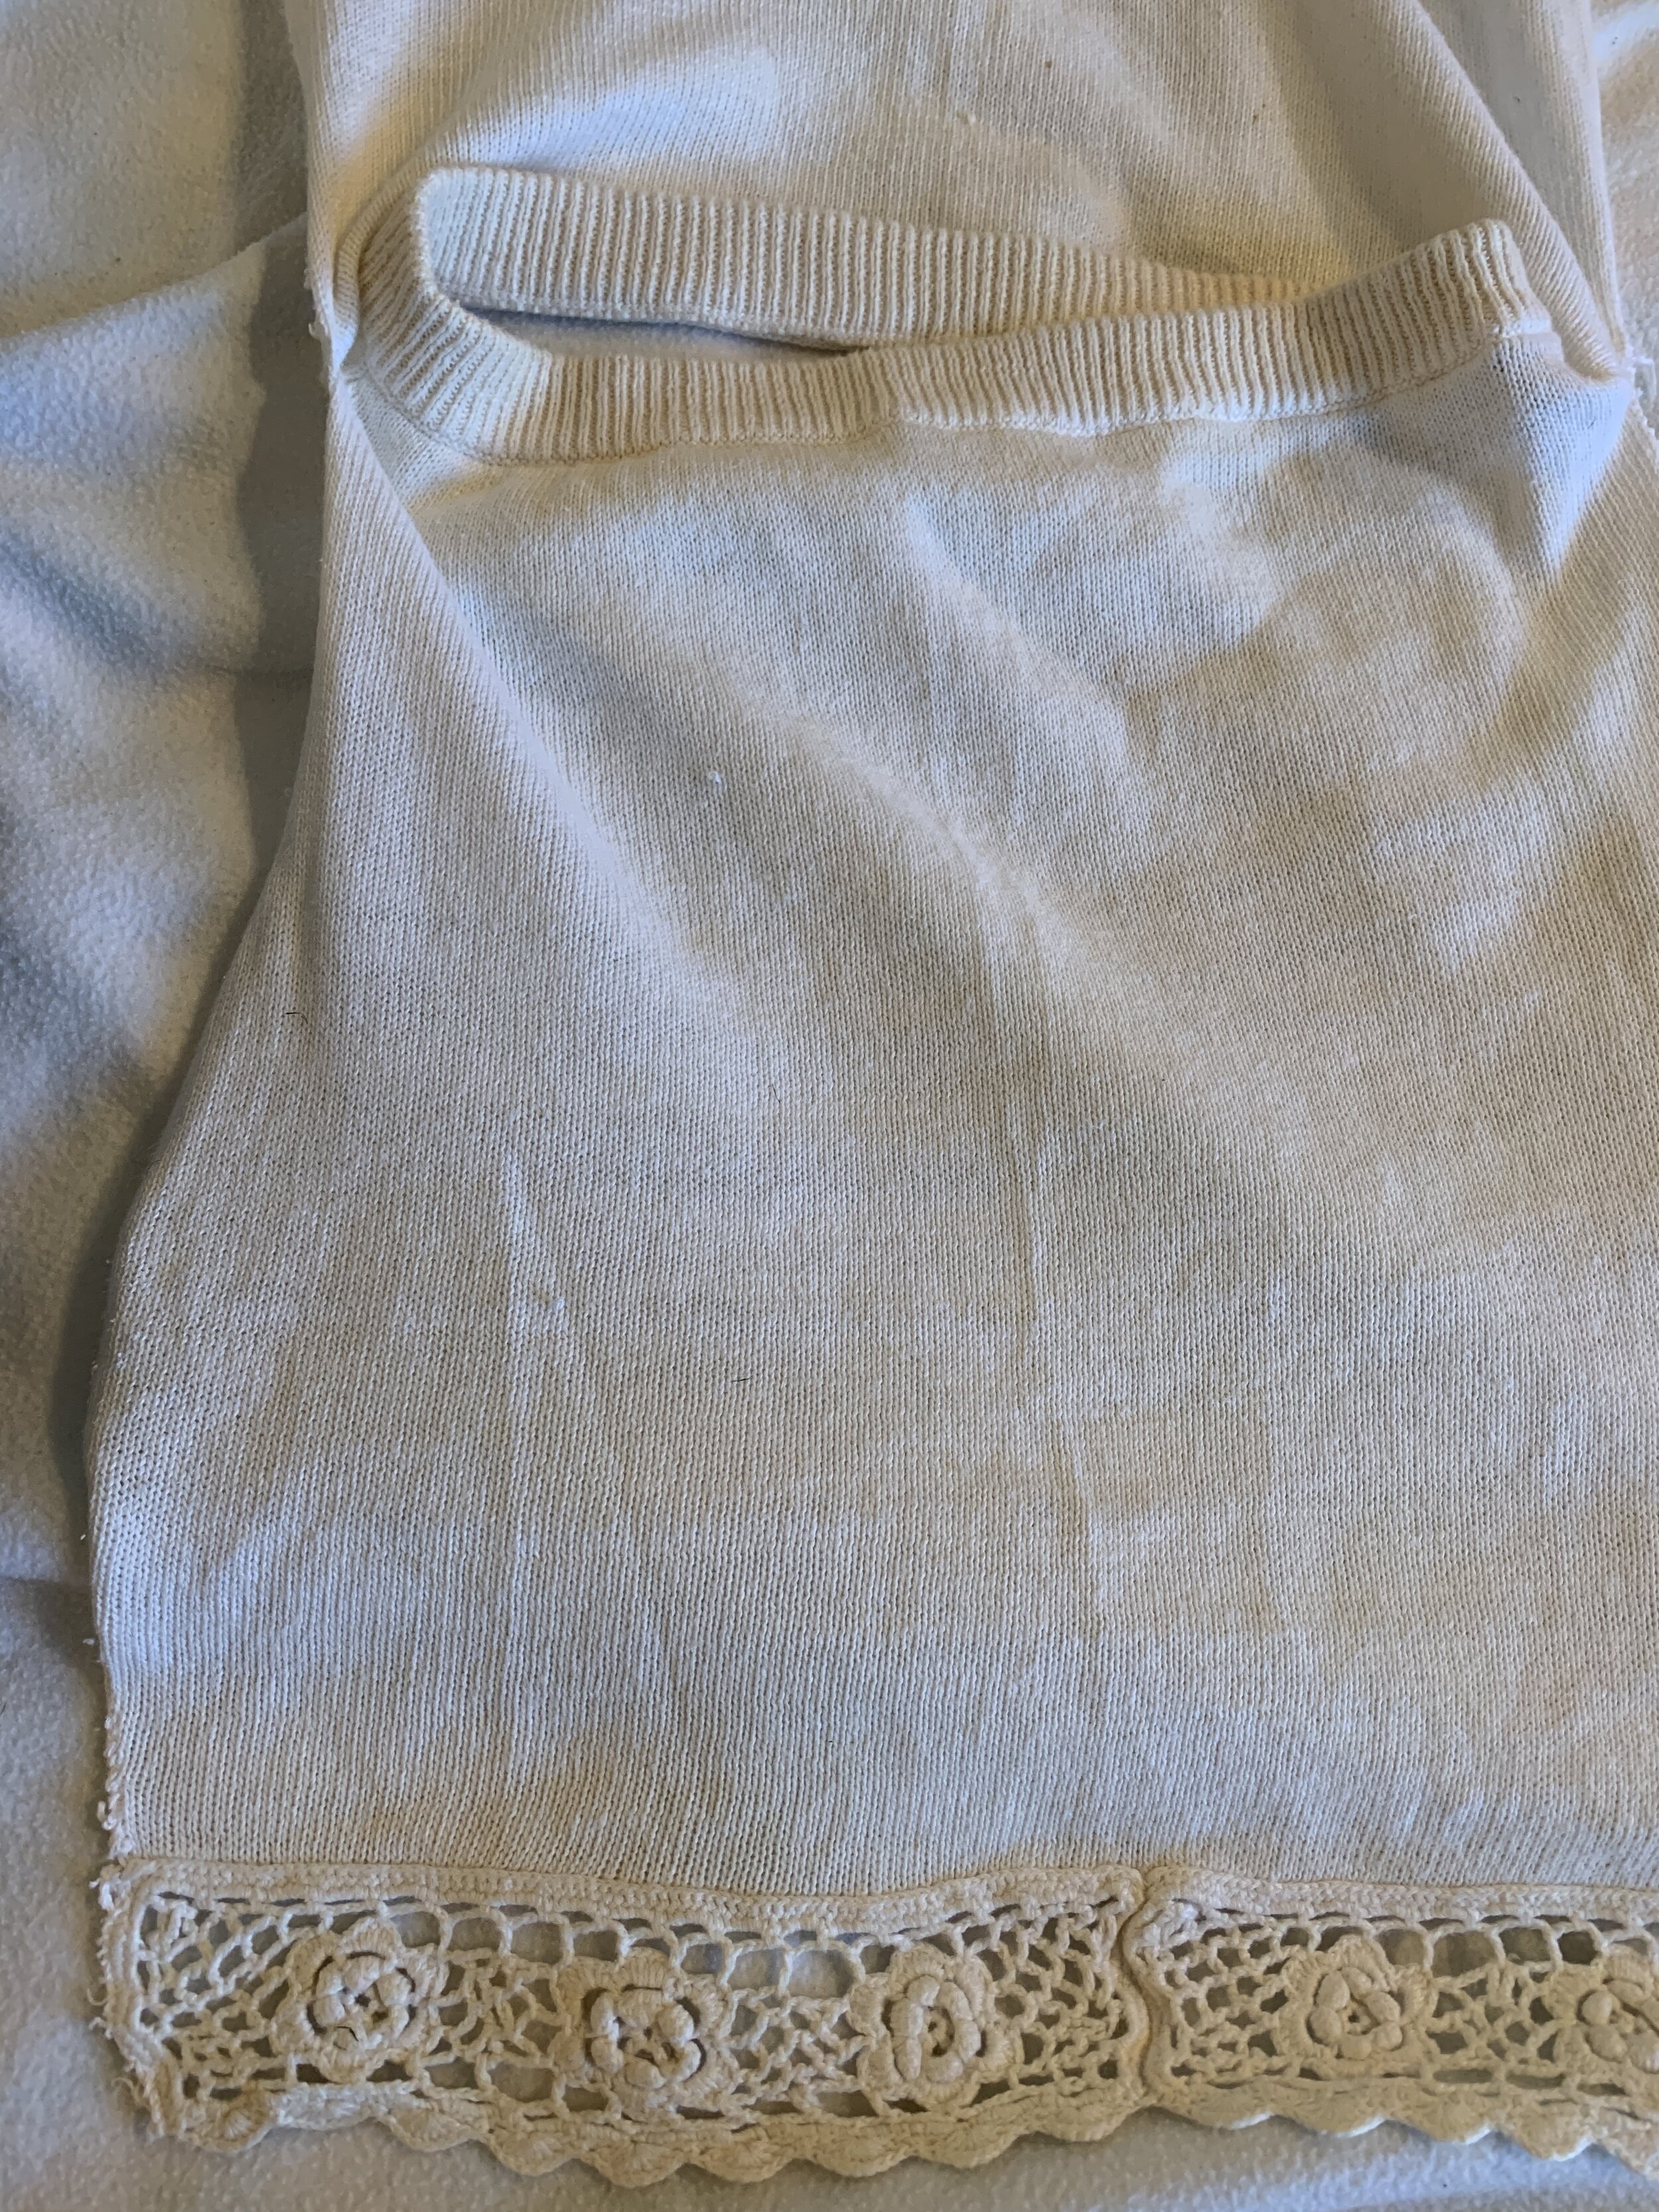
Step 1: Initial Observations
When I laid out the shorts, I wasn’t initially certain what I was going to make out of them. All I knew was that the elastic had lost it's stretchiness and the crochet trim was too nice to just throw away.

Step 2: Deconstruction
I knew I wanted to make a top of some sort out of the panels of fabric, so I used a seam ripper to tear out all the side seams of the shorts.

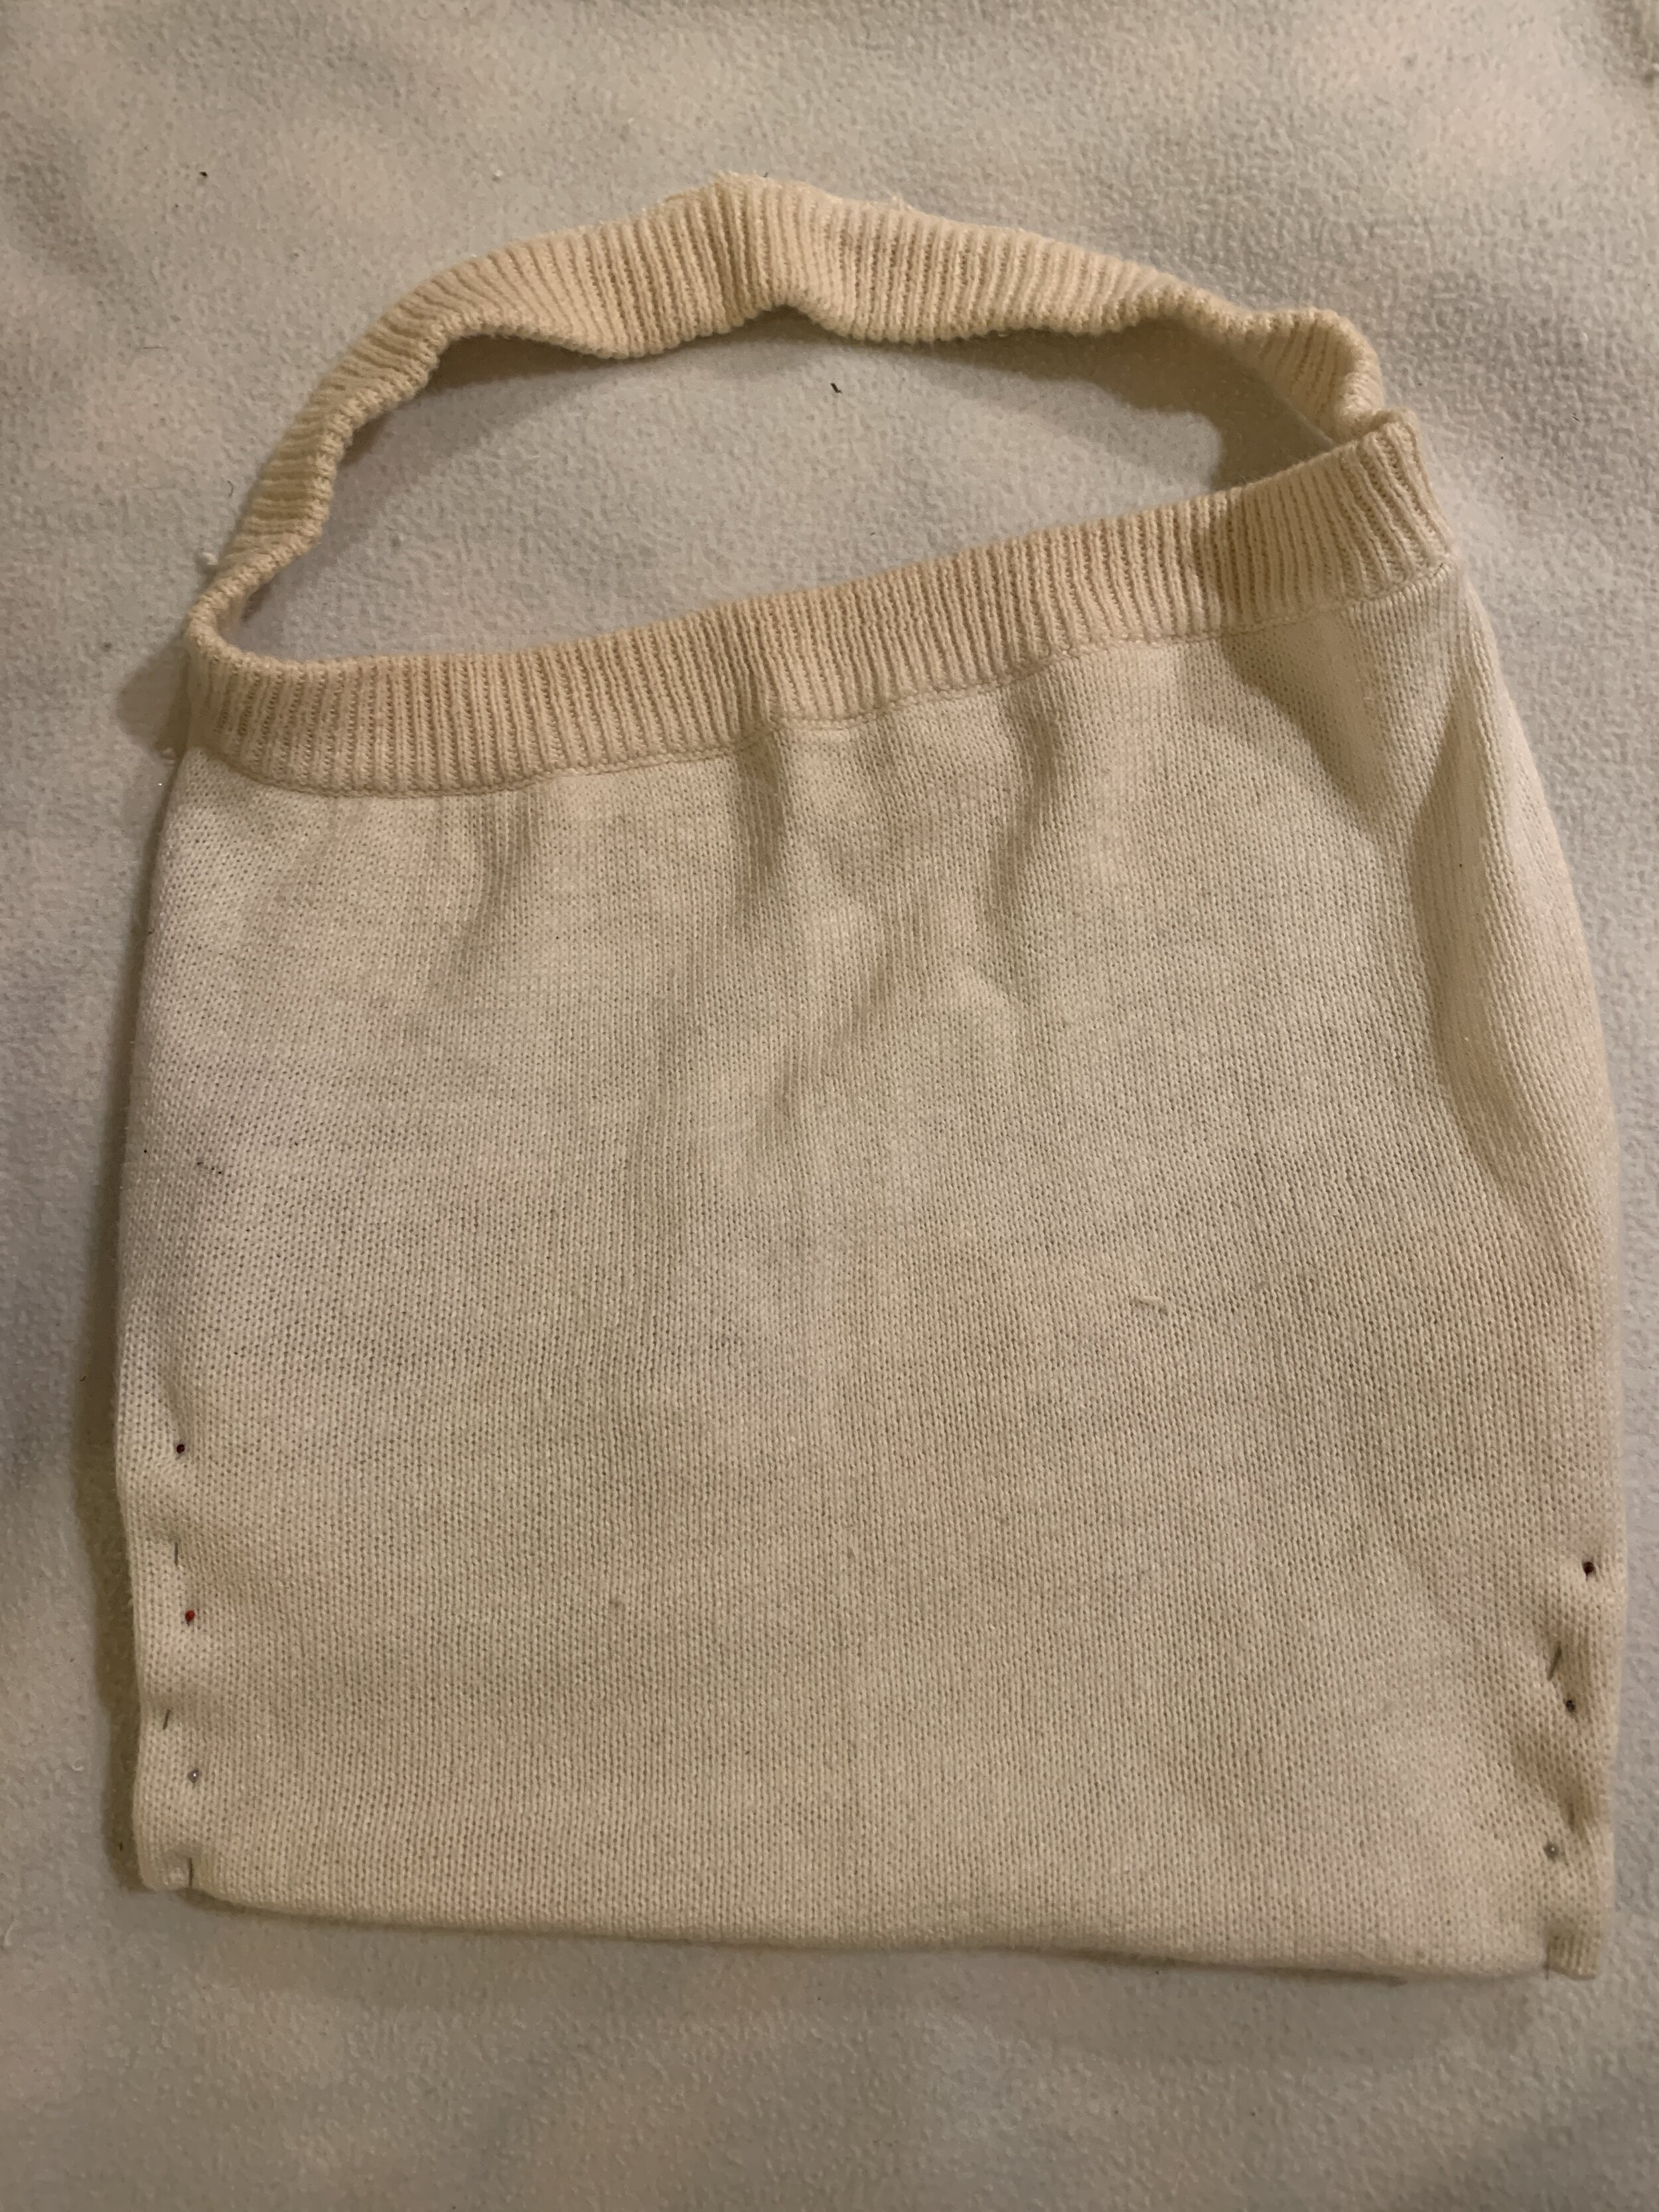
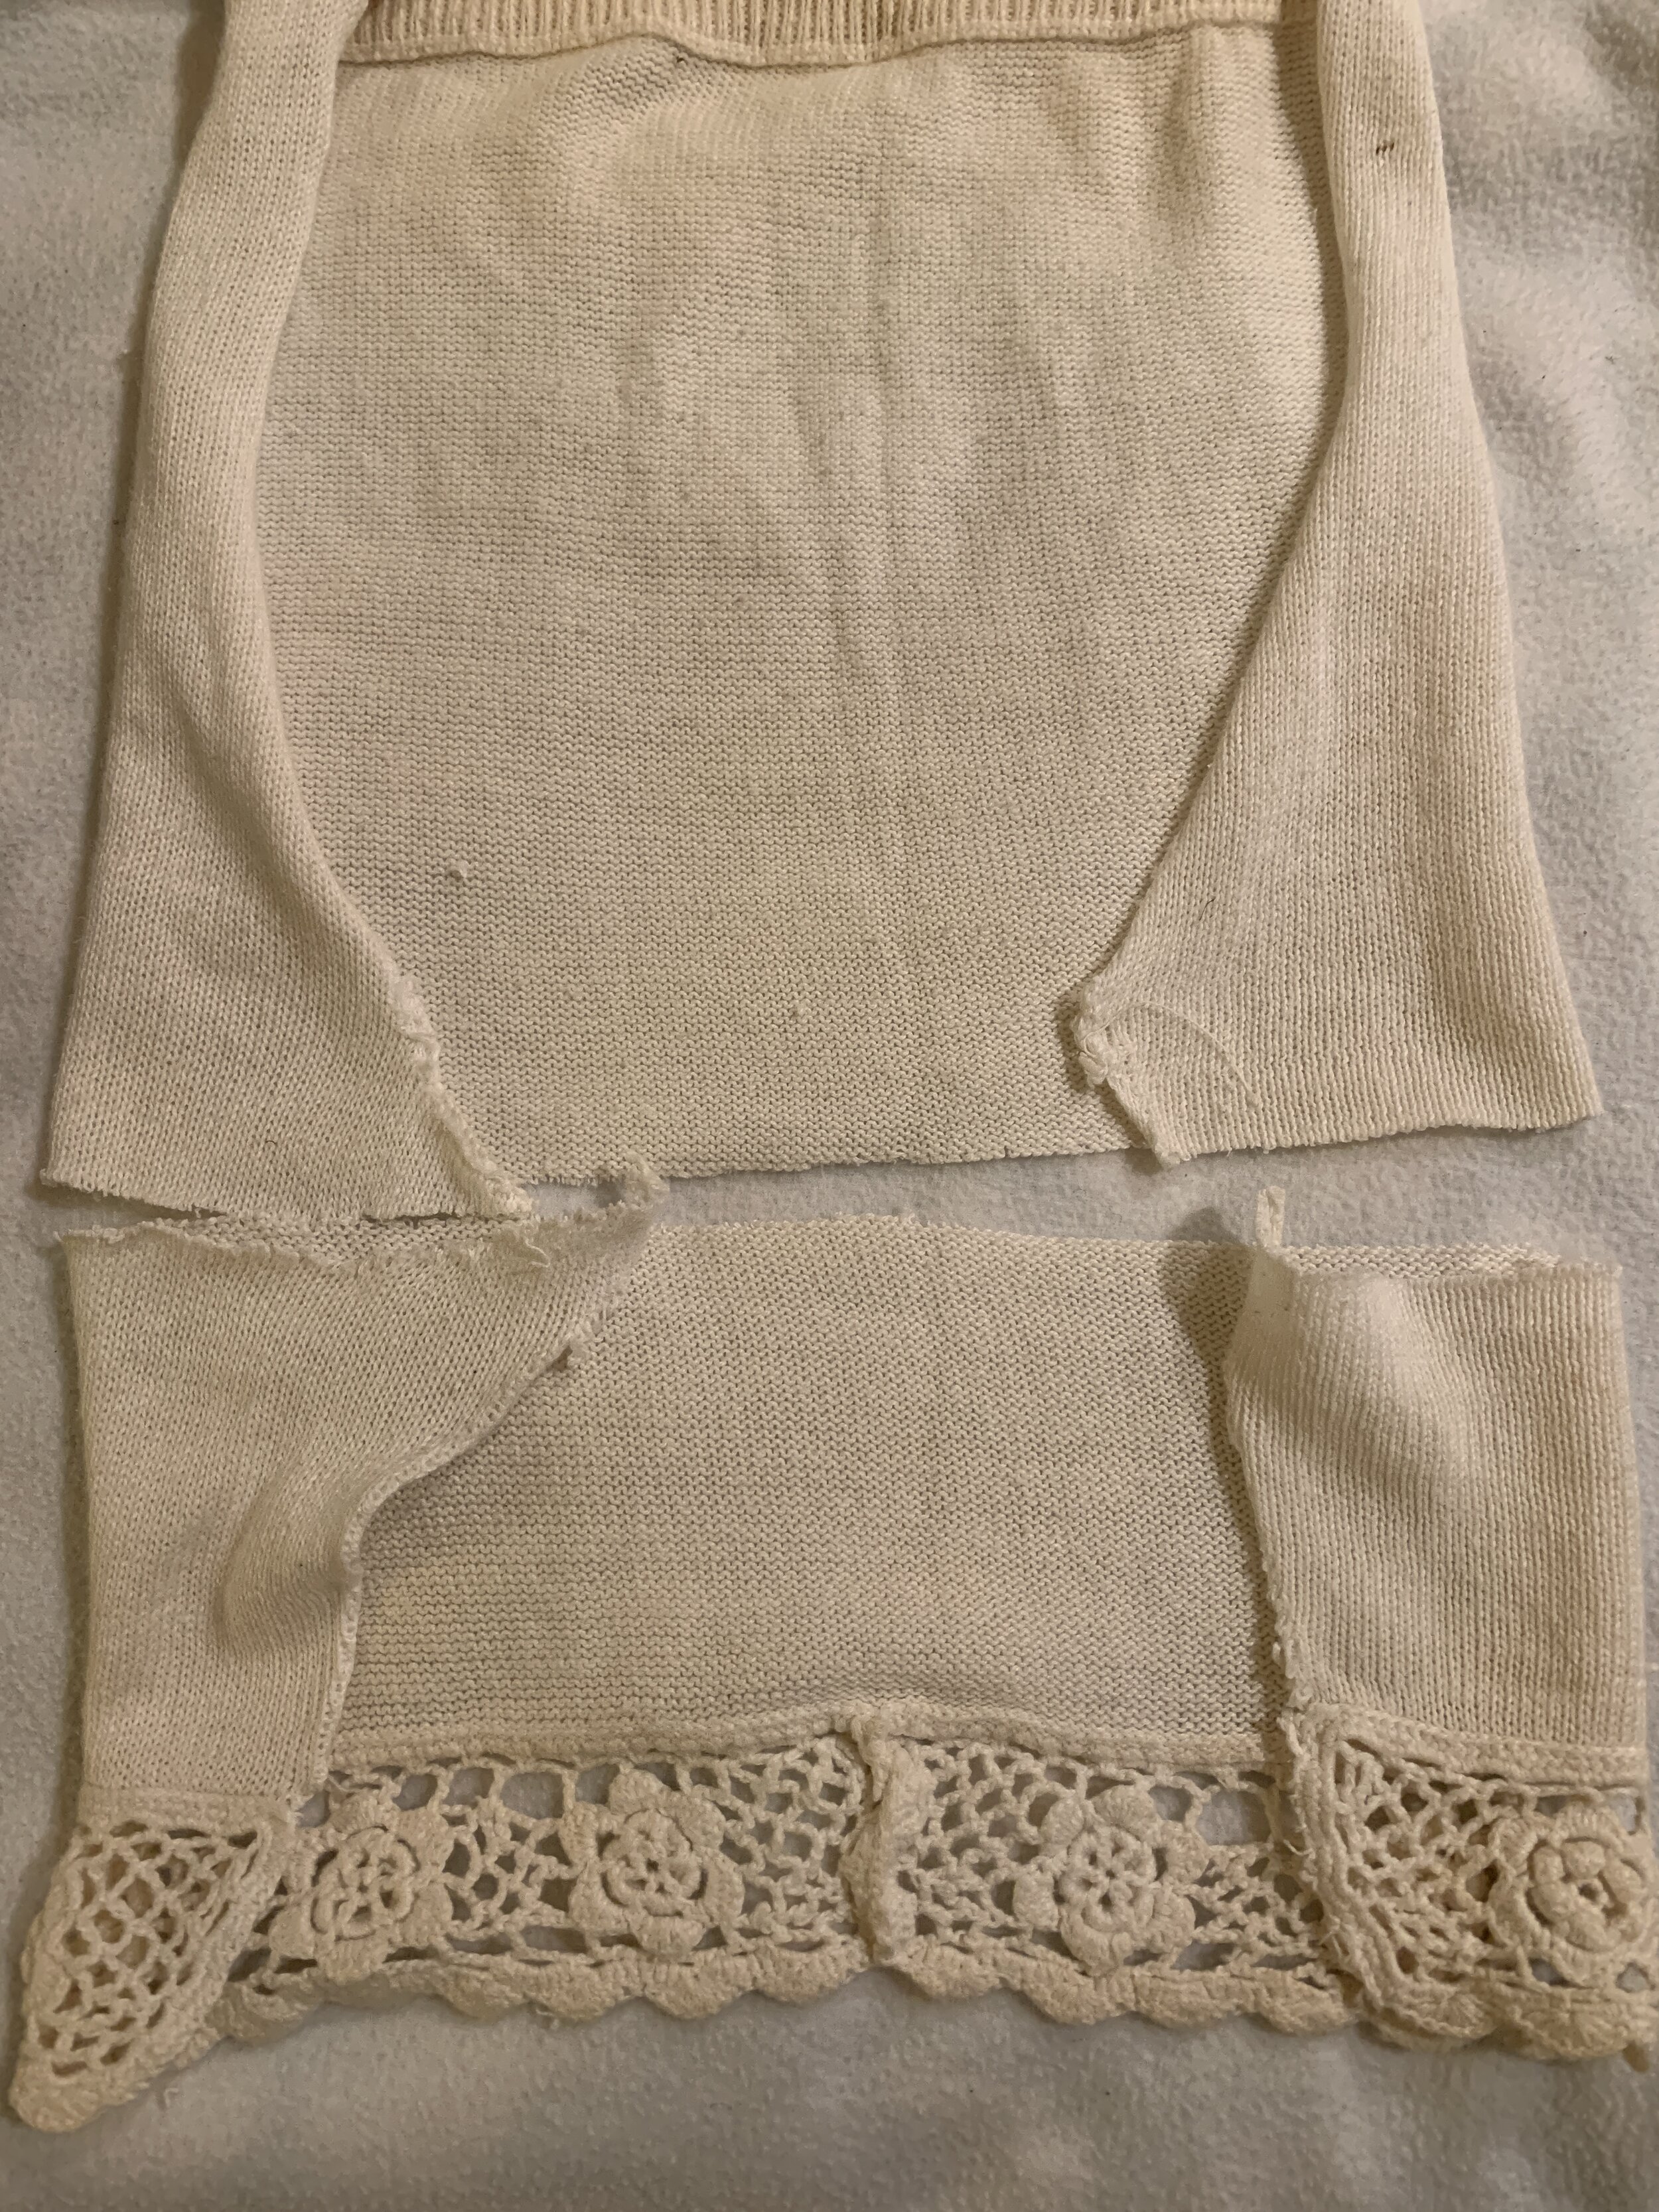
Step 3: Shaping
Once all the seams were torn out, I laid the piece down flat on my surface to see how much fabric I had to work with.
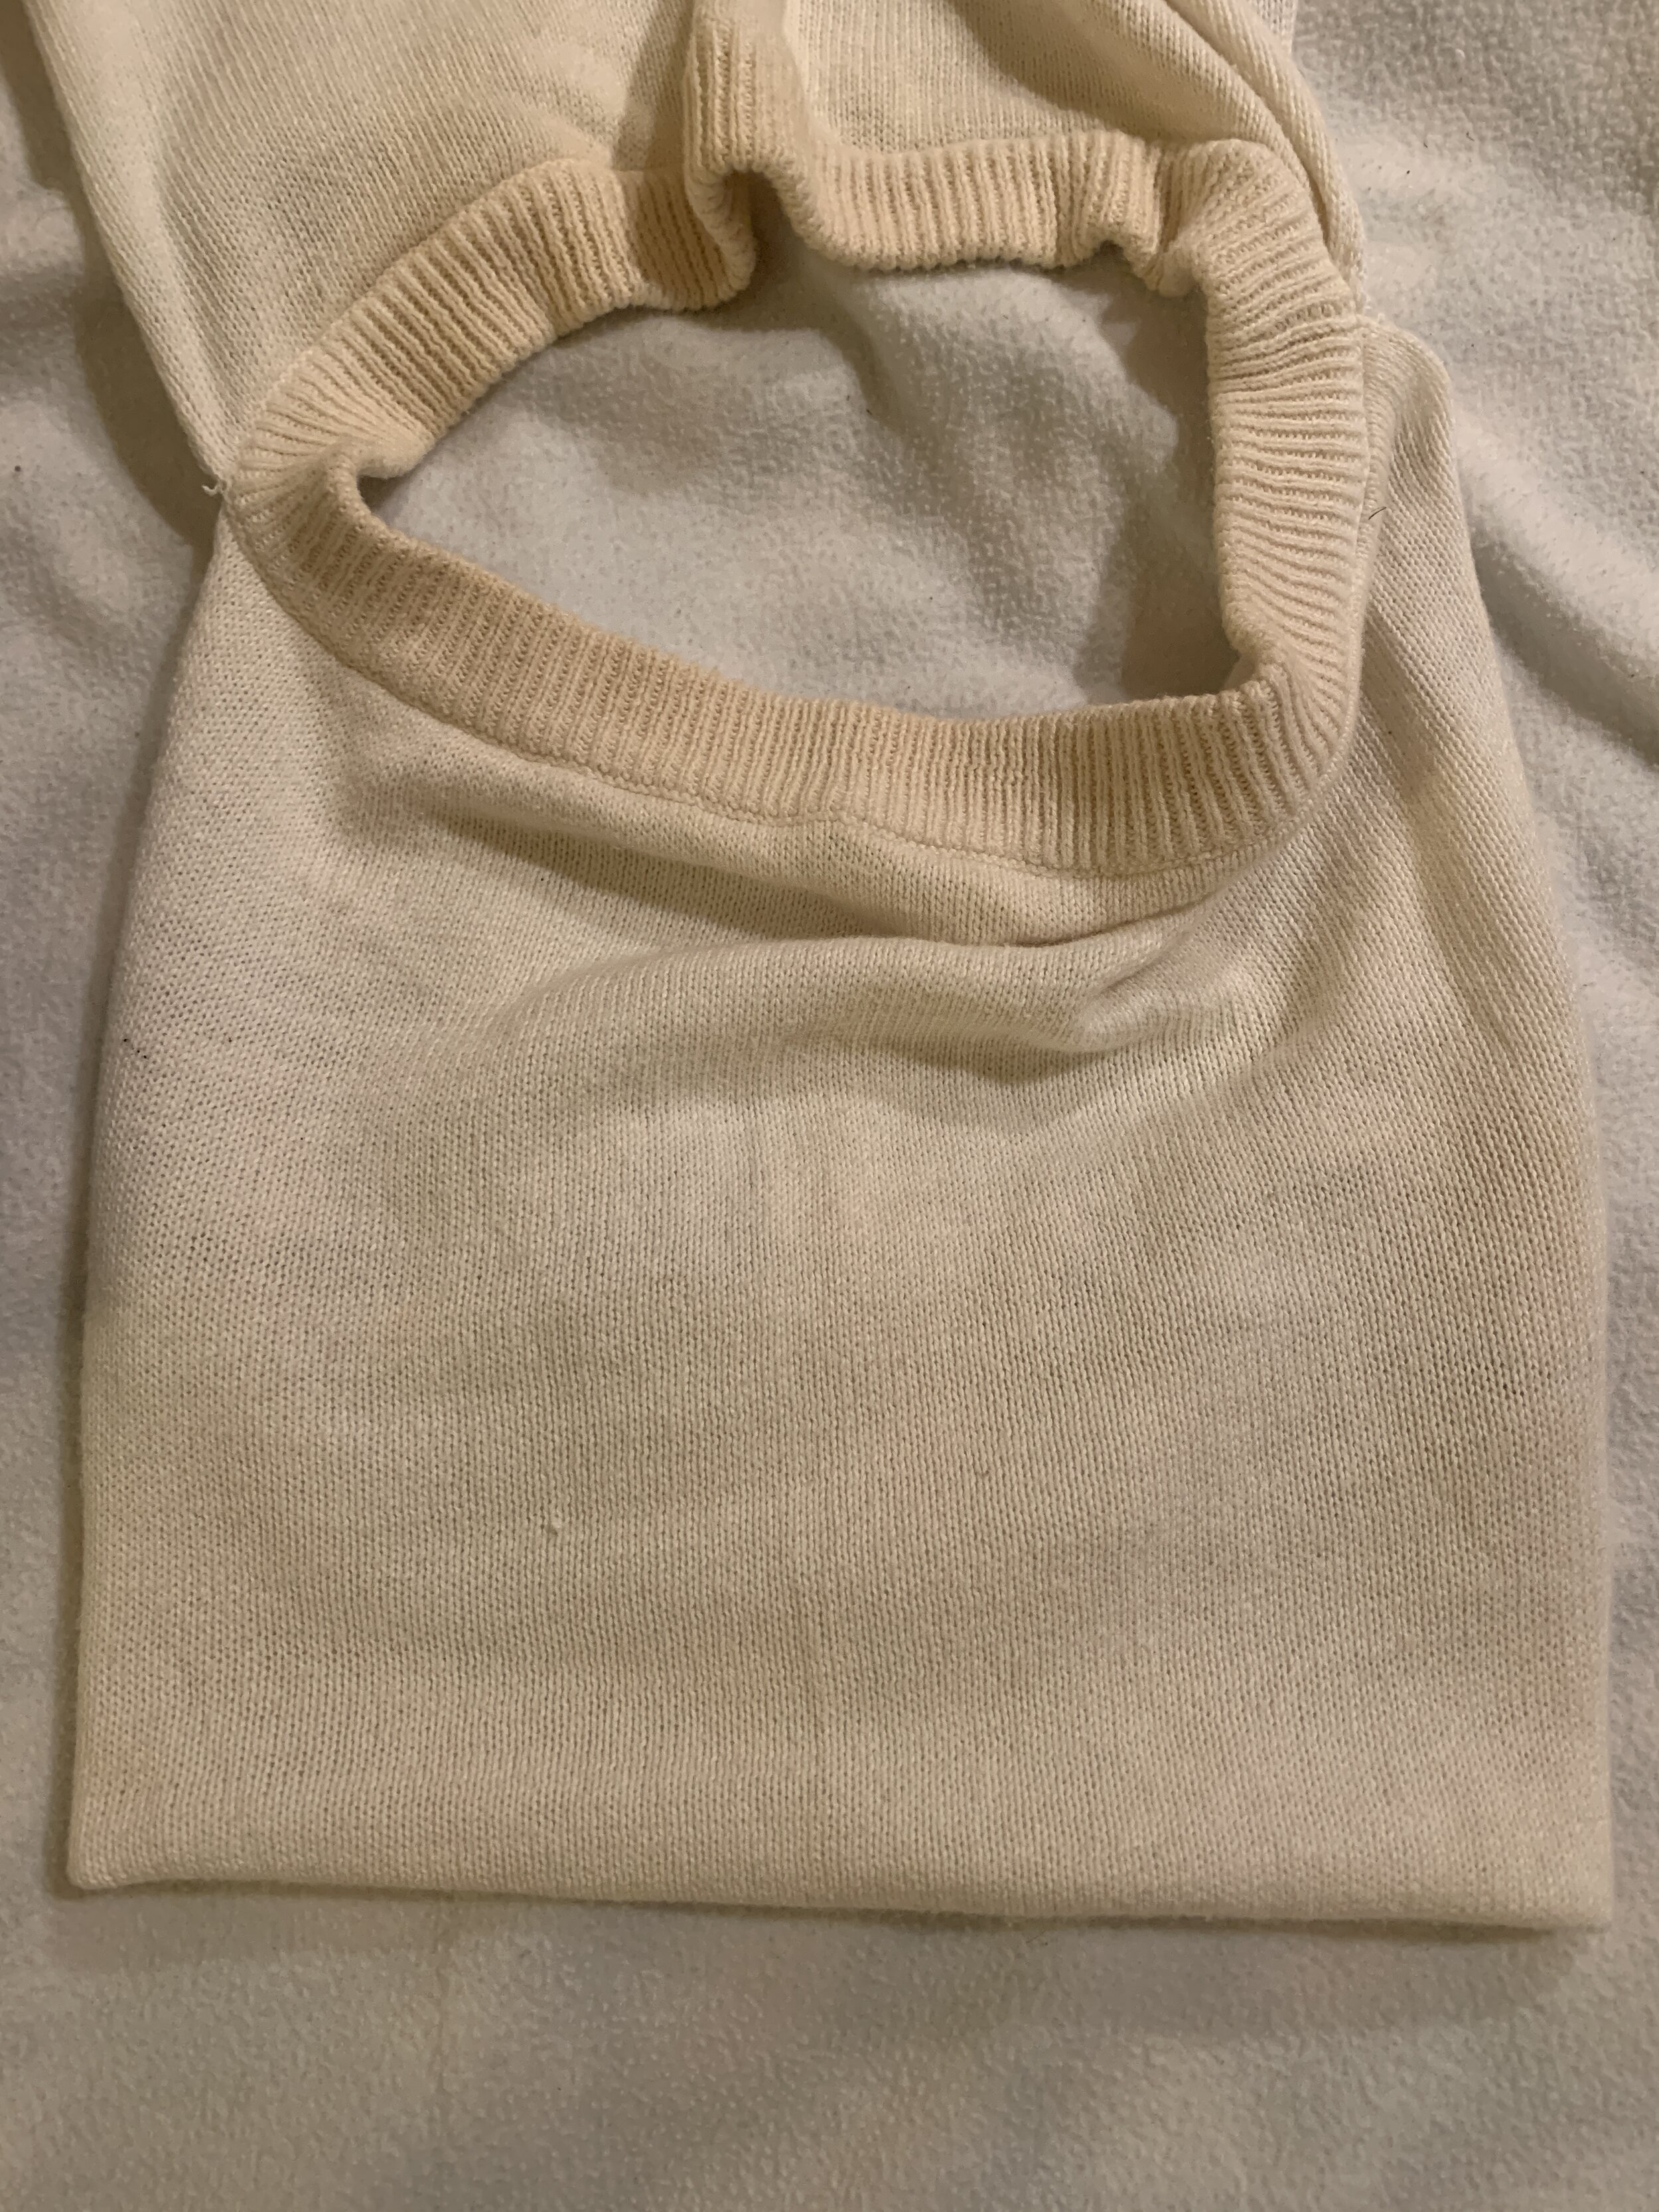
Step 4: Folding
In order to get an idea of how much of the fabric I actually wanted to use, I played around with the fabric by folding it into different shapes and cuts. This process started to give me the idea of using the waistband as the neckline for my halter top design.
Step 5: Pinning and Cutting
Once I realized I could make a halter top with one panel of fabric, I cut off the excess fabric and pinned the front of the top to hold its shape.
Step 6: More Cutting and Trimming
Because I wanted to create a crop top and needed fabric to create the back straps, I cut a few inches off the bottom of the fabric. I also set aside the crochet trim to create a headband.
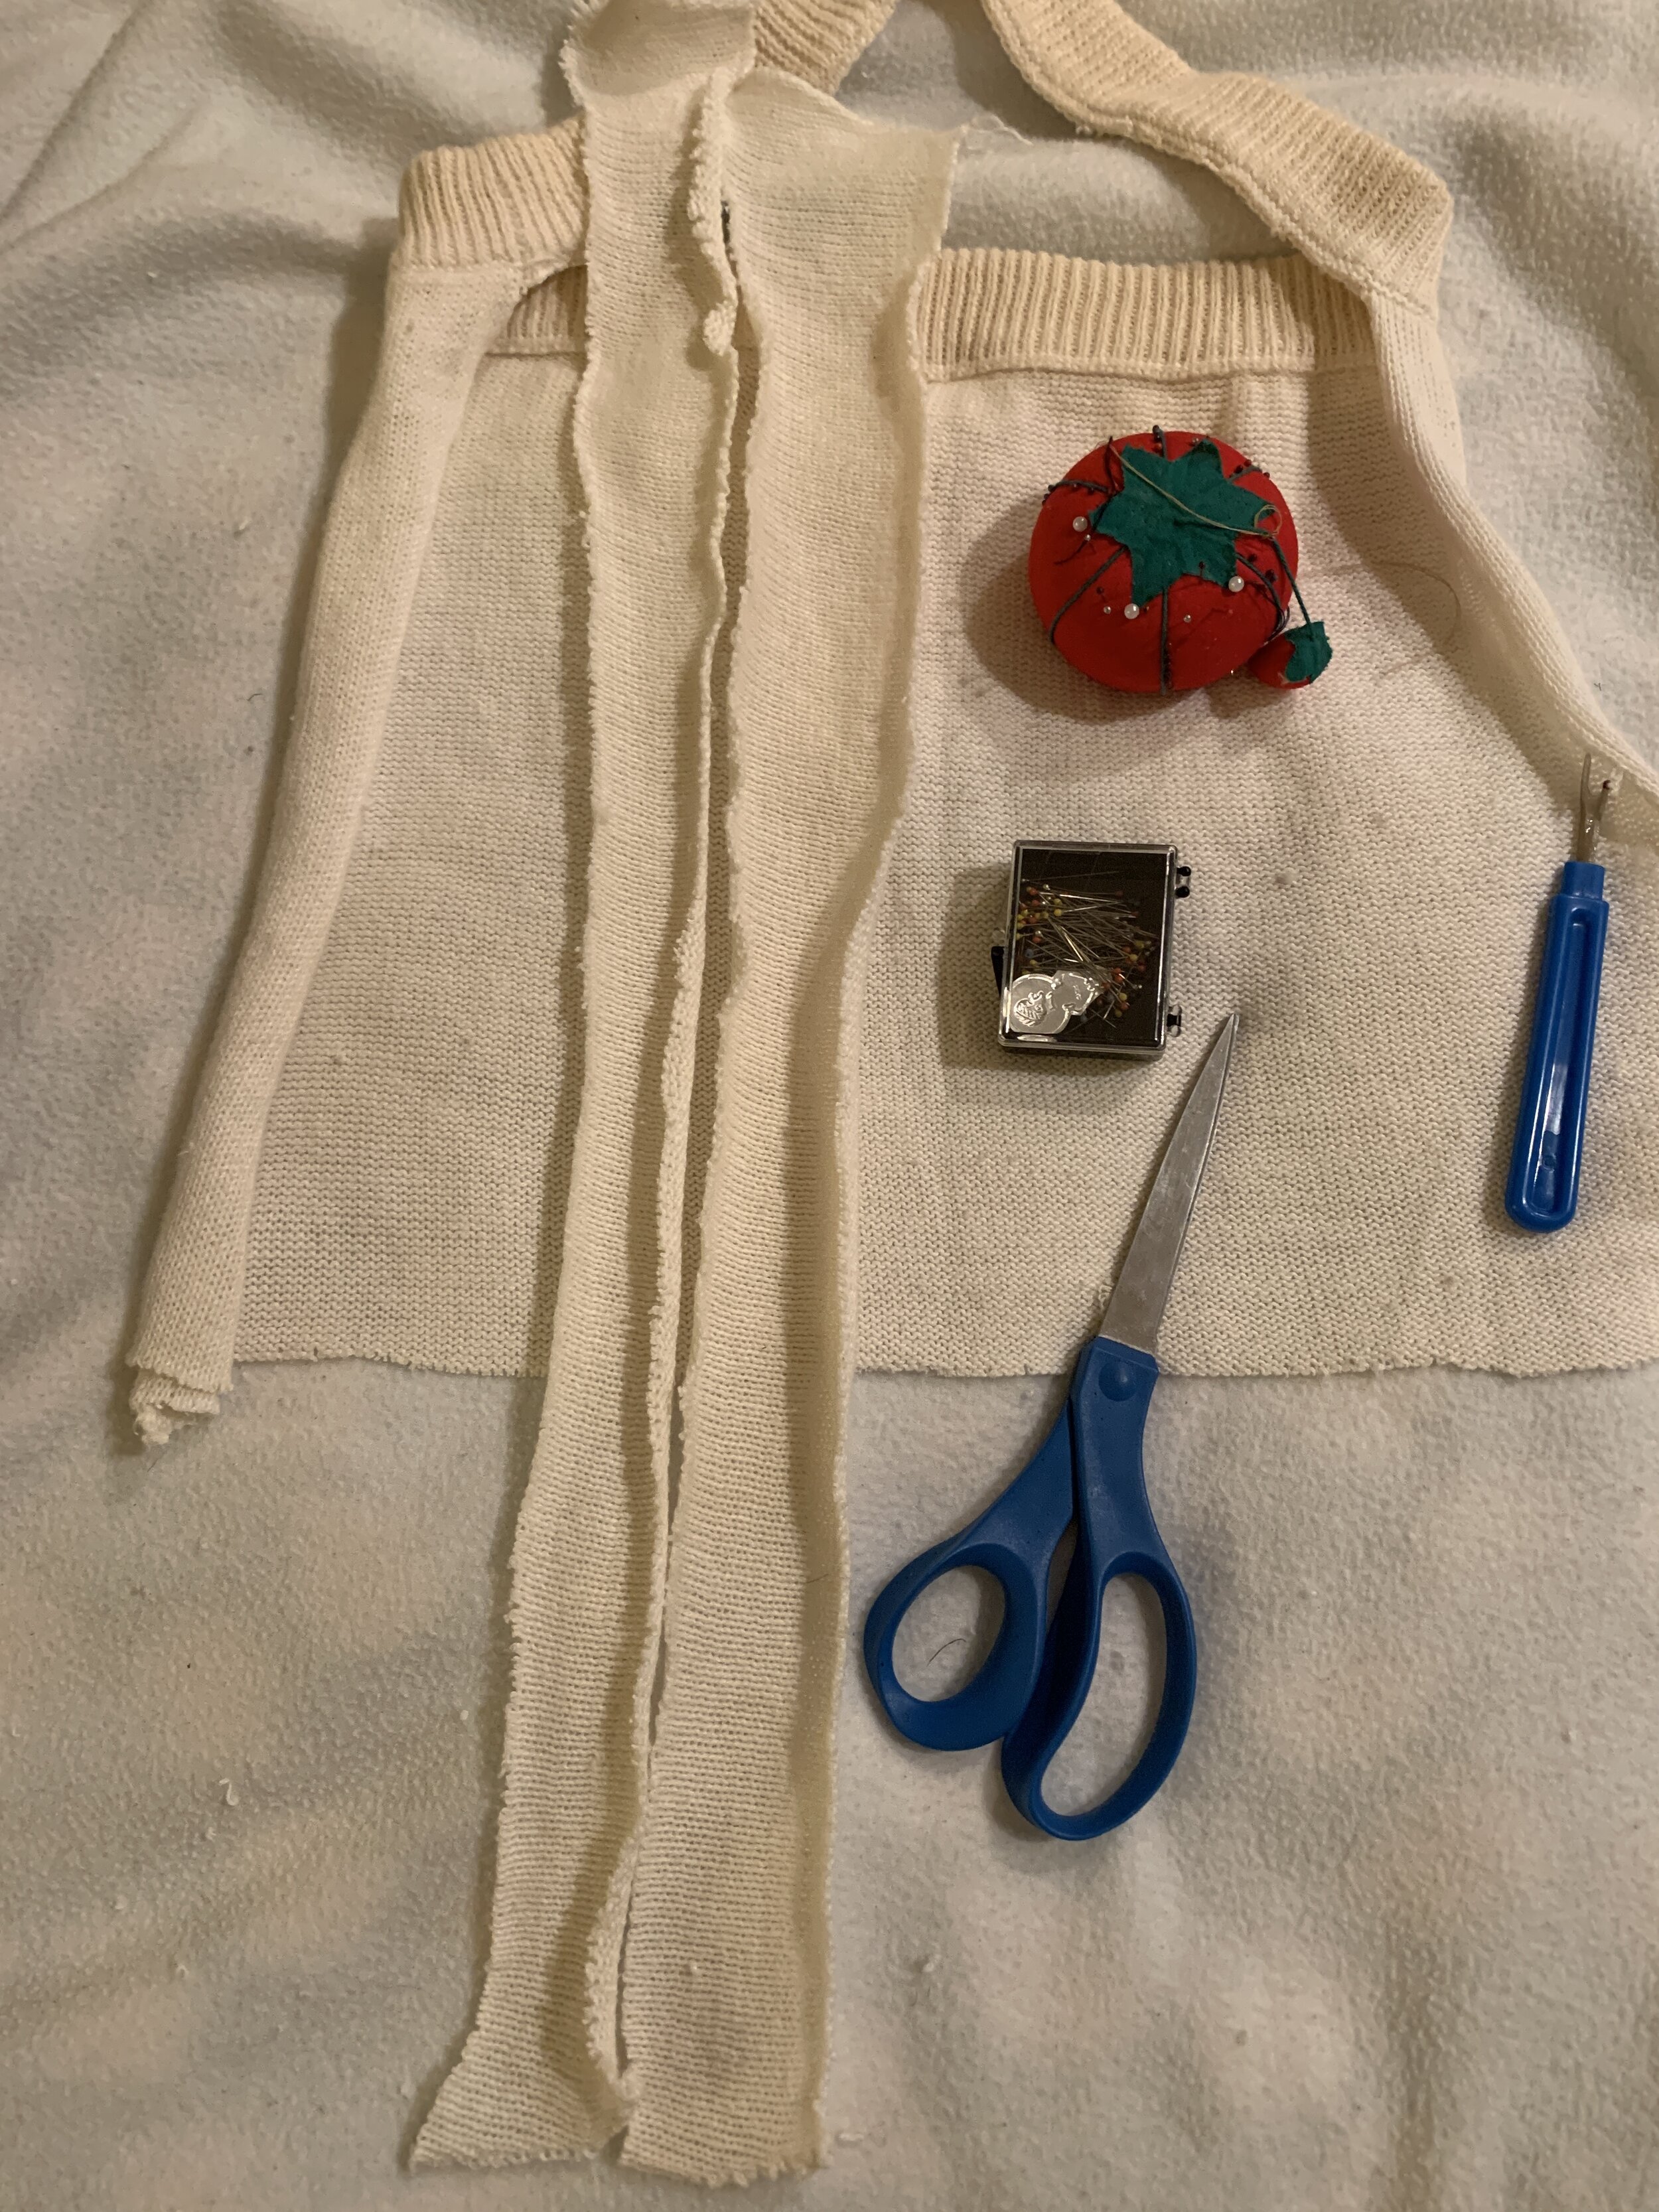
Step 7: Making the straps
Using the excess fabric I cut off, I created two strips of long narrow rectangles which would become my straps. Since the fabric is knitted, I needed to hem each edge together so the fabric wouldn’t fray. This took a bit of time to do since I decided to sew everything by hand. Also, I’m not the most skilled sewer so my hems were definitely not even at all times, but overall it turned out okay.
Left strap is hemmed. I just repeated the sewing process for the right strap.

Step 8: Final Construction
Once the straps were completed, I sewed one on each end to the body of the halter top.

Viola! The halter top is finished. I did this whole project in one day while watching several fashion documentaries about haute couture. My sewing is not the best, but it just gives me a greater appreciation for the art of sewing and all the skill that goes into creating garments by hand.
I couldn’t be happier with how my top turned out and I even have another panel of fabric leftover to make something else. I hope you enjoyed reading my full process and if you have similar items or find them when you go thrifting, you can totally try this on your own too. As always, feel free to DM me or comment down below with any questions/comments you might have.


Wishing you a safe and happy holiday season! Christmas is just around the corner and I can’t wait to share with you all the desserts I’m baking this week.
Cheers
Ella Kol