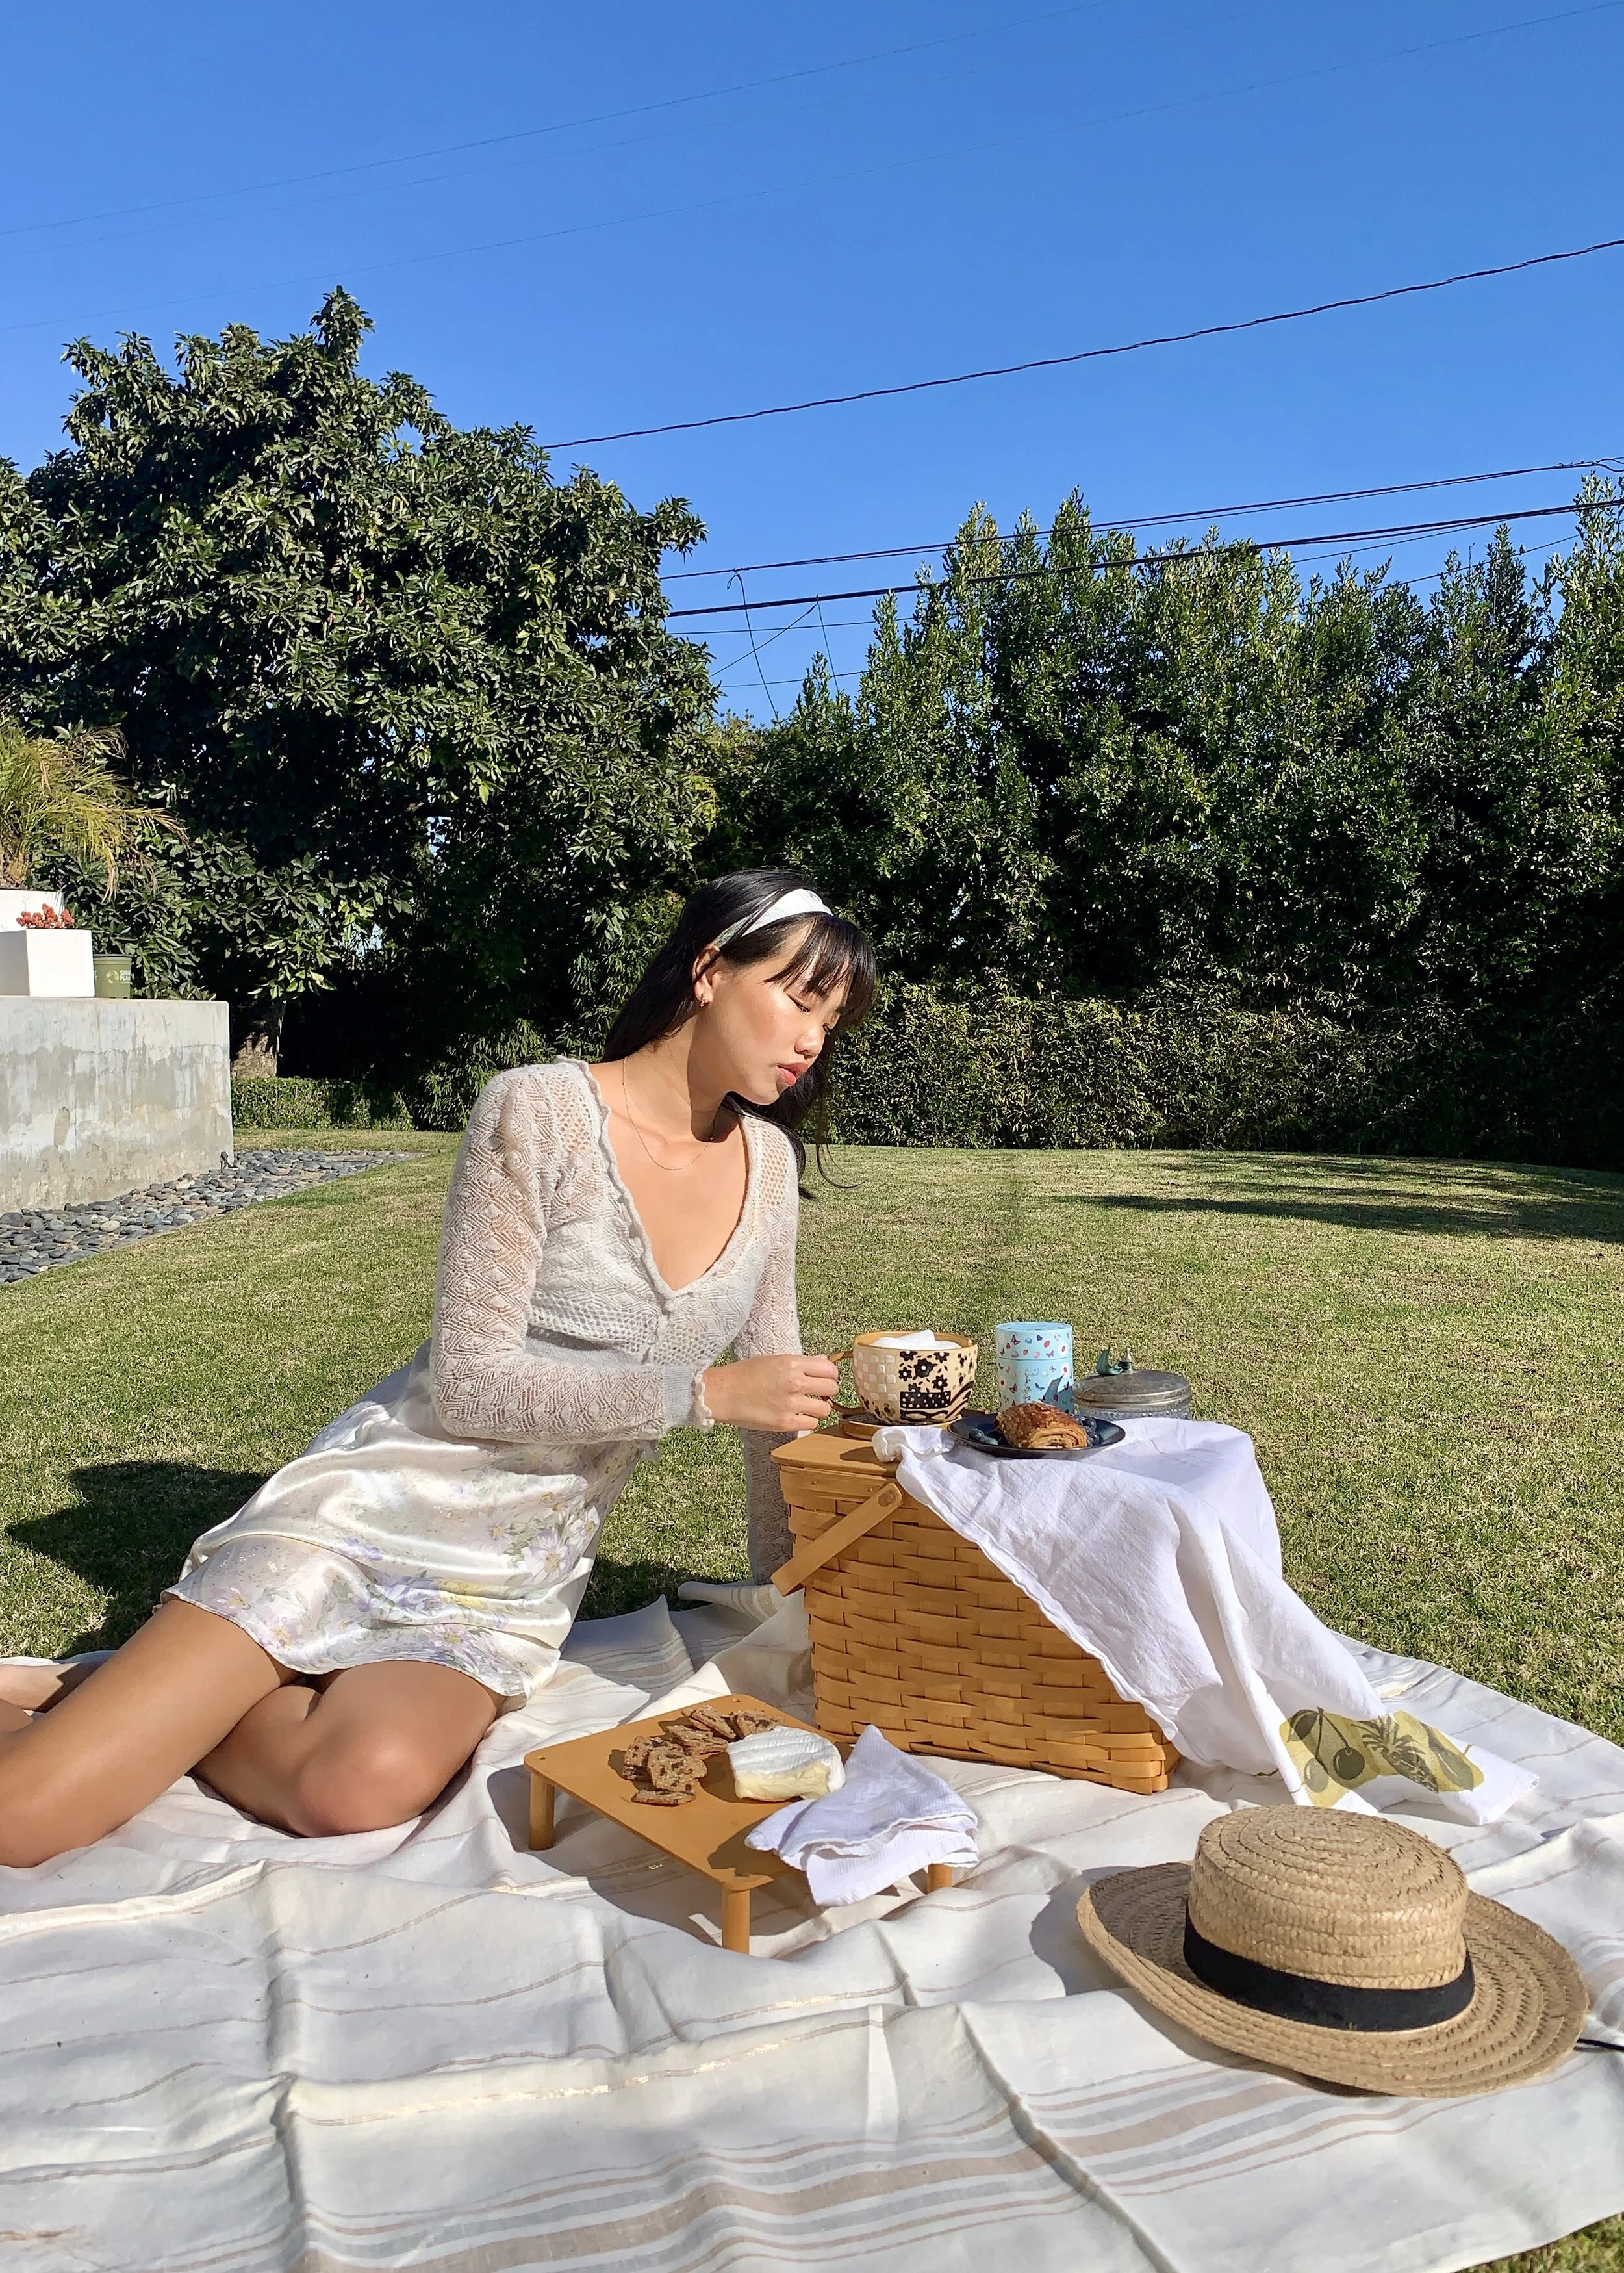
DIY: Pain Au Chocolate
When you can’t go to France, bring France to you!
Ever since I started baking bread this year, I’ve been exploring new recipes. A friend of mine recently tried baking chocolate croissants from scratch and suggested I try doing the same. She warned me it would be a challenging feat and even still, I think I underestimated how difficult it would be to make such an iconic pastry. For reference, I consider myself to be an intermediate baker and after watching several seasons of The Great British Bake off, I feel like I can at least understand basic baking terminology.
The full Tasty recipe can be found here. During the two day process of making my croissants from scratch, I learned a few things that were not mentioned in the recipe. See my list of tips below:
Tips for baking chocolate croissants from scratch:
Baking Prep: Watch the video included in the Tasty recipe. This will give you an overall visual for how the entire process looks and what to do when it comes to your pastry rotations.
Dough Prep: My first batch of dough was too dry, so I decided to start over. A lot of people commented that they had the same issue, so to fix this you can add a tablespoon of water to get your dough to stick together.
Construction: When rolling out your completed dough, you have several options. The Tasty recipe says roll out to be 8”x40” but in actuality, you only need to roll the dough out to be about 25 inches long. Here, you could also make mini croissants by cutting your rolls in half. Personally, I think I’ll do this next time to speed up the baking process and also I like petite croissants better.
Baking: With the scrap dough, you can make tiny croissants. I found this to be super helpful because you can cut into these as your main croissants bake to see how everything is baking. After 15 minutes pass, cut your tiny croissants in half to see if they are baked all the way through or not.
Baking Continued: The baking process will vary for you depending on the size and layers you were able to create for your pastry. For mine to bake all the way through, it took way longer than the 15 minutes the recipe called for. I baked at 400 degrees for 15 minutes then lowered to about 350 and baked until the croissants were a deep brown. I basically tried to over-bake (without burning) because the croissants have so many layers. This part is very tricky because if you bake too fast, your pastry will burn but might be raw in the middle or if you bake too slow, you’ll just be sitting by your oven forever!
Overall, this recipe is a test of your patience. Layering the dough takes a lot of time and the baking process can seem very uncertain if you haven’t done it before. The good news is that the results are heavenly! These croissants are some of the best I’ve ever had and now I have such a greater appreciation for French bakers.
Now that you know the process, I’ve also included some images of my baking process below. For the complete instructions, please see the recipe here.

Step 1: Mix the dough.

Step 2: Roll the dough into a ball then refrigerate for an hour.

Step 3: Beat the butter into a square using a rolling pin.

Step 4: Refrigerate butter then place it in the middle of the rolled out dough.
Step 5: Fold in the edges of the dough equally around the butter.

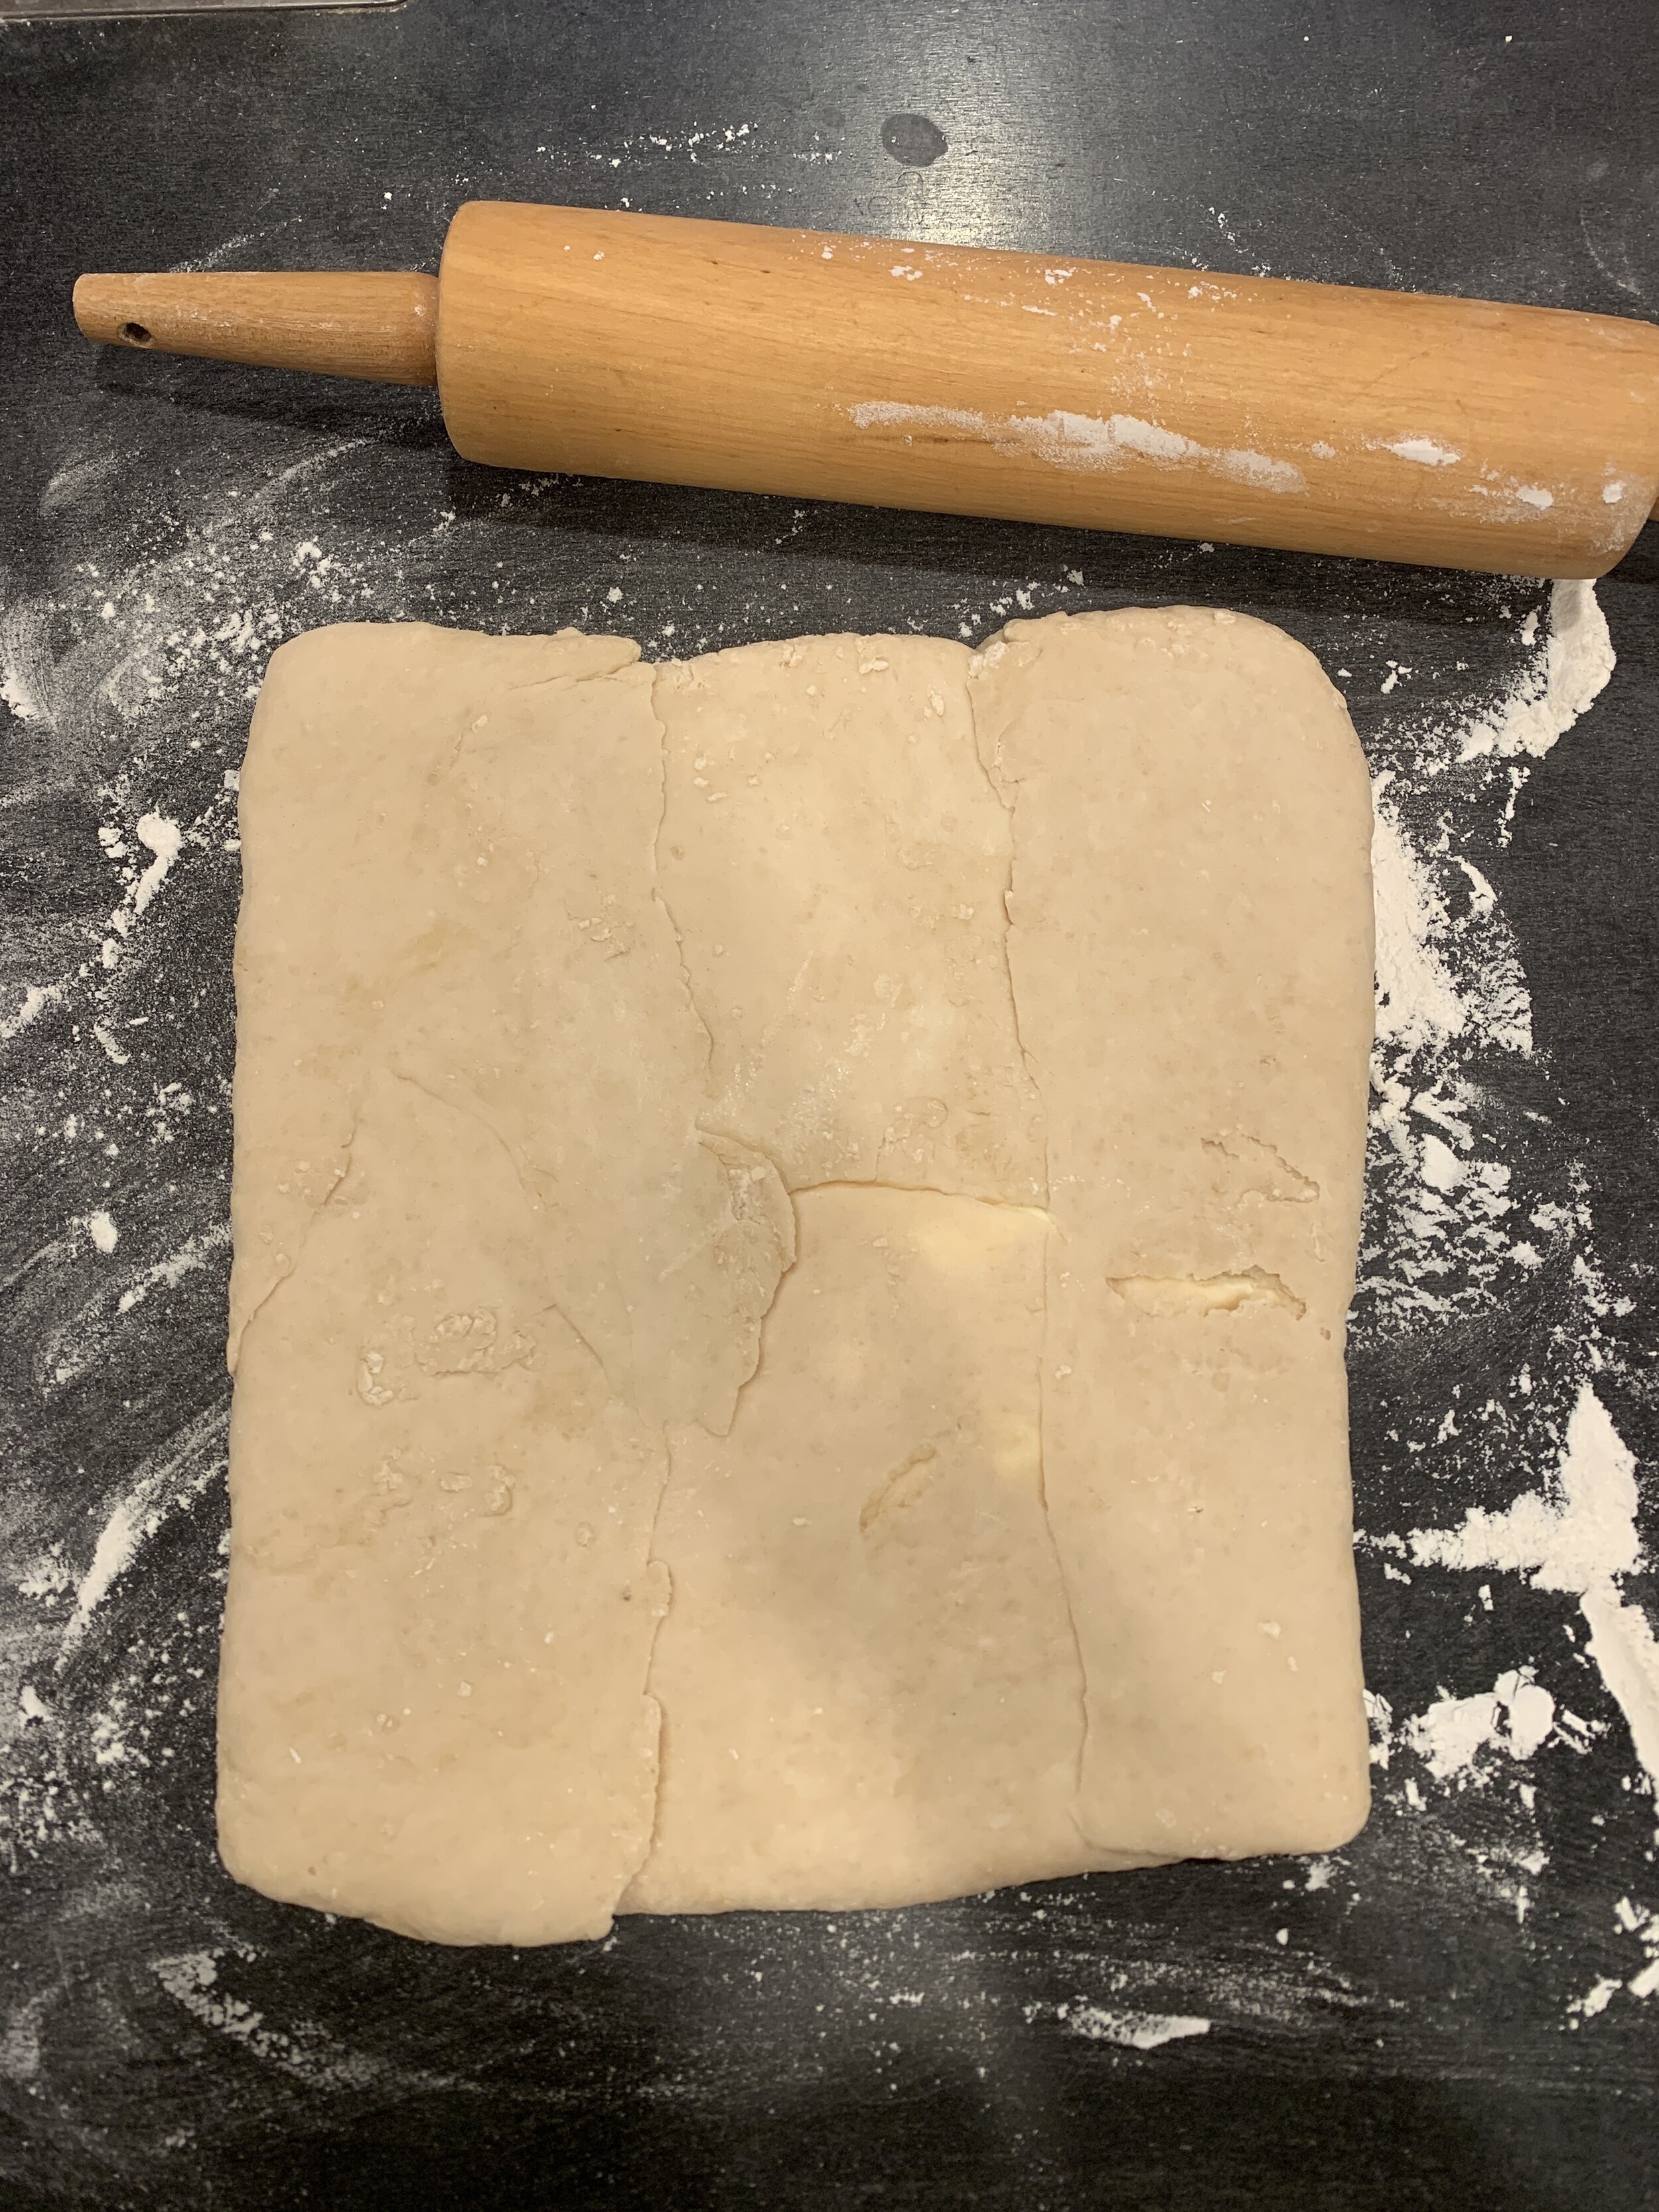
Step 6: Not pictured, dough rotations. Roll out the dough, fold in the edges, then rotate. Refrigerate the dough after each rotation for a total of three rotations then let the dough rest overnight. See the Tasty video for the full process. After all of your dough rotations are complete when you cut through your dough, it should look similar to the photo above.
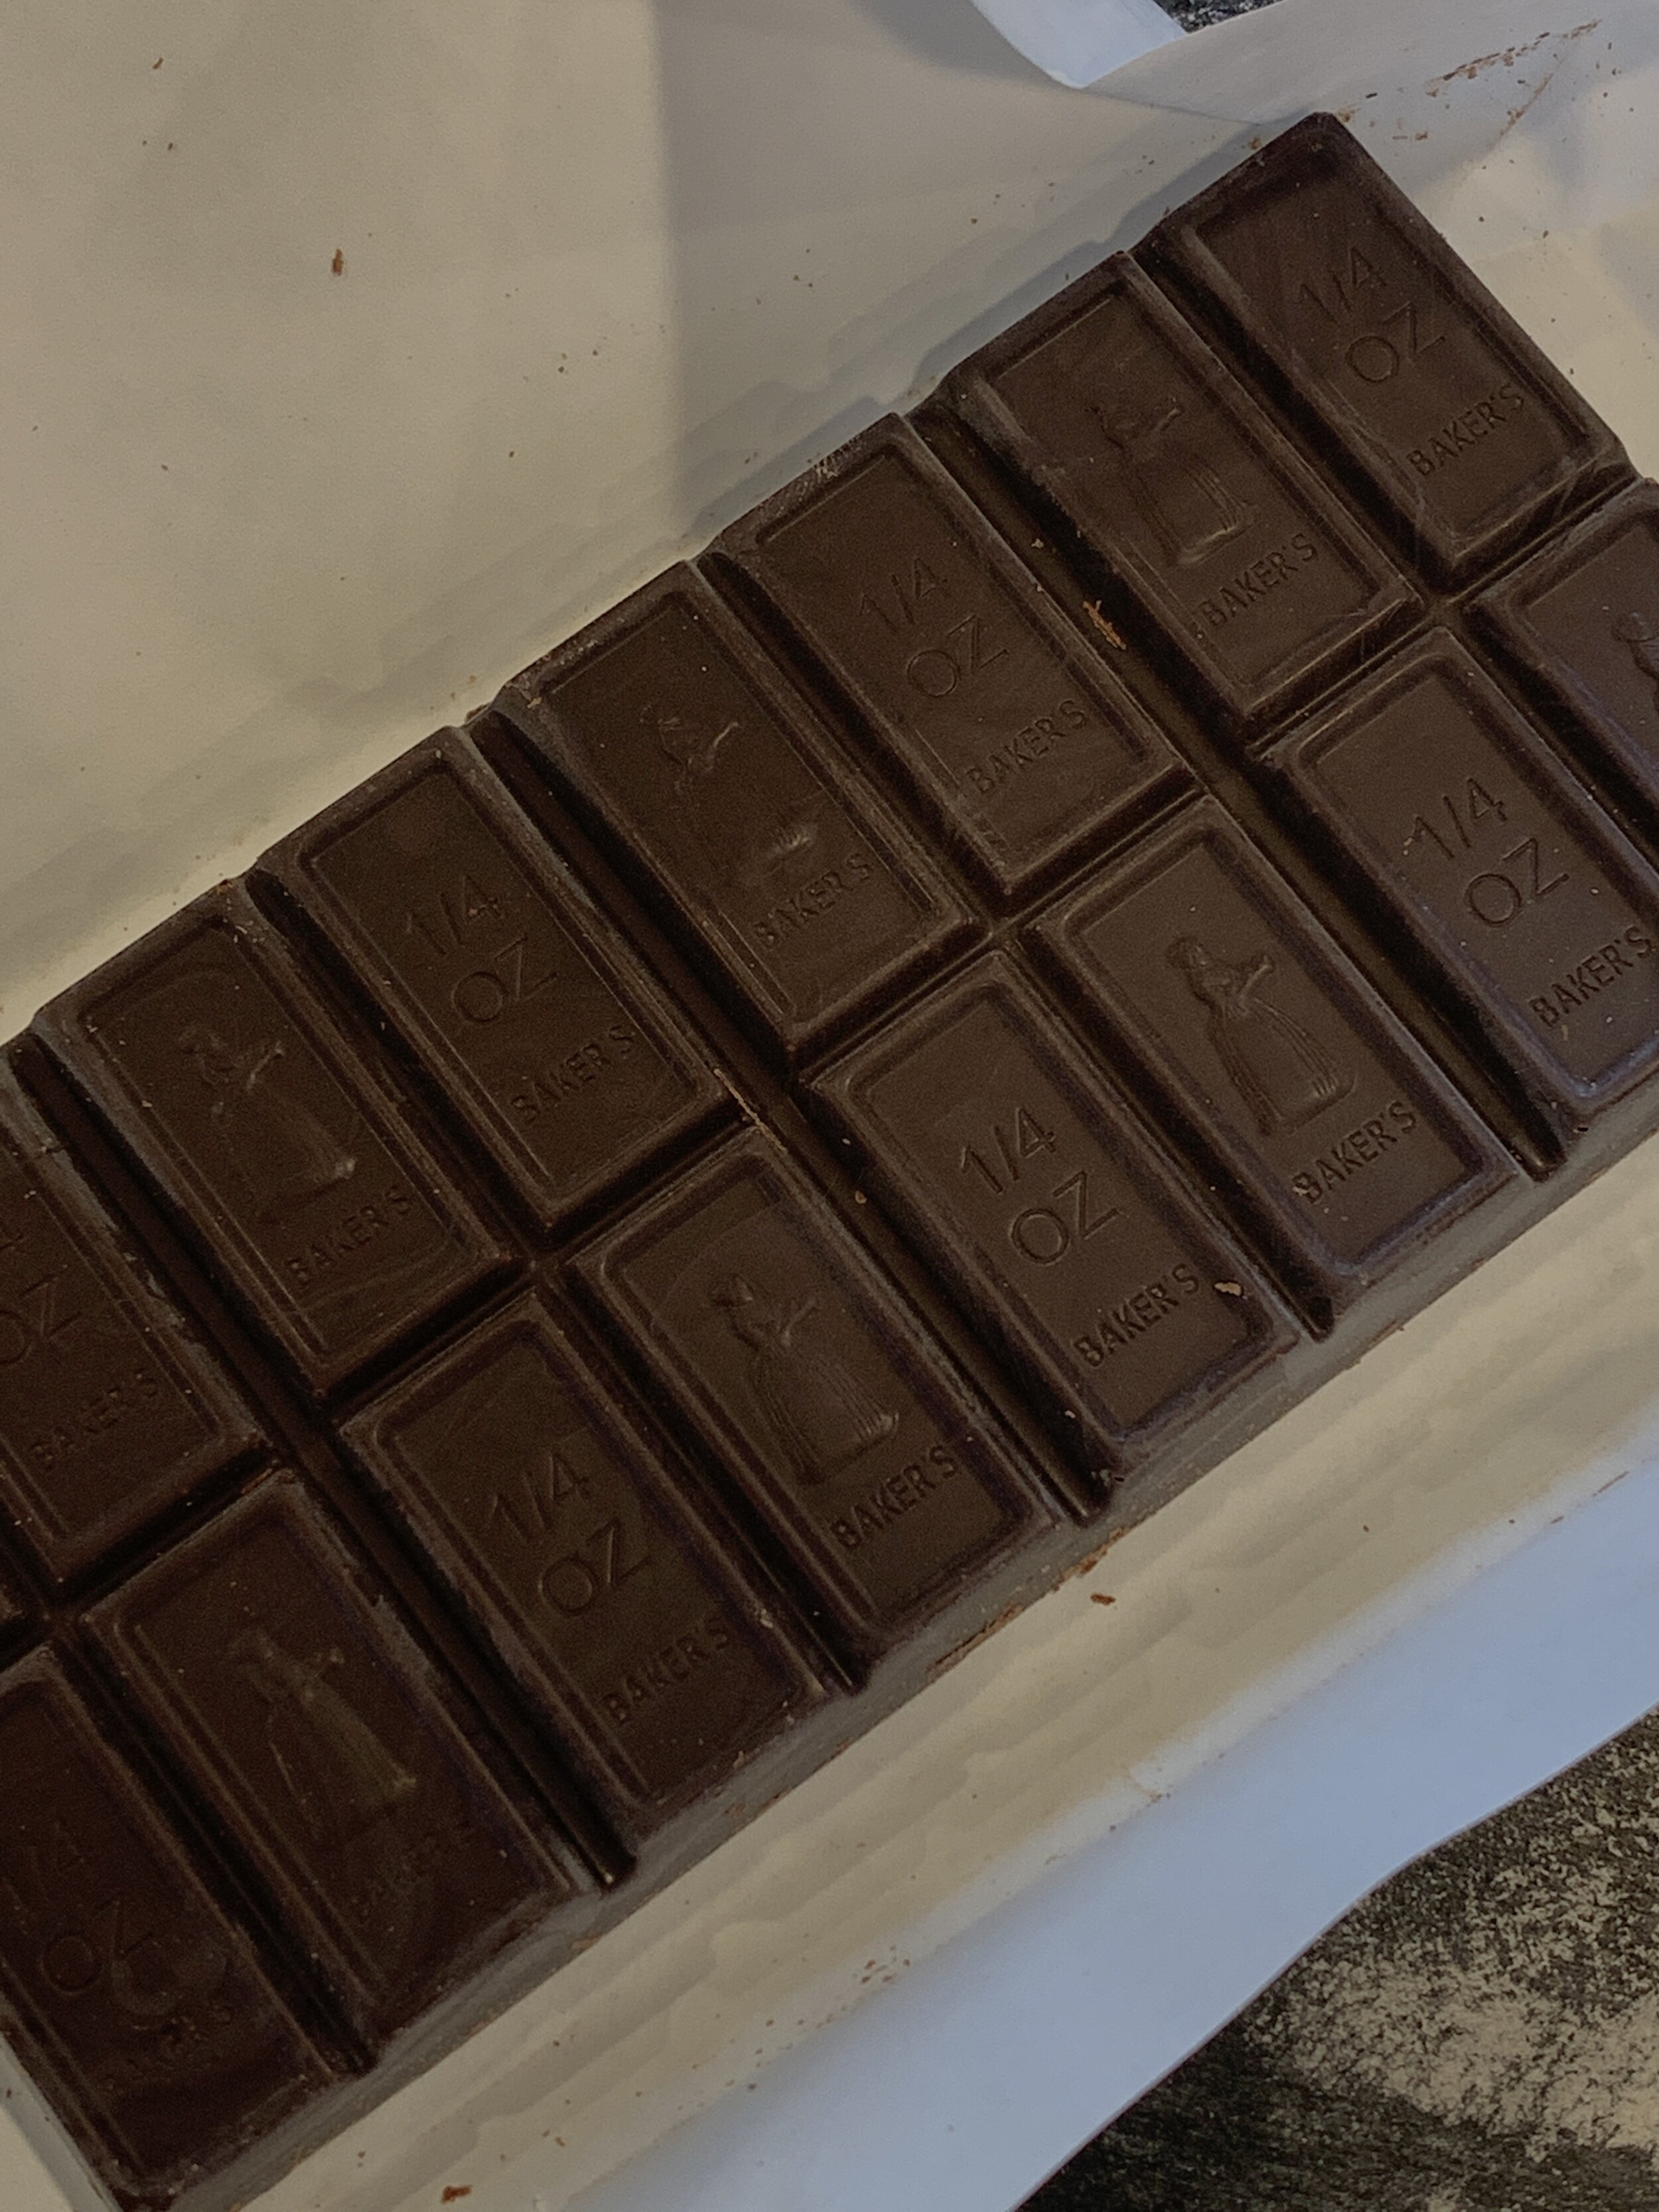
Step 7: Roll out your dough to be 8”x40”. Cut up your dough into strips and roll in the chocolate.
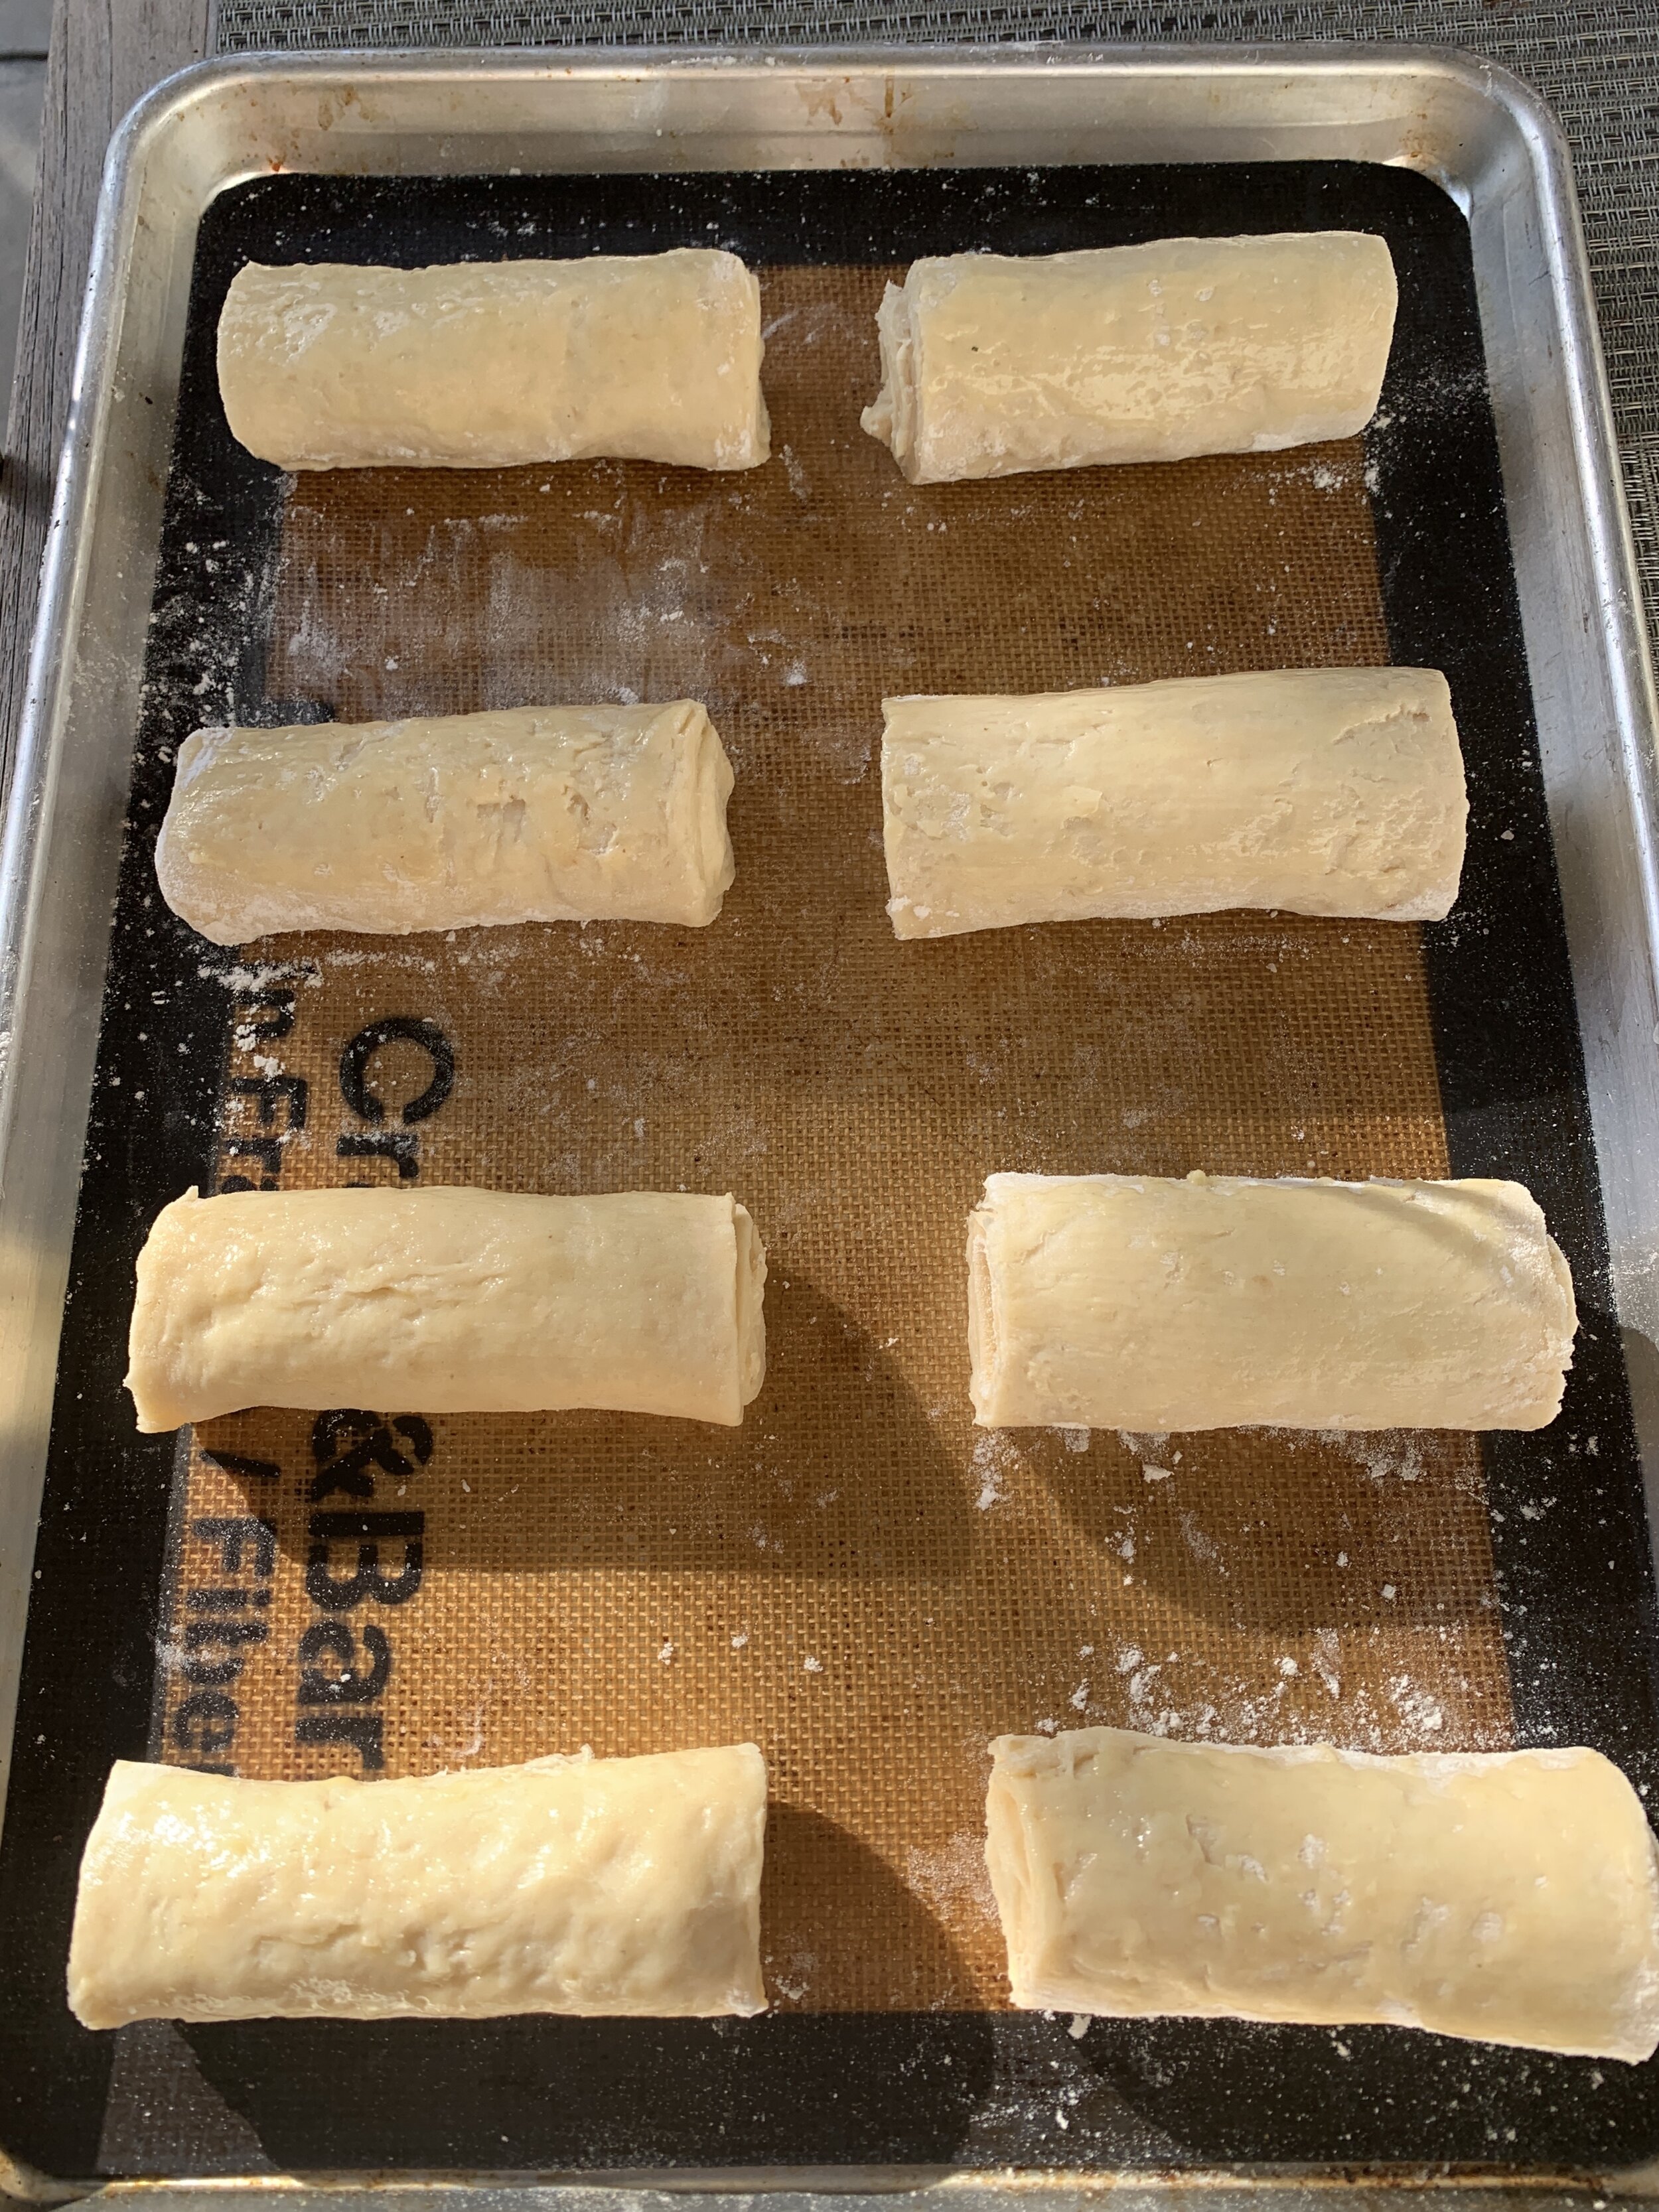
Step 8: Proof your croissants for 1-2 hours.

Step 9: Brush dough with egg wash.
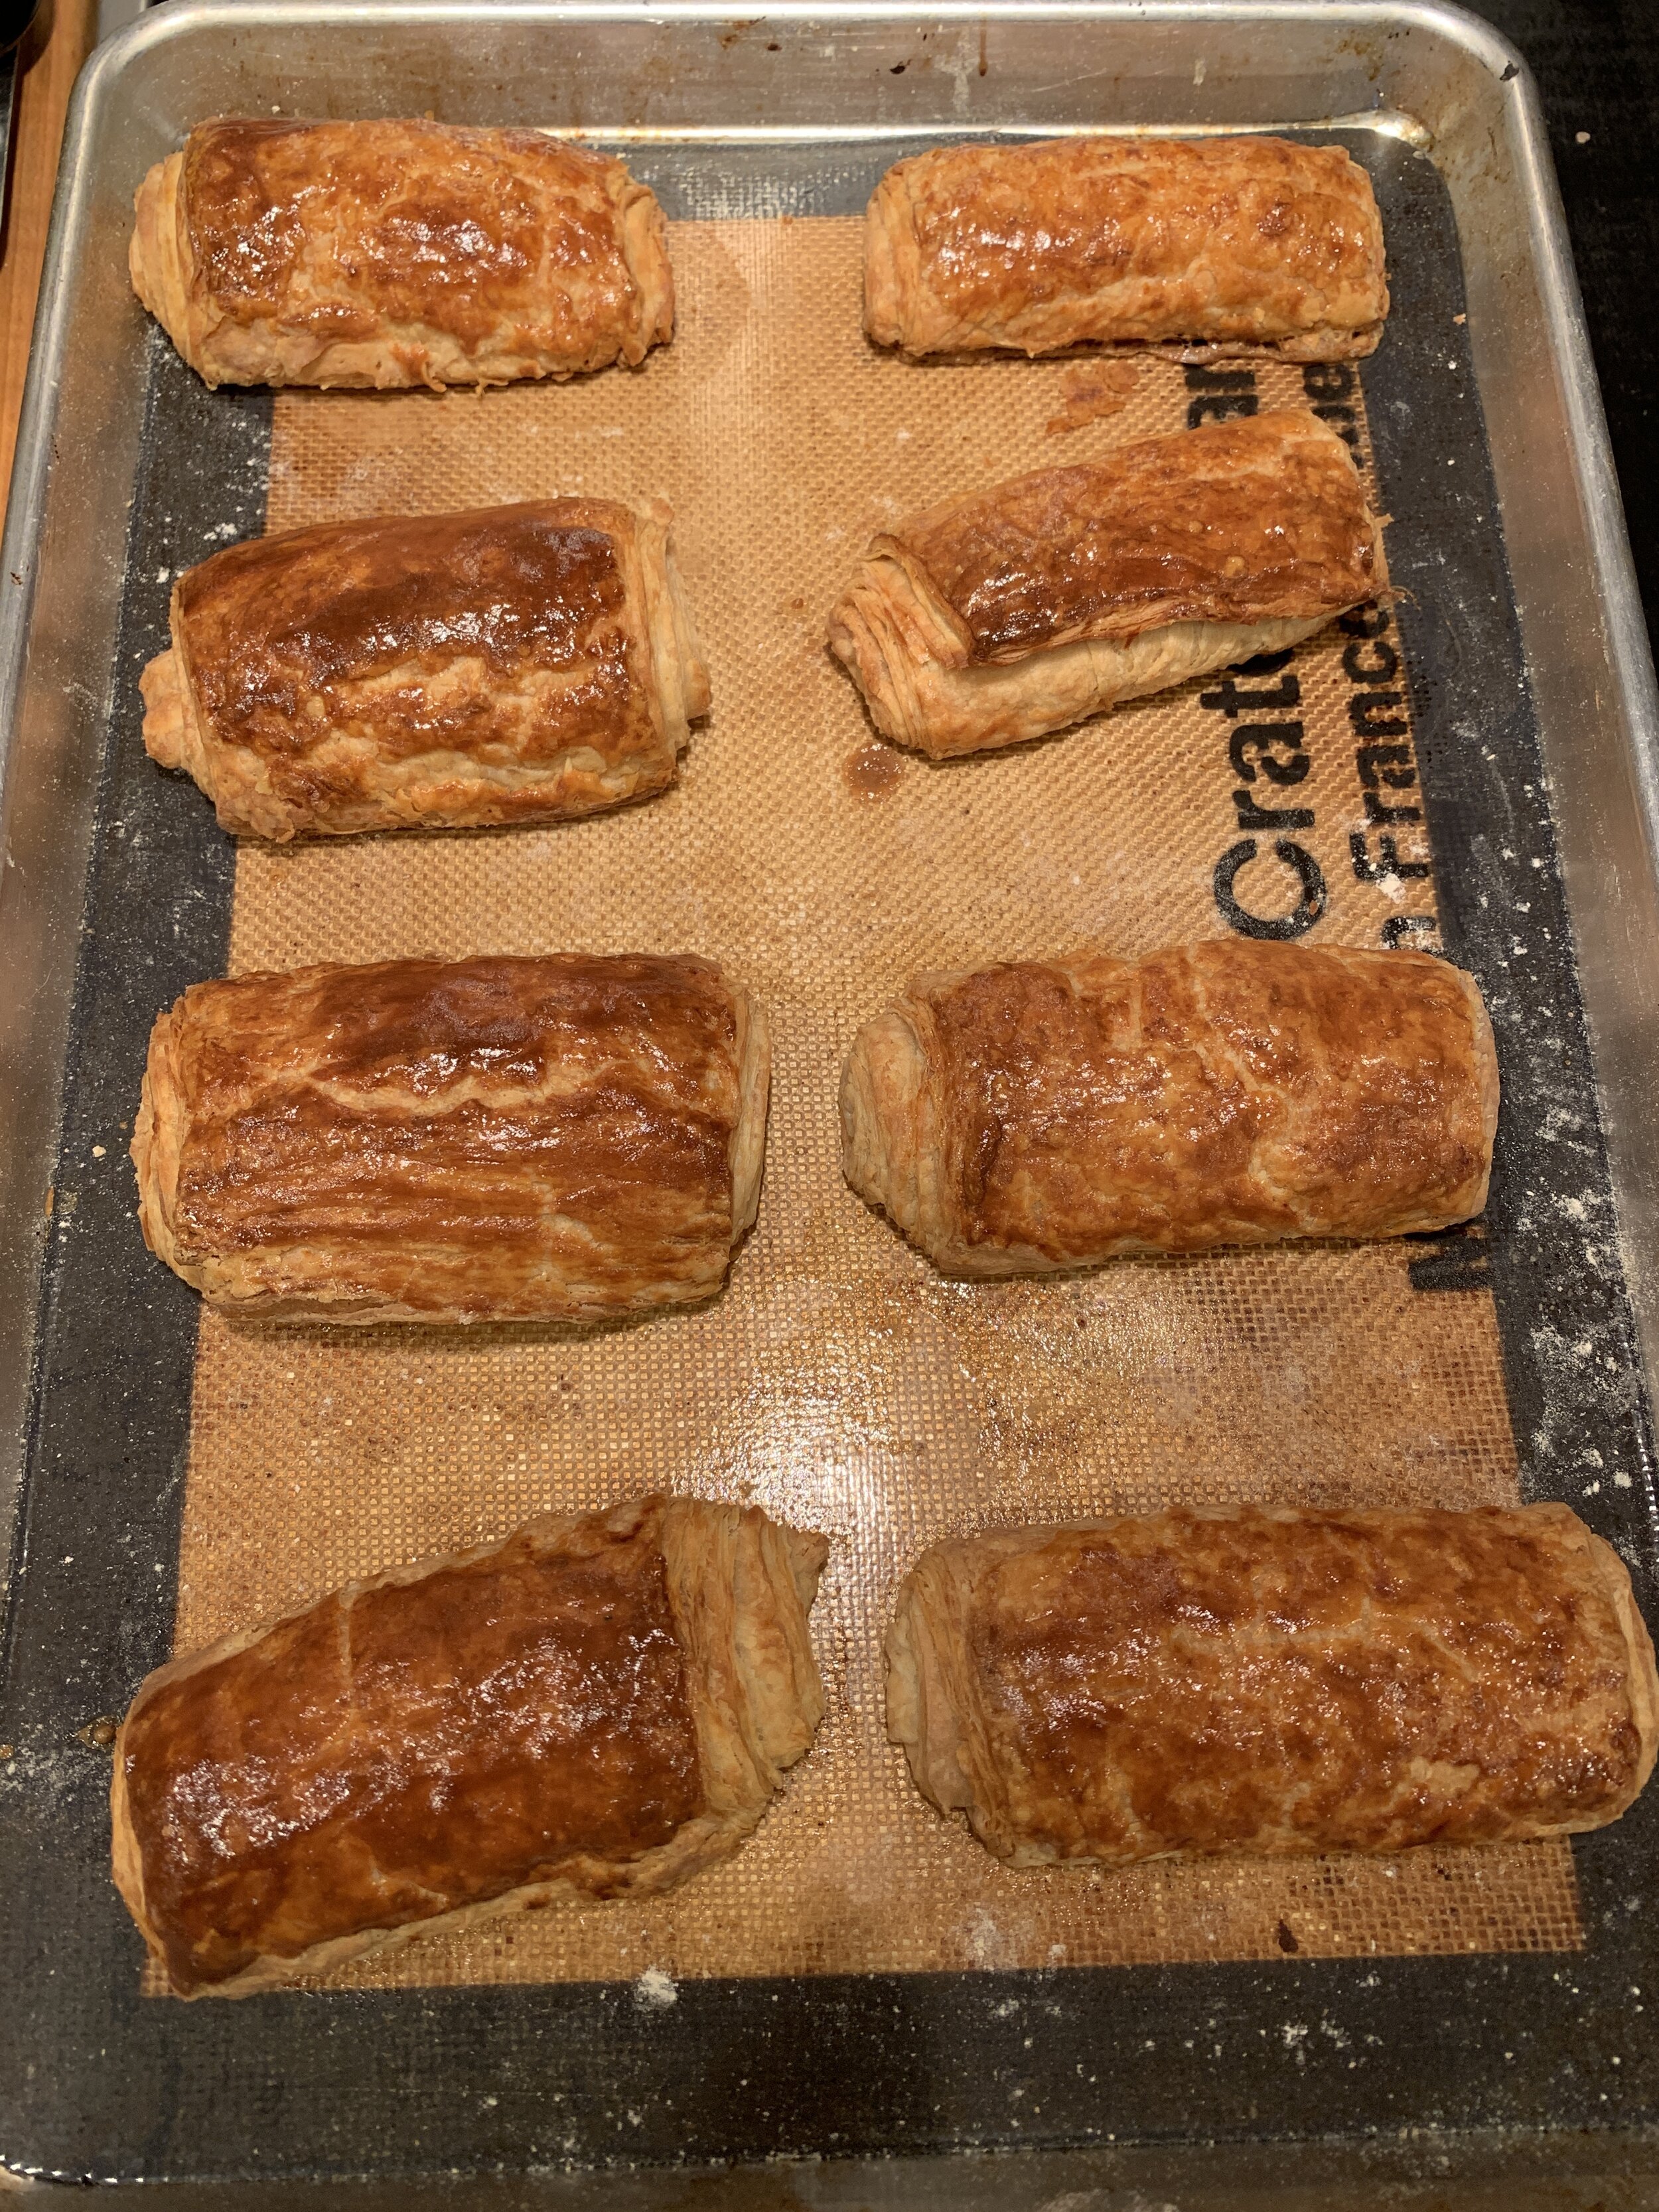
Step 10: Bake!
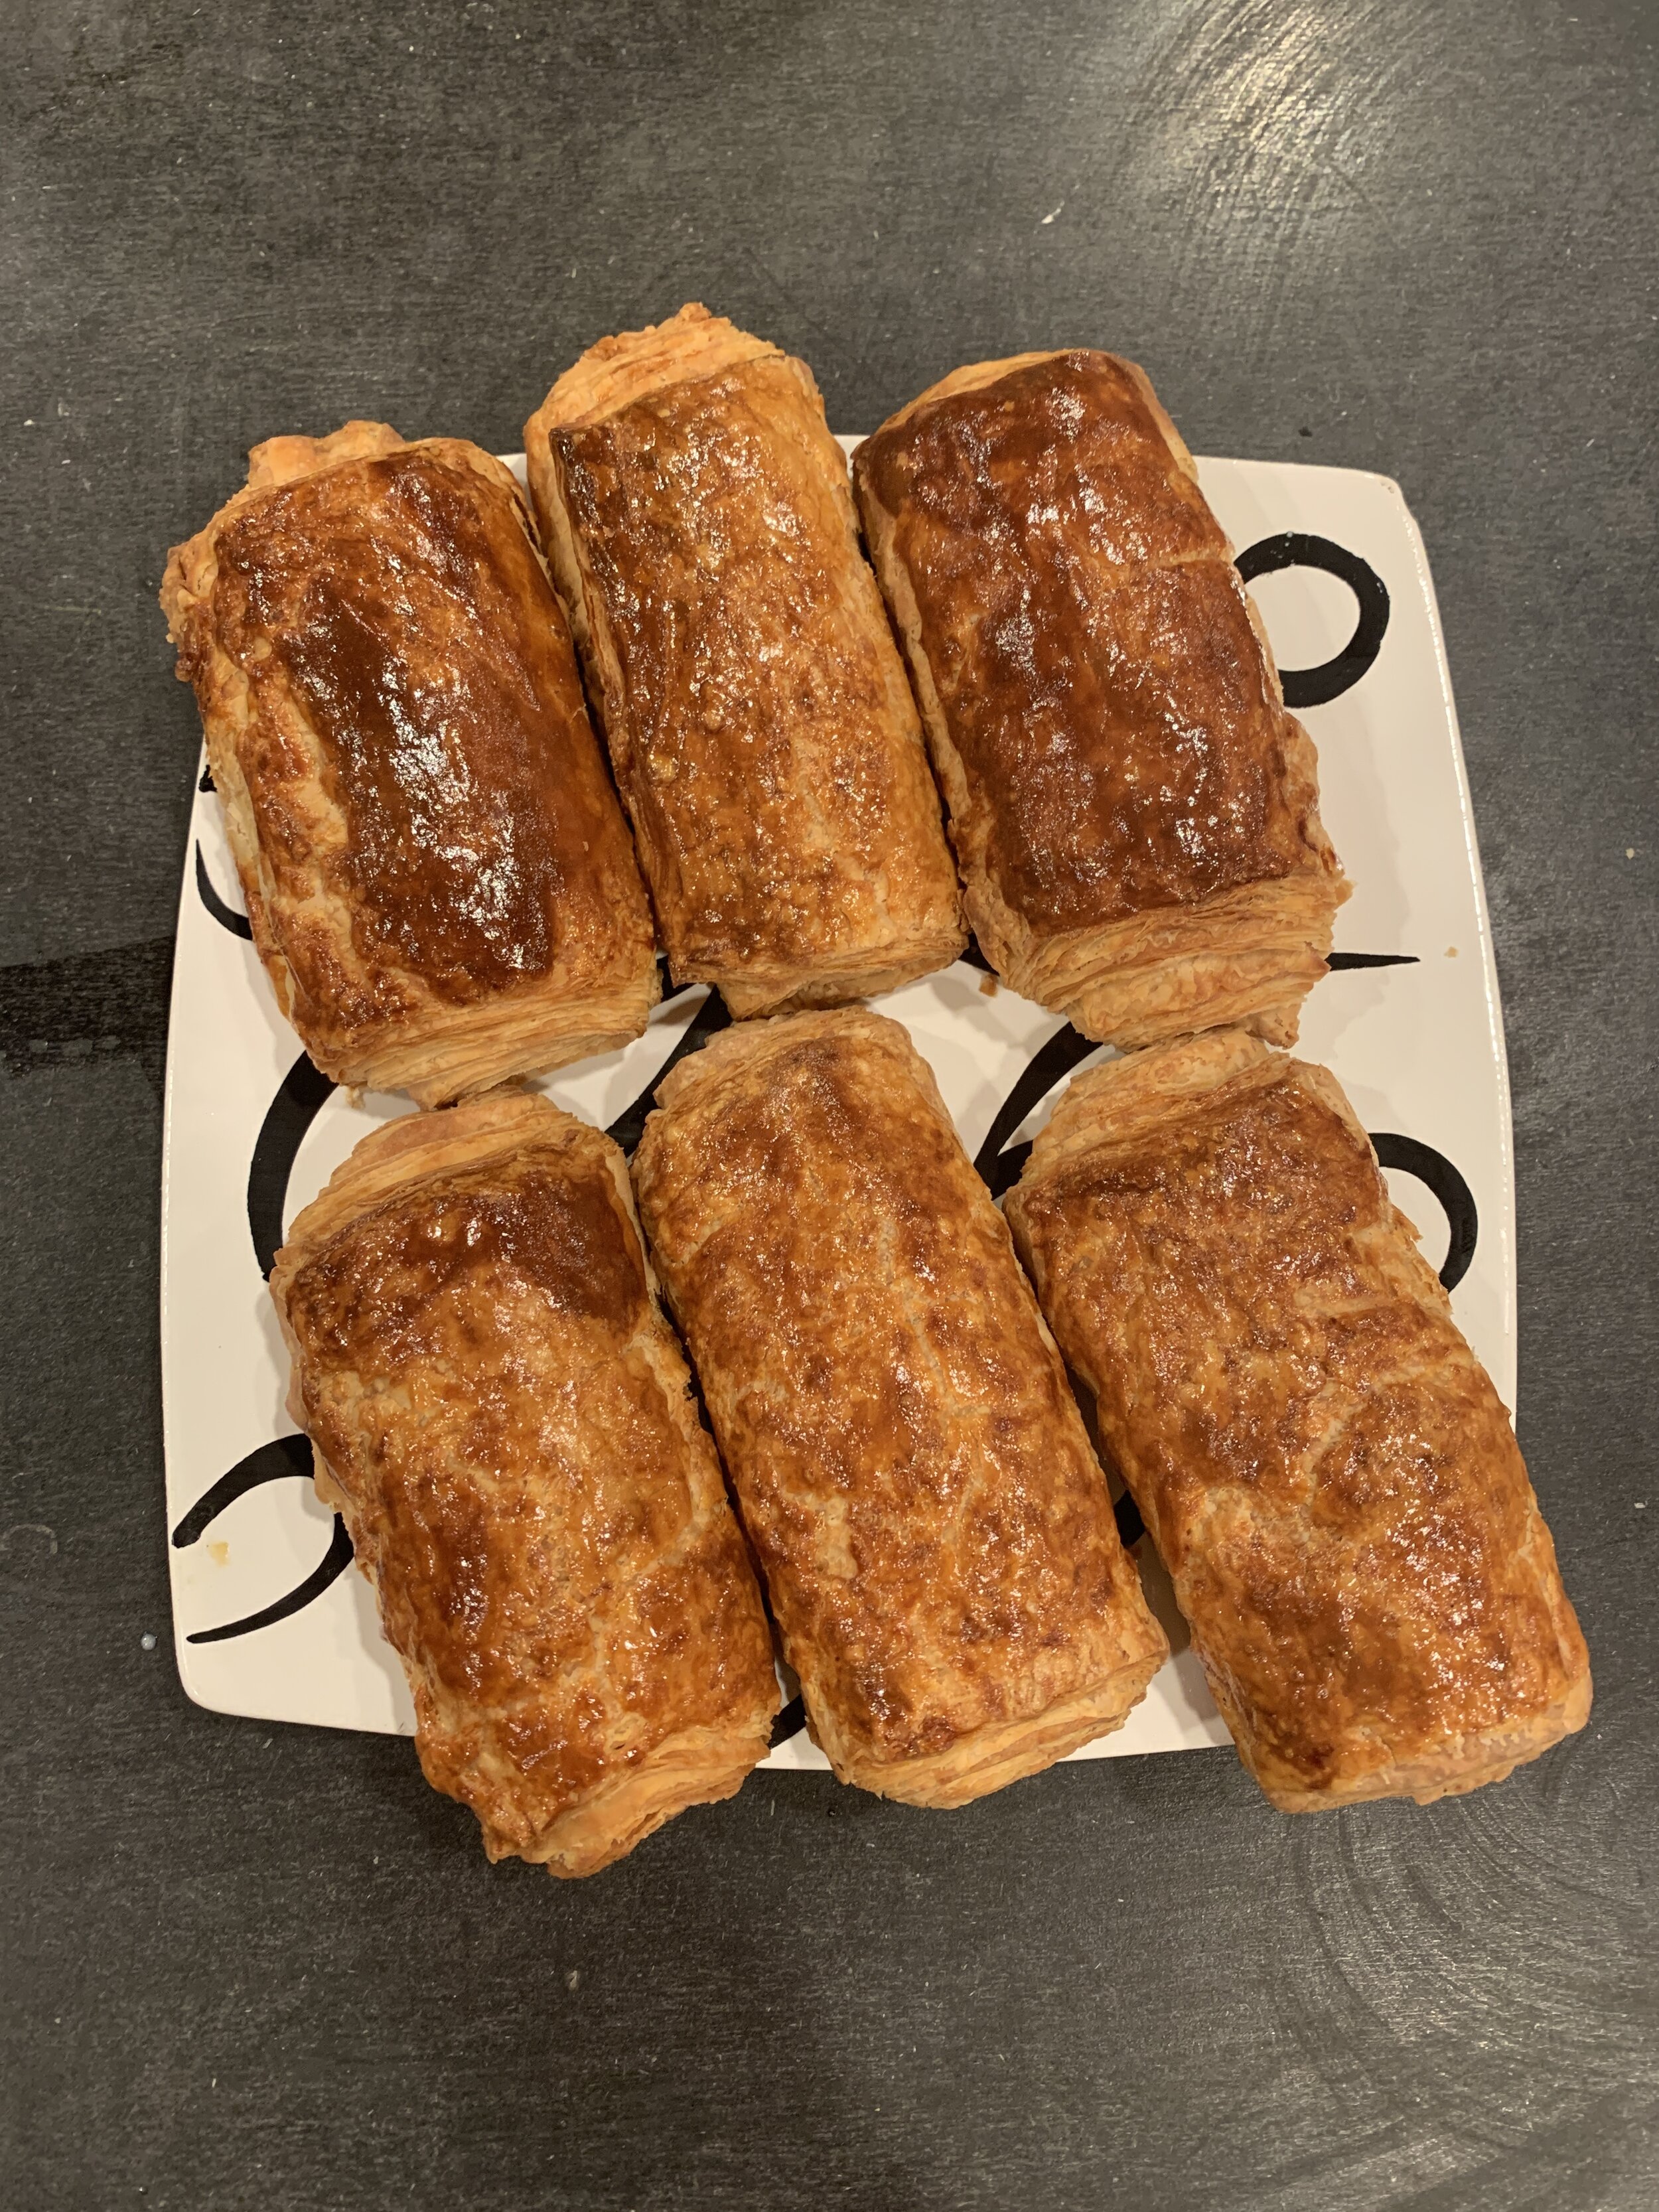

Step 11: Enjoy! Bon Appétit.

Even though the process can be tedious at times, baking these croissants was a fun experience in itself. Like I mentioned, the recipe requires a lot of patience and can vary at times depending on your baking conditions (proper oven/room temperature, warm environment to proof, etc.), but when you smell the croissants baking in the oven and take your first bite, it makes all the effort so worth it.
If you decide to attempt this recipe as well, please let me know! Currently, I’m trying to decide on a pastry to make for Christmas. If you have any suggestions, do let me know.
xx
Ella Kol