DIY: Holiday Desserts
My baking obsession was in full swing for the Christmas season. This year, I decided to bake not just one but three different desserts. My holiday menu included Crème Brûlée, Matcha Mille Crepe Cake, and Mille-feuille. I’ve included the links and tips for each recipe below:
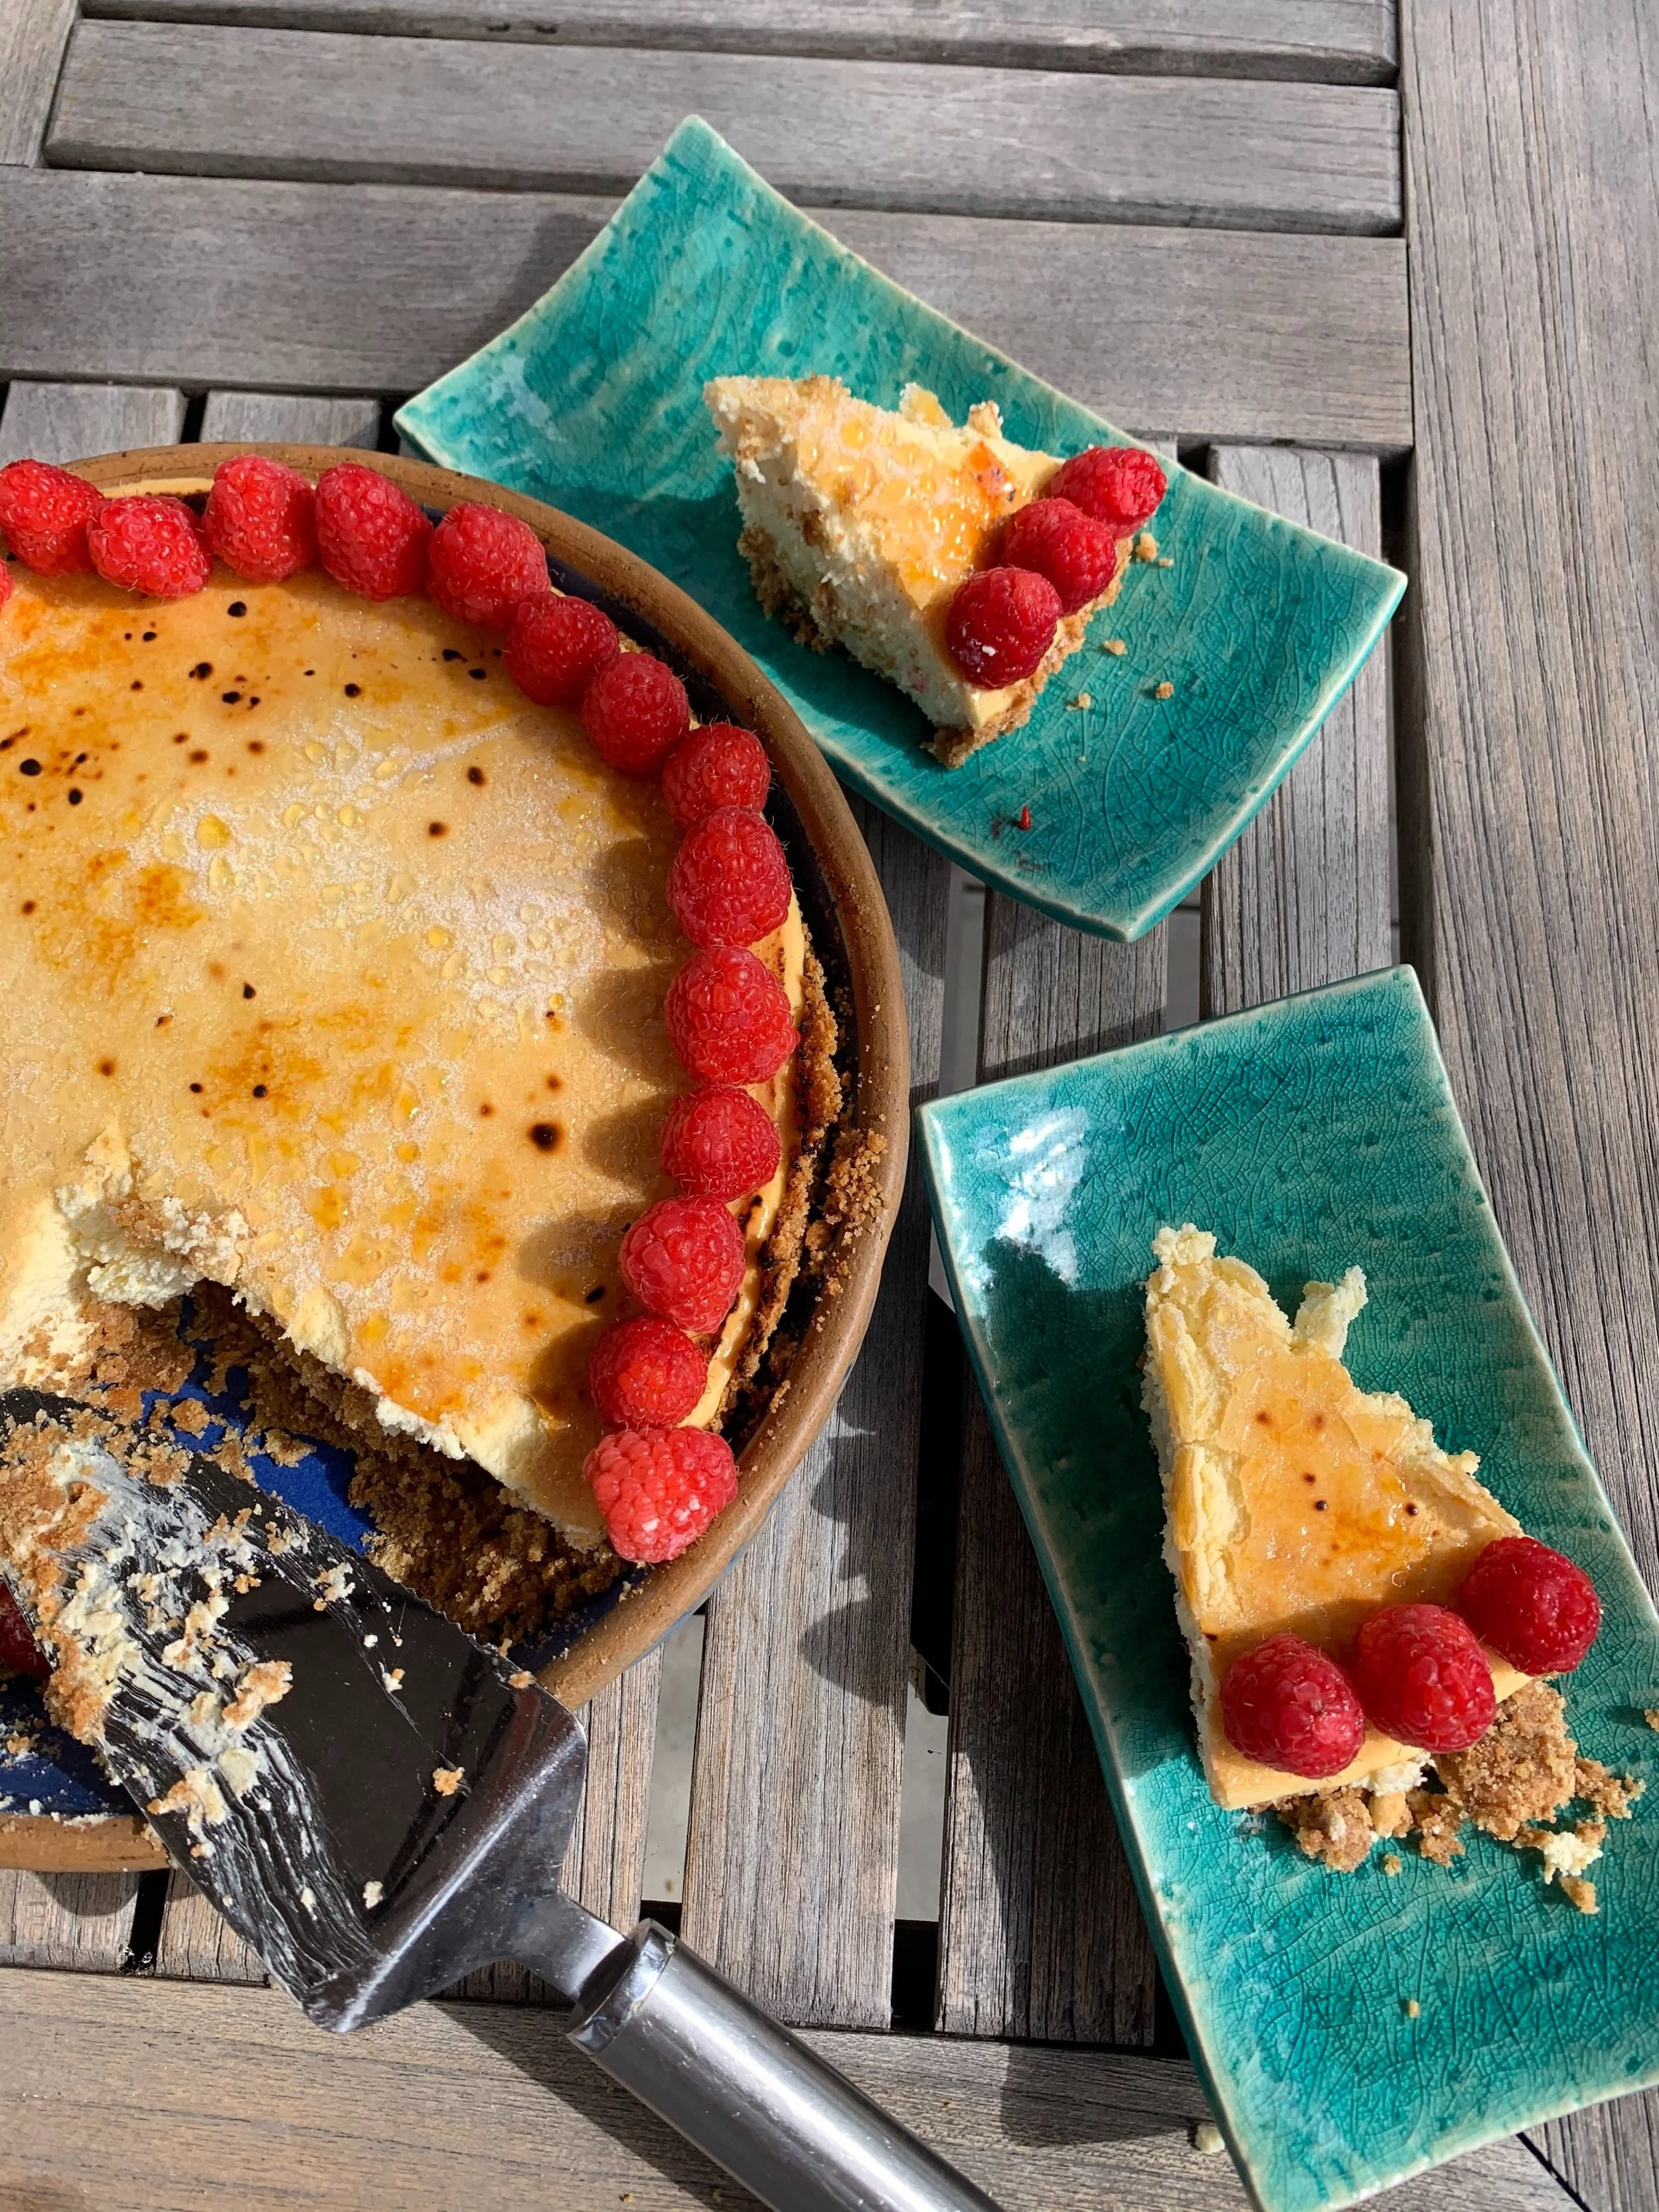
Even though the recipe makes about 7 servings, I only had four ramekins to bake with. So if you are finding yourself short a few ramekins, you can use a small loaf pan to make a large custard. Note this larger serving will take a lot longer to bake so keep that in mind.
Watch the full video on how to prepare the crepe cake. The entire process is pretty straight forward up until it comes to cooking your crepes. Nami makes it all look so easy in the video and I definitely burnt my finger tips a few times before I got the hang of it. It’s super important you use clean non-stick pans; otherwise, it’ll be too difficult to get a clean flip when you are cooking your crepes.
I suggest diluting your mixture with milk a bit before you cook your large crepe. In total, I think I only was able to make about 9 crepes including the largest one. This recipe says you should be able to make about 13. Either way, my cake turned out to be about the right thickness anyways. I just think the thinner your crepes are the lighter the texture.
Don’t worry too much if you have creases or tears in your large crepe. You can cover it with matcha powder after it sets or decorate any imperfections with fruit on top.
The custard filling was the trickiest part for me. I overcooked the custard by heating it up too quickly and the mixture turned into a gross scrambled egg texture. Be patient and cook your custard SLOWLY.
When baking your puff pastry, remember to flip them over so that they brown evenly on each side. Overall, I think my pastry was way too puffy, but it still tasted delicious and well-baked.
The entire time it took to bake and decorate all three desserts was two days. I spent nearly all of Christmas Eve baking and preparing everything to complete by Christmas day. For Christmas Eve, I served the Crème Brûlée since those only take a few hours to set and are best eaten fresh! For photos of my baking processes, see below:
Crème Brûlée

Perfectly baked custards ready for sugar coating.

Note: Only add the sugaring topping to those that you plan on eating that day; otherwise, the sugar will melt on the custard if you try to save it overnight.

You can use mini loaf pans as well to bake your Crème Brûlée.
Matcha Mille Crepe Cake

Matcha crepe mix in the making.

The first large crepe in progress. I think this first crepe was too thick, but it still tasted delicious.

In total, I made about 9 crepes.

Add whipped creme.

After layering the crepes, let the cake rest a few hours or overnight.

Ta-da!
Mille-feuille

Whipped creme and custard filling in progress.

My second attempt at the custard since my first attempt overcooked.

Measured and cut puff pastry.

First batch ready to bake!

Note: Save your puff pastry scraps and bake them. You can decorate them with cream or berries if you wish.

Full baked puff pastry and resting to cool.

Decorate with icing and chevron pattern.

Add whipped creme to lighten up custard mixture.

Ready to serve!

The holidays aren’t complete without extra special sweets. I loved spending the last two days baking up a storm and experimenting with these new recipes. There is something so rewarding about successfully completing a new recipe for the first time and sharing it with family or friends. I hope you had a lovely holiday season and if you are still eating leftovers, Bon Appétit!
xx
Ella Kol