DIY: Matcha Tiramisu
New Year means new recipes!
This month, I decided to try making Matcha Tiramisu. Inspired by my first attempt making Tiramisu over Thanksgiving break, I was so excited to try this recipe by Just One Cookbook which specializes in classic and modern Japanese recipes.

If you check out the recipe by Just One Cookbook, you’ll notice that it includes store bought lady fingers. Since I’ve made lady fingers before, I decided to make them from scratch and add matcha powder. For homemade lady fingers, I used this recipe.
If I were to do this recipe over again, I would split the time between making the matcha lady fingers and the mascarpone filling. Making the lady fingers from scratch is the most time consuming part but in my humble opinion, it’s so worth it! Here’s a breakdown of how I made my Matcha Tiramisu:
DIY Matcha Lady Fingers
Step 1: Making the matcha ladyfingers
First things first, I want to introduce you to my new Kitchen Aid stand mixer that I got for Christmas! Ever since I started baking regularly during the pandemic, I’ve thrown out a bunch of hints to my family that I wanted a Kitchen Aid stand mixer. I feel like every hobbyist to semi-serious baker aspires to have one and I’m so excited to take my baking to a whole new level with my new stand mixer. By the way, I named my stand mixer Chanel because until I can afford to buy a Chanel handbag for myself one day, this is one of the most expensive non-essential item that I own.

To start off making the ladyfingers, I combined my egg yolks, sugar, and vanilla in a medium size bowl and mixed with a whisk. In my stand mixer, I whisk my egg whites until fluffy then I added the second half of the sugar.

Introducing my second new kitchen appliance! Before I knew my family had bought me a stand mixer, I bought myself a chord-less hand mixer. Previously, the hand mixer I was using for all my baking projects was my dad’s. It was probably older than I am and the power chord kept falling out of the socket whenever I moved around too much so it was time to finally get a new hand mixer.

Step 2: Once my egg white created stiff peaks in the stand mixer, I started to combine the egg whites and yolk mixture by gently folding in all the ingredients together in a medium size bowl.
This part got tricky for me because I felt like I started to loose some of the air that was whisked into the egg whites. I think with more practice I can nail this step down.

Step 3: After folding in all the ingredients, I added my sifted flour.


Step 4: Once the flour was evenly mixed in and combined, I added a few tablespoons of matcha powder.

Step 5: To make the lady finger shape, I used a piping bag to create mini lady fingers on my parchment paper. Once all my lady fingers were piped, I threw my cookie sheets into the oven for baking.

Once I took my lady fingers out of the oven, I definitely think they were a bit over baked but since they are to be soaked in matcha, you can’t really tell that they were originally a little browned. Once these were finished baking, I simply set them aside to cool while I moved onto making the mascarpone cream.

DIY Mascarpone Filling
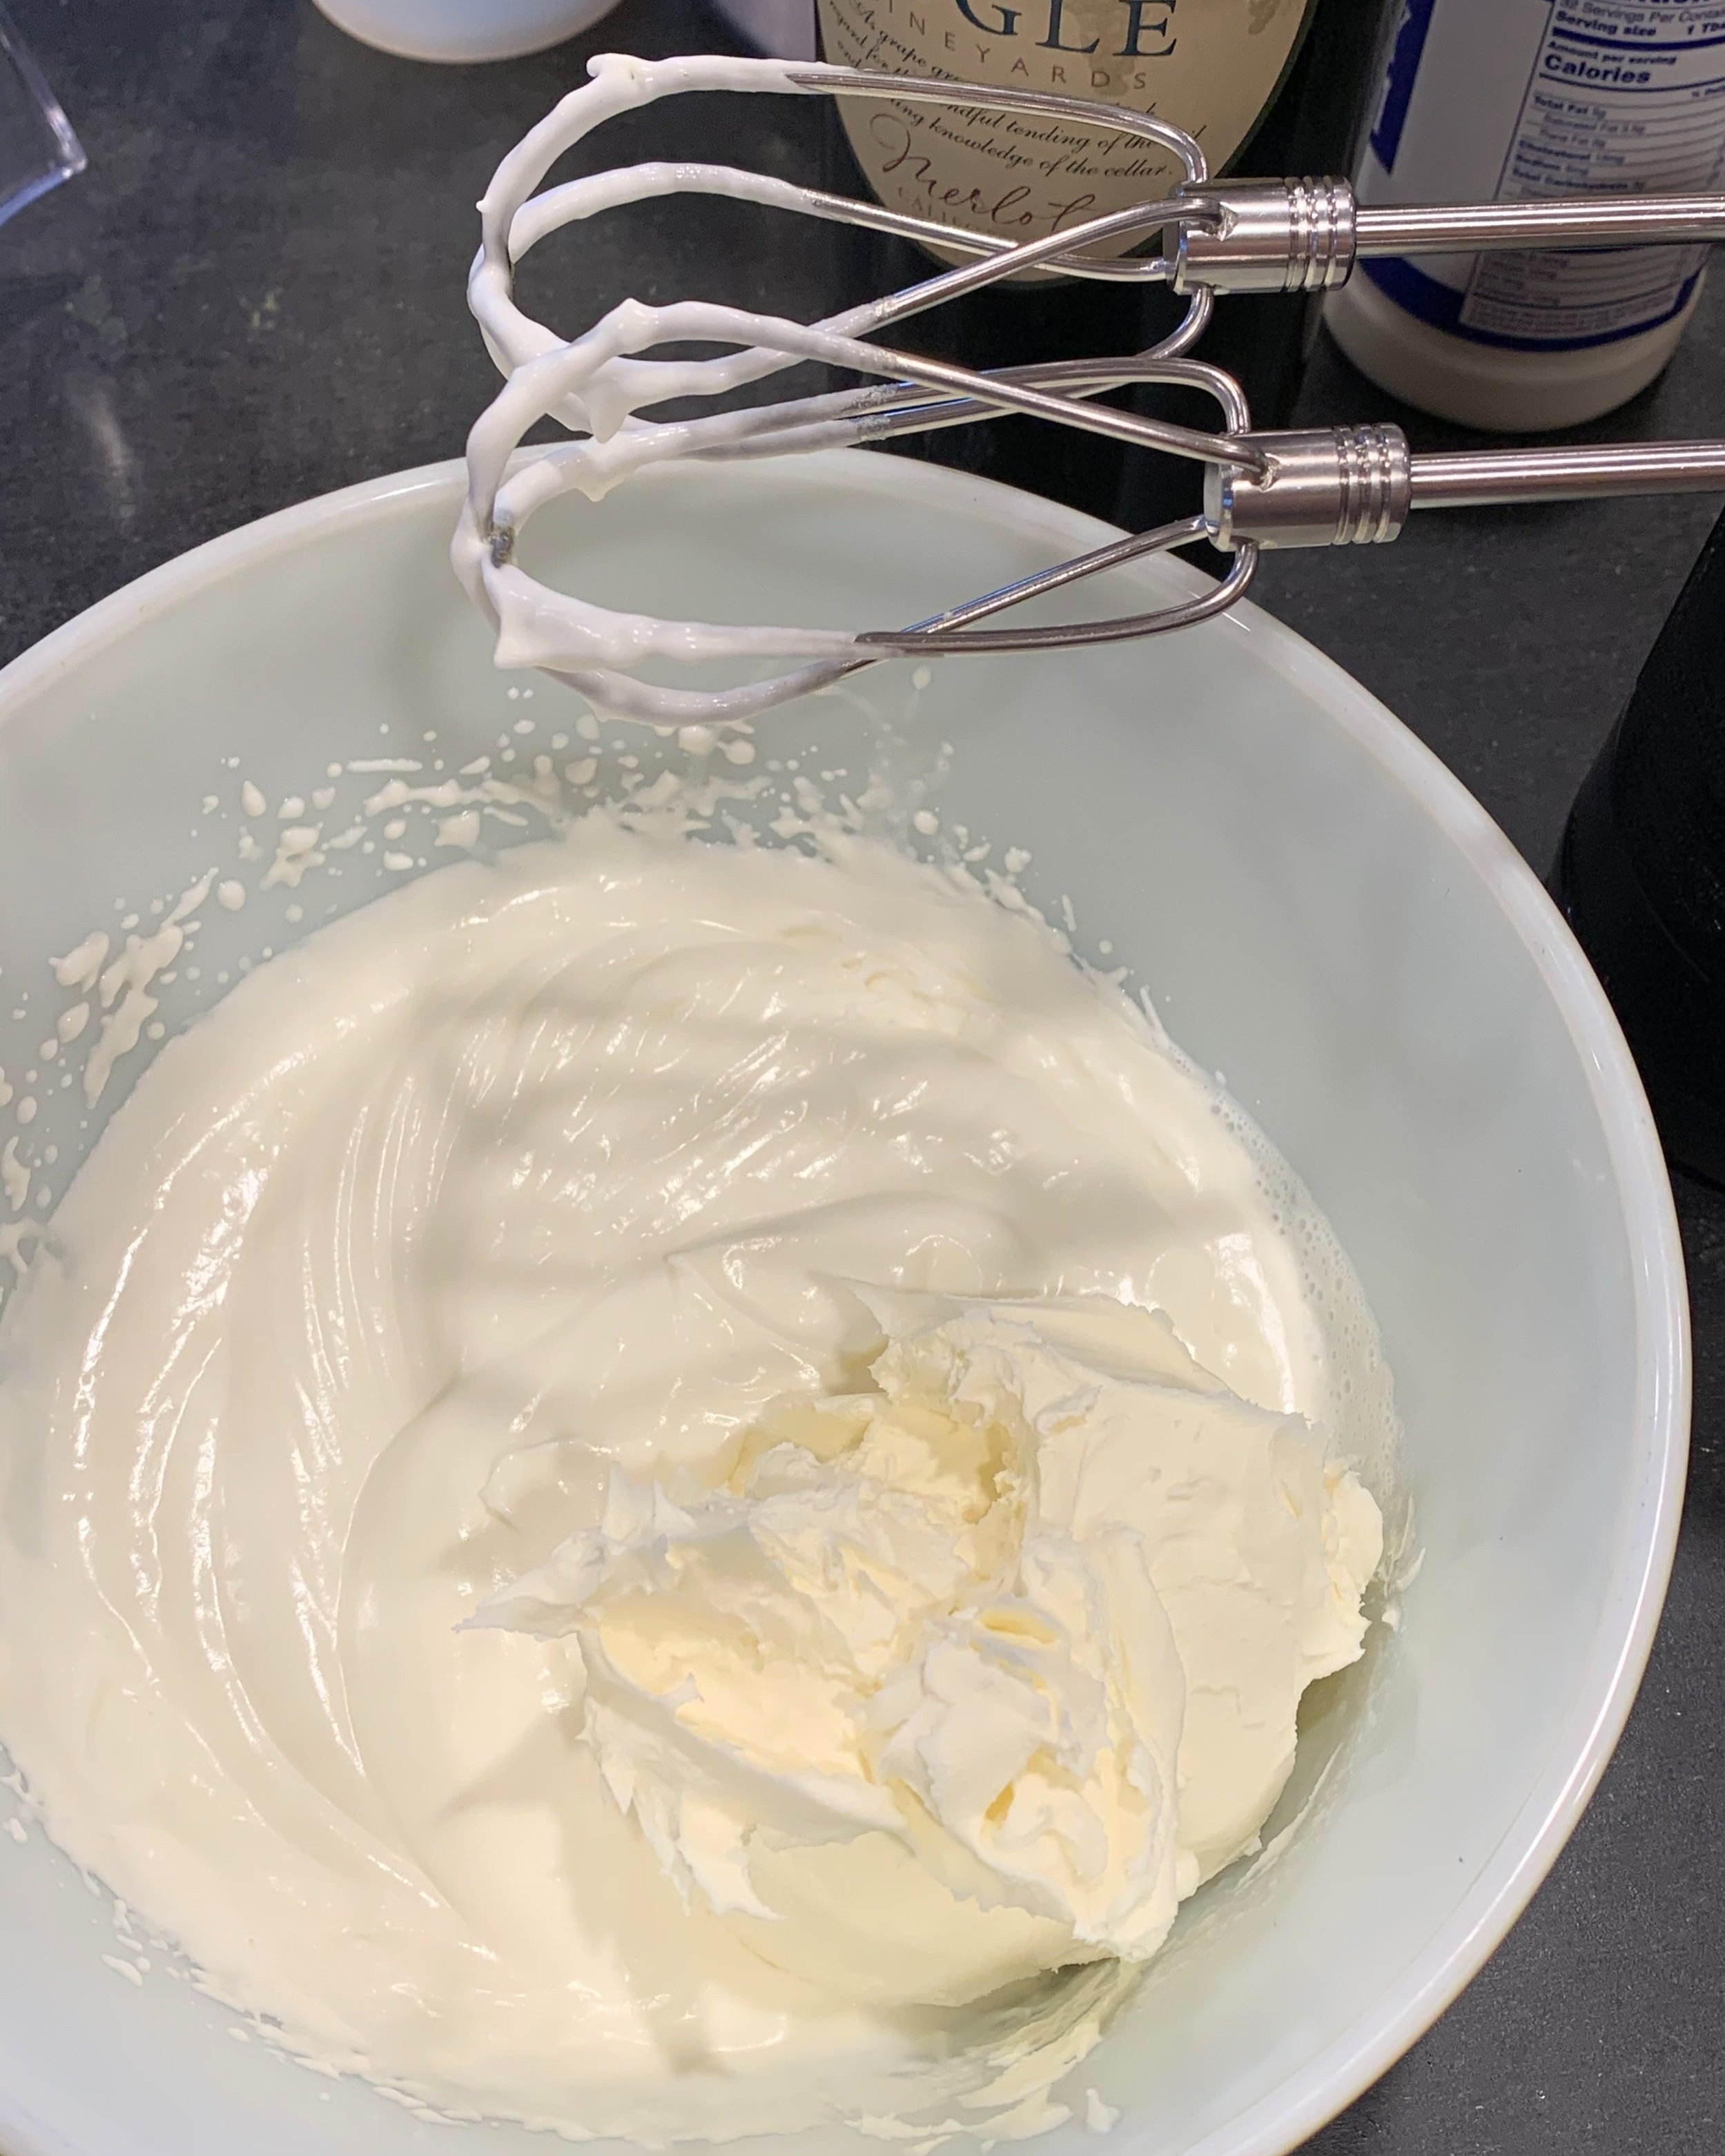
Step 1: For the mascarpone filling, I followed this recipe by NY Times Cooking. First, I mixed the heavy cream, sugar, and mascarpone together.
Step 2: Next, I whipped my egg yolks and sugar until the mixture turns light pale yellow.

Step 3: After whipping my egg yolks, I combined my egg yolk mixture with the mascarpone cream and mixed together until smooth.

Assembly
Step 1: To make my matcha, I mixed together two teaspoons of matcha powder with about a half cup of hot water. I wanted to ensure the matcha flavor was very strong so I wasn’t shy with the amount of matcha I used.

Step 2: Similar to the process of making traditional Tiramisu, I soaked my matcha ladyfingers in matcha before placing them in my baking dish.

Step 3: Once I created a full layer of ladyfingers covering the bottom of my baking dish, I covered the lady fingers with the mascarpone cream.


Step 4: Then repeat again with another layer of matcha ladyfingers.


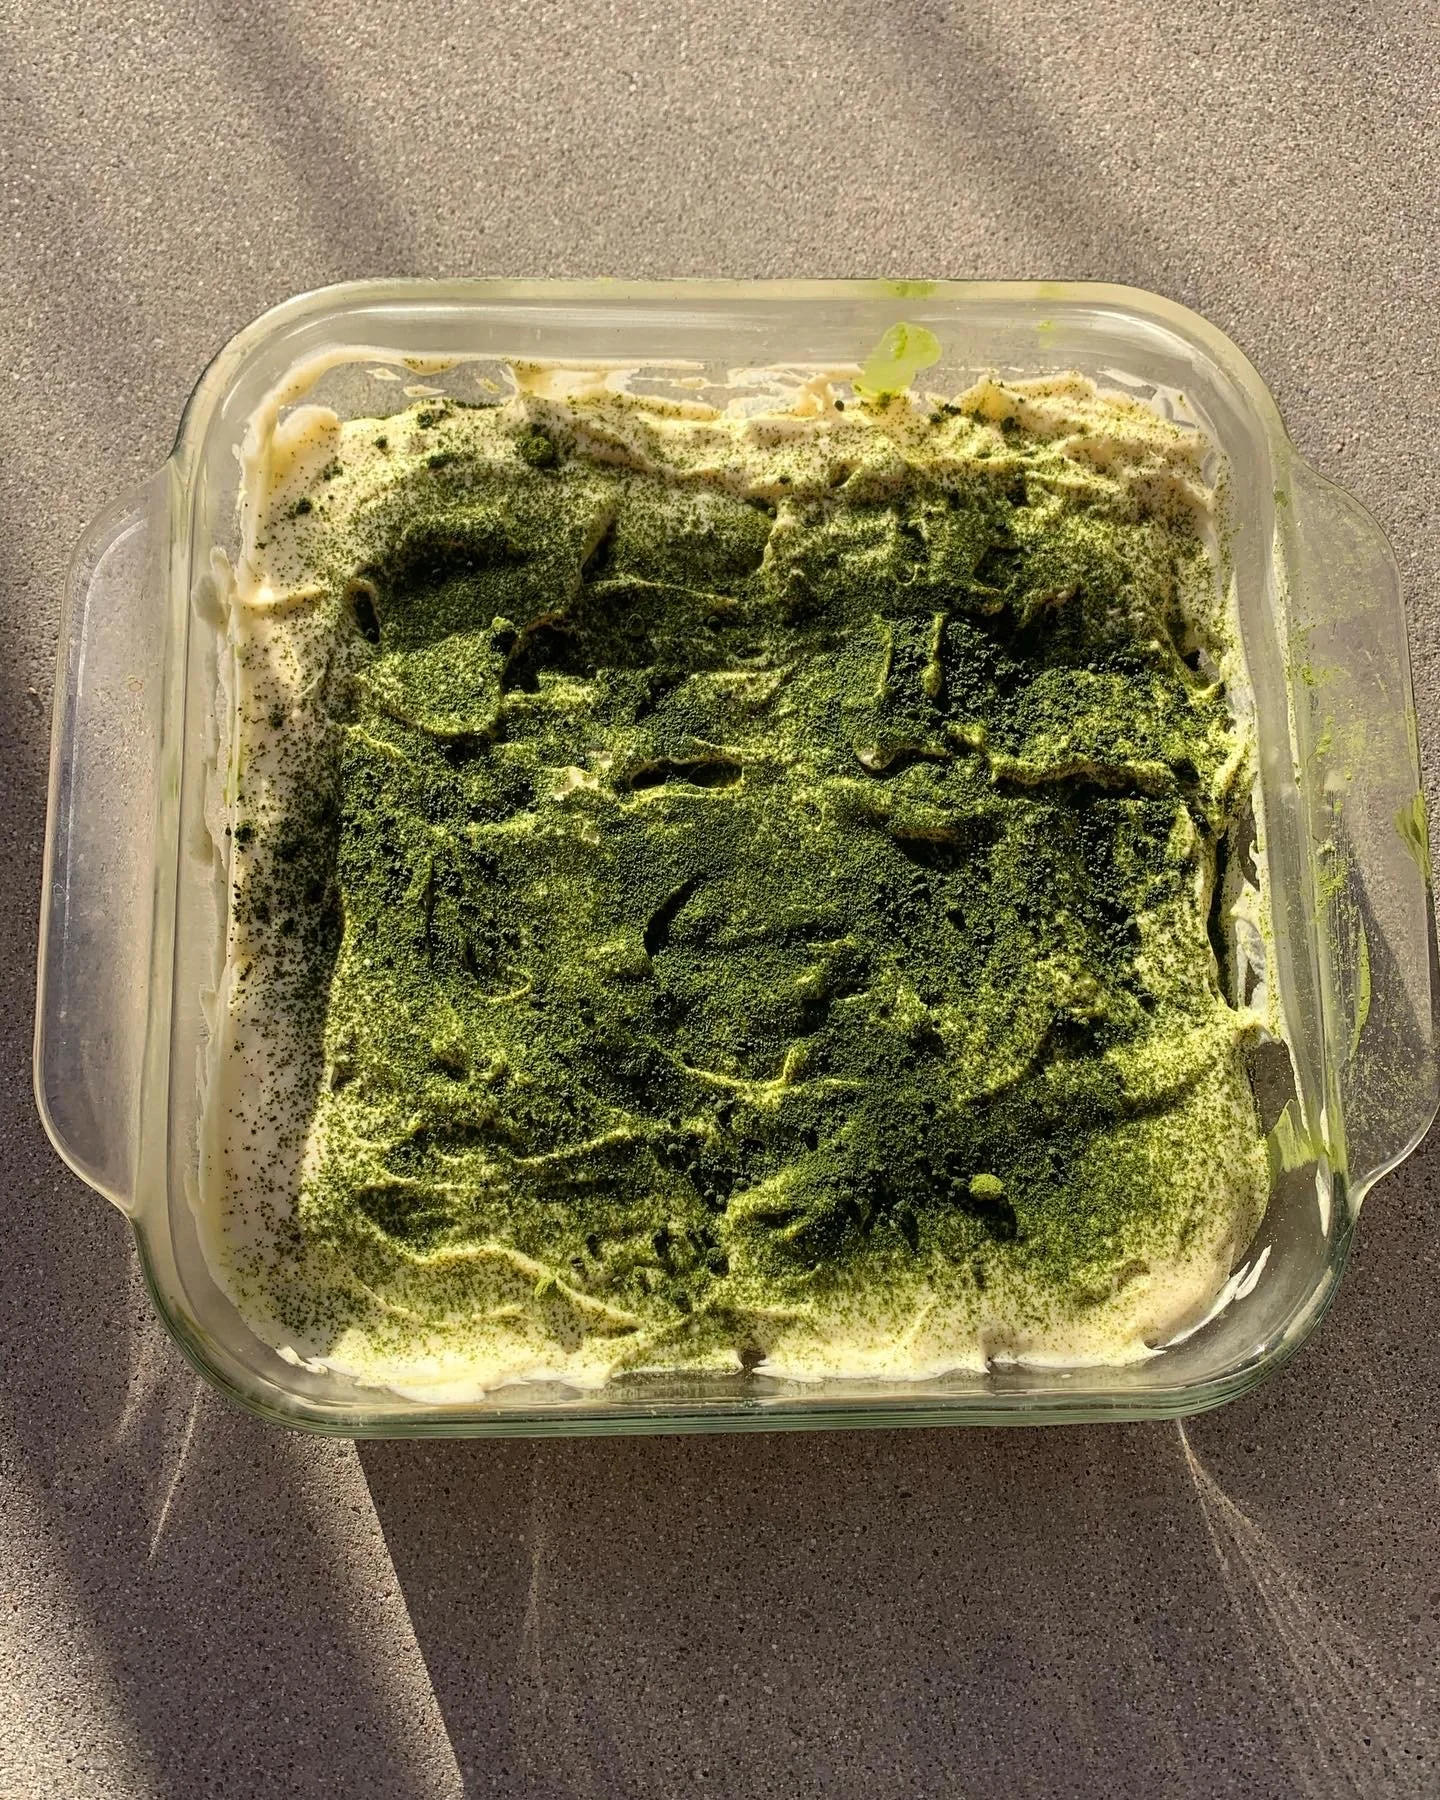
Step 5: Lastly, I topped the second layer of matcha ladyfingers with one more layer of mascarpone cream and dusted with more matcha powder.
I refrigerated my Matcha Tiramisu overnight to set before enjoying it. The patience is worth it and I’m happy with the taste of how my dessert came out.

My biggest self critique is that my Tiramisu looks messy. I think next time, I’d love to make my final coat look more smooth or even do a design of some sort on top. I tried topping my dessert with frozen berries since I didn’t have any fresh ones on hand but I didn’t like how it looked. In terms of flavor, I love how distinctly matcha this tiramisu tastes. I actually forgot to add the marsala wine that the recipe suggests but I think it tastes just as delicious without it.


Despite its messy look, this is a great dessert for any matcha or tiramisu lover to try. It’s not too sweet and if you split up the time it takes to make the lady fingers, it’s a pretty easy dessert to make. You can also buy ladyfingers from the store and soak in matcha to save on time.
To sum things up, here are all the recipes that I used to make my Matcha Tiramisu:
For homemade ladyfingers (add a few tablespoons of matcha)
For the mascarpone cream
The original recipe that inspired me.
As always, thank you so much for reading and let me know if you have any questions in the comments section down below!
xx
Kiana
(Ella Kol)